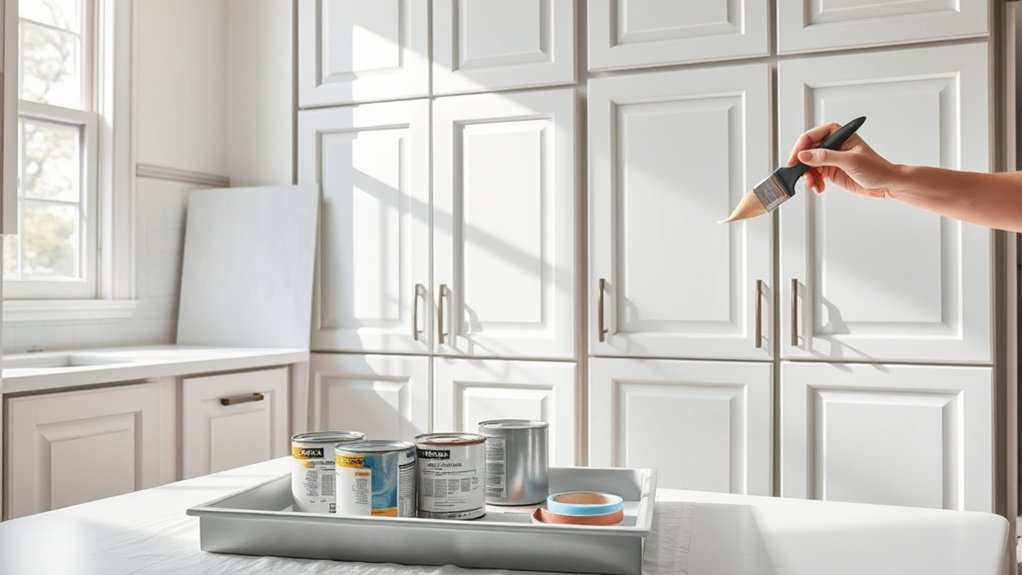
How Do You Paint Kitchen Cabinets in 3 Simple Steps
Painting kitchen cabinets can feel overwhelming, especially when you want a fresh look without the cost of a full remodel. You’re not alone—many people struggle to get a smooth, durable finish without peeling or brush marks. The good news is that learning how to paint kitchen cabinets in 3 simple steps can make the project much easier.
To paint your kitchen cabinets in 3 simple steps, start by thoroughly cleaning and lightly sanding to guarantee a smooth surface.
Next, choose a durable paint designed for cabinets—opt for semi-gloss or satin finishes—and gather quality brushes and foam rollers.
Finally, remove hardware, apply primer, then paint using long, even strokes with thin coats, focusing on edges to prevent peeling.
Stick with these basics, and you’ll get a sleek, lasting finish; there’s plenty more to master to perfect the look.
Key Takeaways
- Remove cabinet doors and hardware, then clean and lightly sand all surfaces for better paint adhesion.
- Apply a primer coat evenly with a high-quality brush or foam roller, ensuring full coverage and drying completely.
- Paint cabinets using thin, smooth coats in the wood grain direction, allowing each coat to dry before applying the next.
- Use multiple thin coats rather than one thick coat to avoid drips, focusing on edges and corners for durability.
- Reattach doors and hardware only after paint is fully dry for a professional, long-lasting finish.
Prep Your Kitchen Cabinets for Painting
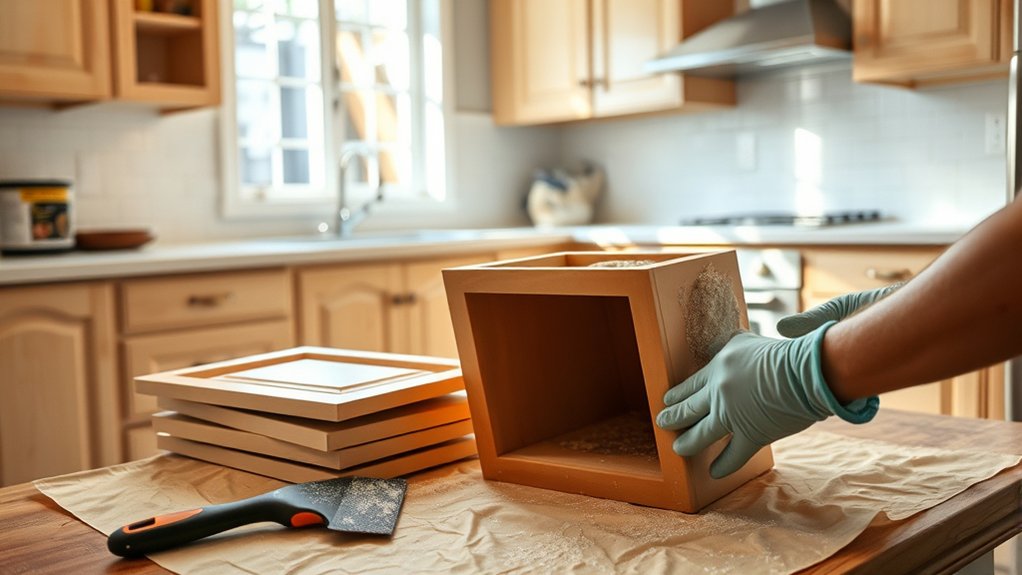
Before you begin painting, you need to thoroughly prep your kitchen cabinets to guarantee the paint adheres properly and lasts longer. Start with cabinet cleaning. Remove all grease, dirt, and grime using a strong degreaser or a mixture of warm water and dish soap.
This step ensures you eliminate residues that could prevent paint from sticking. After cleaning, let the cabinets dry completely.
Next, focus on surface sanding. Lightly sand the cabinet surfaces using fine-grit sandpaper to create a smooth, even texture.
This roughens up the finish just enough for the new paint to grip securely. Don’t forget to sand edges and corners where paint can easily peel if not prepped well.
After sanding, wipe off any dust with a damp cloth or tack cloth.
Taking these prep steps seriously will set you up for a professional-looking paint job that lasts. Skipping them risks chipping and peeling, wasting your effort.
How to Choose the Right Paint and Tools for Kitchen Cabinets
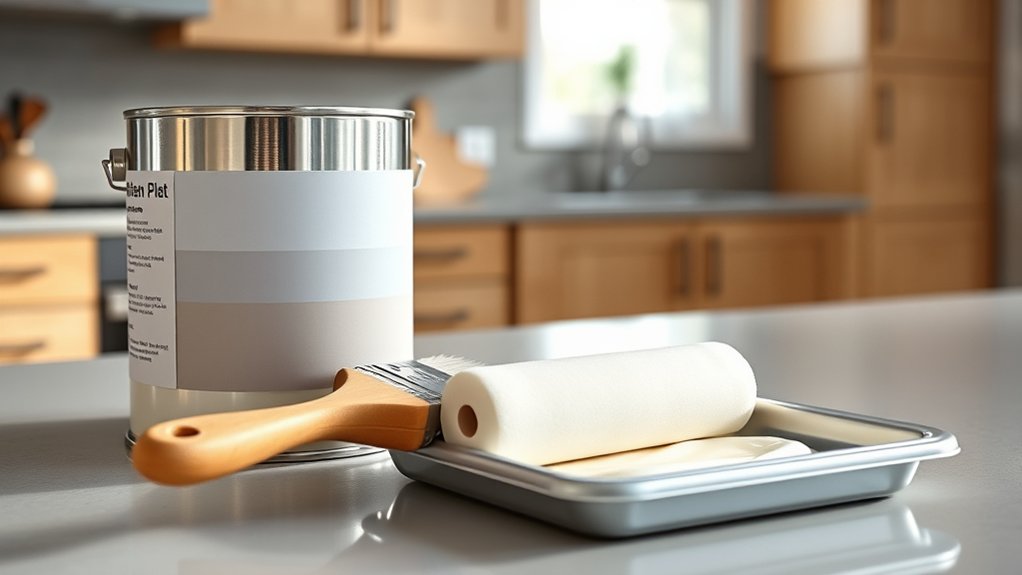
When selecting paint and tools for your kitchen cabinets, prioritize durability and a smooth finish to ensure your hard work stands the test of time. Opt for paints specifically designed for cabinets, like acrylic enamel or oil-based paint, which resist chipping and moisture.
Consider finish types. Semi-gloss or satin finishes offer easy cleaning and a subtle shine. Don’t forget color options: lighter shades brighten the space, while darker tones add drama.
Choose quality brushes and rollers to avoid streaks or bubbles. A high-density foam roller works well on smooth surfaces, while angled brushes help with detailed edges.
| Paint Type | Best For |
|---|---|
| Acrylic Enamel | Easy cleanup and durability |
| Oil-Based Paint | Superior adhesion and a smooth finish |
| Semi-Gloss Finish | Easy cleaning and a slight shine |
| Satin Finish | Subtle shine and hides imperfections |
Selecting the right combination ensures your cabinets look professional and last longer.
Apply Paint to Kitchen Cabinets Like a Pro in 3 Easy Steps
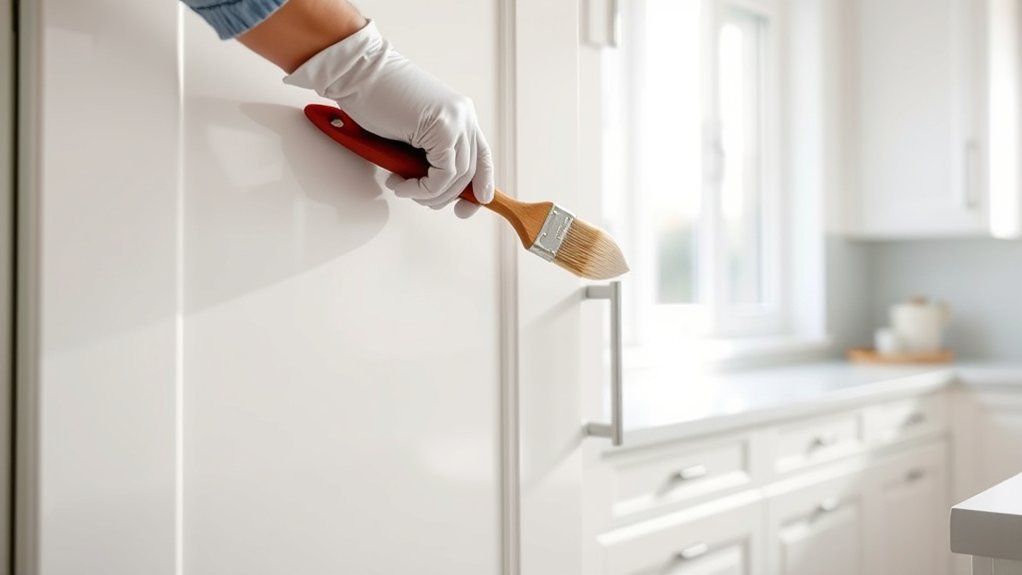
Although painting kitchen cabinets might seem intimidating, you can achieve a smooth, professional finish by following three straightforward steps. First, prepare your workspace by removing cabinet doors and hardware, then clean and lightly sand surfaces. This guarantees paint adheres well.
Next, apply a primer to create an even base, which improves color blending and durability. Use a high-quality brush or foam roller to avoid streaks.
Applying a primer ensures an even base and enhances paint durability with a smooth, streak-free finish.
Finally, when painting, master your brush techniques: use long, smooth strokes in the direction of the wood grain, and maintain a wet edge to prevent lap marks. Apply thin, even coats, allowing each layer to dry completely before adding another.
When blending colors, feather the edges gently to create a seamless shift, avoiding harsh lines. Following these steps, your kitchen cabinets will look professionally painted, boosting your kitchen’s appeal with a fresh, flawless finish.
Frequently Asked Questions
How Long Does the Paint Take to Fully Cure on Cabinets?
The paint on your cabinets usually takes about 24 to 48 hours to dry to the touch, but the full curing process can take up to 2 to 3 weeks. During this time, the paint hardens and becomes more durable.
You’ll want to avoid heavy use or cleaning for at least a week to prevent damage. Keep in mind, curing time varies with paint type, humidity, and temperature, so be patient for the best results.
Can I Paint Over Laminate Kitchen Cabinets?
You can definitely paint over laminate kitchen cabinets, but it’s not as easy as it sounds. Treat laminate prep like laying a strong foundation for a house.
Start by thoroughly cleaning and sanding the surface to help the paint stick. Use a primer designed for slick surfaces to guarantee paint compatibility.
Skipping these steps could make your paint peel, so take the time to prep properly for a long-lasting finish.
What Is the Best Way to Remove Cabinet Doors Safely?
The best way to remove cabinet doors safely is to first take off the cabinet hardware like knobs and hinges to avoid damage. Use a screwdriver to carefully unscrew the hinges while supporting the door with your other hand.
This prevents it from falling and injuring you or damaging the door. Once removed, lay the doors flat for paint preparation, ensuring a smooth, clean surface before you start painting.
How Do I Prevent Paint From Chipping on Cabinets?
To prevent paint from chipping on cabinets, remove the cabinet hardware before painting to avoid damage. Start by sanding the surface smoothly, then apply a quality primer.
Choose a durable paint finish, like semi-gloss or satin, which resists wear better. After painting, let it cure fully before reattaching the hardware or using the cabinets.
This careful prep and finishing will keep your cabinets looking fresh and chip-free longer.
Should I Use a Primer Before Painting Kitchen Cabinets?
Yes, you should use a primer before painting kitchen cabinets. Primer helps with color matching by creating a consistent base, especially if you’re switching from a dark to a light color or vice versa.
It also improves paint durability, making the finish last longer and resist chipping. Skipping primer can lead to uneven coverage and peeling, so don’t skip this step if you want a professional, long-lasting result.
Conclusion
Now that you’ve mastered how to paint kitchen cabinets in three simple steps, you’re ready to channel your inner Picasso. Your careful prep, paint choices, and expert application can transform your kitchen into a masterpiece.
Remember, great results take time, so enjoy the process and let each coat dry properly. With patience and care, your freshly painted kitchen cabinets will shine with every brushstroke.