How to Remove Kitchen Sink Drain in 10 Easy Steps
Stuck with a leaky or clogged kitchen sink drain? You’re not alone—many people struggle with removing the drain without making a mess or damaging the sink. The good news is that the right tools and a clear process can make the job much easier.
To remove your kitchen sink drain in 10 easy steps, first turn off the water and clear out the cabinet below.
Use an adjustable wrench or pliers to loosen slip nuts and disconnect the P-trap and drain pipes, catching water in a bucket.
Gently break the seal around the drain flange and remove old putty or sealant.
Take out the drain assembly, then clean and inspect all parts and the sink surface for damage or buildup.
Follow these steps carefully, and you’ll be ready to install a fresh drain or troubleshoot issues with confidence.
Key Takeaways
- Turn off water shutoff valves and clear the cabinet area for easy access and to prevent water leaks.
- Place a bucket under the drain pipes and use adjustable pliers to loosen and disconnect the P-trap and drain fittings.
- Use a putty knife to gently break and remove the seal around the drain flange without damaging the sink surface.
- Loosen and unscrew the locknut and drain flange from underneath and above the sink, respectively, while catching residual water.
- Clean old putty and debris from the sink surface thoroughly, ensuring it’s dry and smooth for proper reinstallation and sealing.
Why and When to Remove a Kitchen Sink Drain
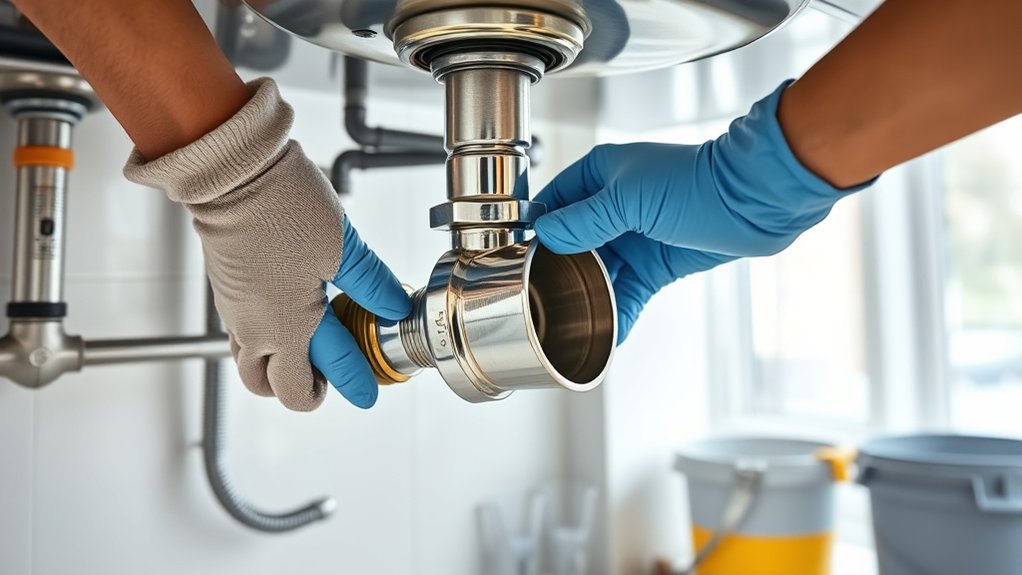
Although you might not remove your kitchen sink drain often, you’ll need to do it when it leaks, clogs persistently, or when you’re upgrading your plumbing. Leaks often occur because sealing methods, like plumber’s putty or rubber gaskets, have worn out or were improperly applied.
If you notice water pooling beneath your sink, it’s a clear sign to check the drain material and seals. Different drain materials, such as PVC, metal, or ABS, require specific handling to avoid damage during removal.
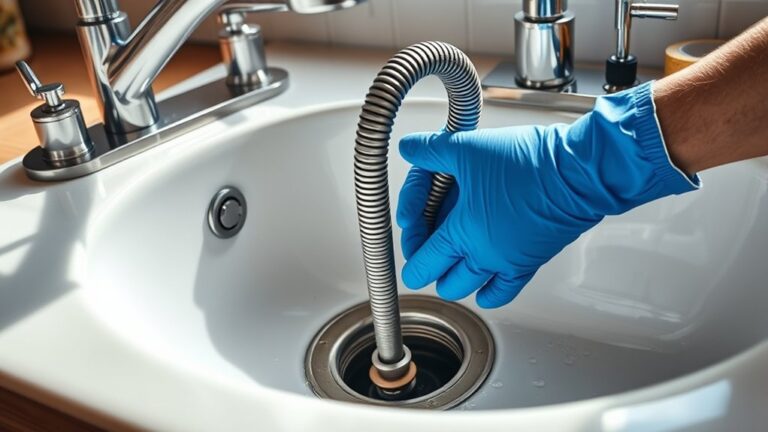
Persistent clogs that you can’t clear with a plunger or snake might mean buildup inside the drain itself. In that case, you may need to remove it for thorough cleaning or replacement.
Upgrading to a more durable drain material can also improve your sink’s longevity and performance. By understanding why and when to remove the drain, you’ll handle repairs efficiently and avoid unnecessary damage to your plumbing system.
Gather Tools for Removing a Kitchen Sink Drain
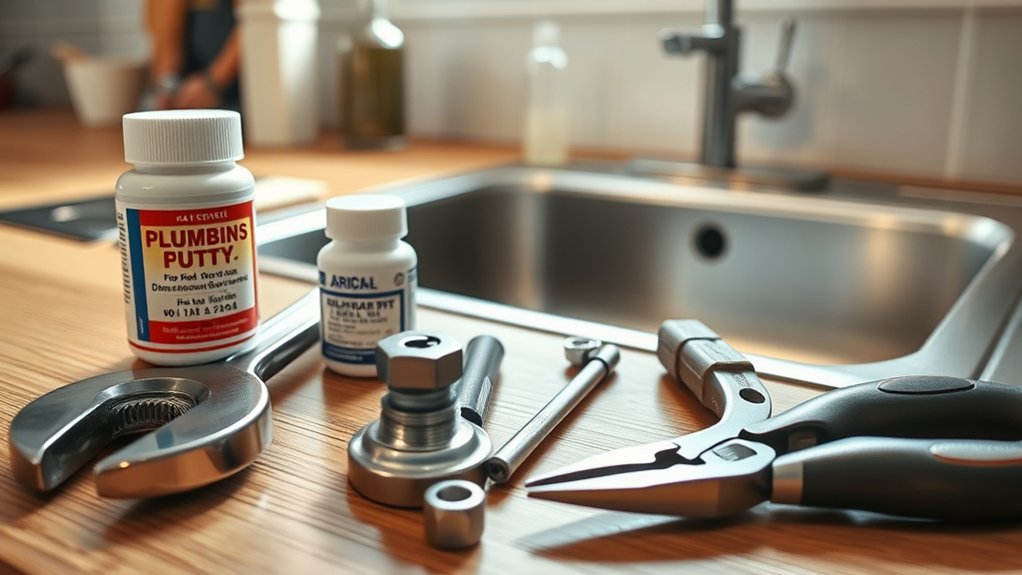
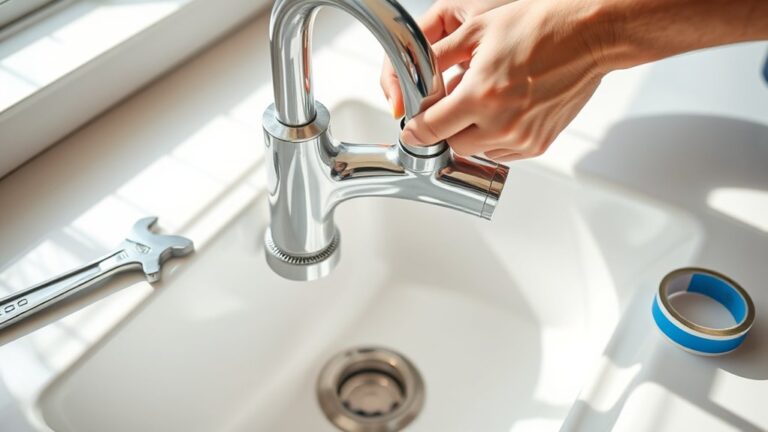
Before you start removing your kitchen sink drain, make sure you have all the necessary tools on hand to work efficiently and avoid frustration. You’ll need a pipe wrench or adjustable pliers to loosen and remove the drain fittings.
Gather the right tools like a pipe wrench or pliers before removing your kitchen sink drain for a hassle-free job
A bucket is essential to catch any water left in the pipes during the process. Have a flashlight nearby to see inside tight spaces under the sink clearly.
For drain cleaning or pipe replacement, plumber’s putty or silicone sealant helps create a watertight seal when reinstalling the drain. A screwdriver will also come in handy for removing clamps or brackets holding the drain assembly in place.
If you plan on cleaning the drain thoroughly, consider having a drain snake or auger ready to clear any blockages. Gathering these tools beforehand ensures you’re prepared for a smooth removal and sets you up for successful drain cleaning or pipe replacement.
Turn Off Water and Clear the Cabinet
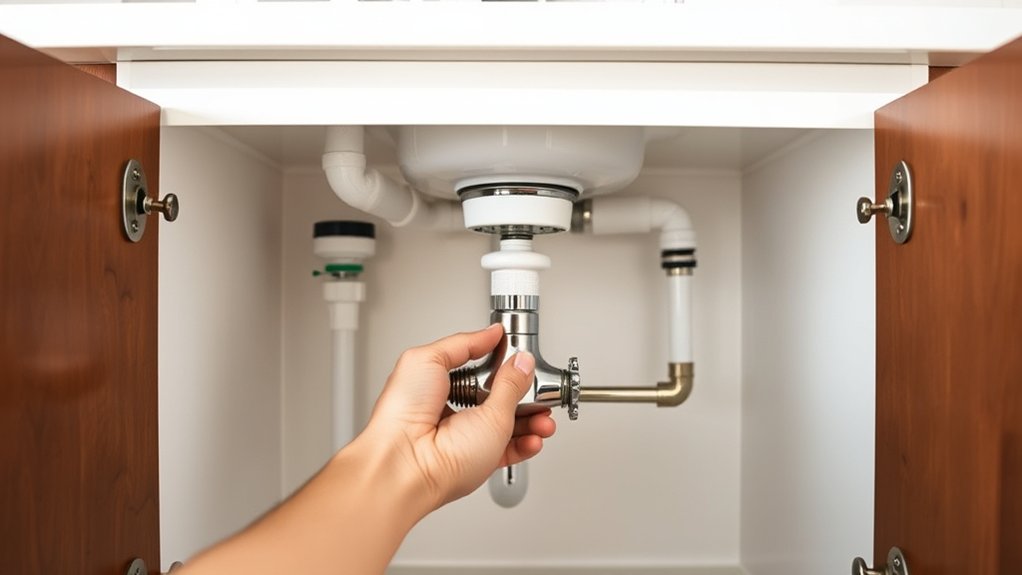
First, locate the water shutoff valve under your sink and turn it off to stop the water flow. Then, remove everything from the cabinet so you have plenty of room to work. This will make the removal process safer and easier.
Locate Water Shutoff Valve
Once you locate the water shutoff valve, turn it off to prevent any water flow while working on the drain. Typically, these valves are found under the sink, near the pipes, or along the wall.
Turning off the valve not only stops water but also helps with water conservation, avoiding unnecessary waste during your project. Make sure to check both hot and cold water valves.
Shutting them off reduces the risk of accidental leaks or pipe corrosion caused by water exposure while you work. If the valves are old or stiff, handle them gently to avoid damage.
Remove Items Under Sink
Since you’ve turned off the water supply, clear out any items stored under the sink to give yourself enough space to work safely and efficiently.
Remove cleaning supplies, trash bins, or any stored tools to avoid spills or accidents during your DIY repairs. Use basic cleaning techniques to wipe down the cabinet floor and walls, removing dust or grease that might have accumulated.
This not only creates a safer work environment but also helps you spot any leaks or damage early. Keeping the area tidy prevents you from losing small parts during the drain removal process.
Disconnect the Drain Pipes and P-Trap
Start by locating all the connections on the drain pipes and P-trap under your sink. Carefully loosen the fasteners to avoid damaging them. Keep a bucket nearby to catch any water that spills as you disconnect the pipes.
Identify Drain Pipe Connections
Before you can remove the kitchen sink drain, identify and disconnect the drain pipe connections, including the P-trap. Start by locating all pipe connections and drain fittings under the sink.
These parts connect the sink drain to the home’s plumbing system. Knowing each connection helps you avoid damage and ensures a smooth removal.
| Part | Function | Common Material |
|---|---|---|
| Tailpiece | Connects sink drain to trap | PVC or metal |
| P-trap | Prevents sewer gases | PVC or metal |
| Slip nuts | Secure pipe connections | Plastic or metal |
| Drain fittings | Join various pipes | PVC, metal, rubber |
| Trap arm | Connects P-trap to wall | PVC or metal |
Carefully inspect each part to prepare for disassembly.
Loosen P-Trap Fasteners
When you’re ready to remove the P-trap, loosen the slip nuts that secure it to the tailpiece and trap arm. Use adjustable pliers or your hands if the nuts aren’t too tight.
Turning them counterclockwise will release the connections, allowing you to disconnect the drain pipes carefully. This step is essential for proper drain cleaning, as it gives you full access to the trap where debris and clogs often accumulate.
During plumbing maintenance, loosening these fasteners ensures you can inspect and clean the pipes thoroughly. Take care not to damage the washers inside the slip nuts, as they create a watertight seal.
Once loosened, gently pull the P-trap away from the drain pipes to proceed with your next steps in the drain removal process.
Prepare for Water Drainage
How do you handle the water that remains in the pipes when disconnecting the drain? First, place a bucket or large bowl under the P-trap to catch any water that spills out.
Then, carefully loosen the slip nuts connecting the drain pipes and P-trap. As you disconnect, water will drain into your container, preventing messes.
This step is essential for effective drain maintenance and prevents clogs or leaks later. Once the pipes are free, wipe them down with a cloth using cleaning tips like a vinegar and baking soda mix to clear residue and odors.
Properly preparing for water drainage ensures a smooth removal process and keeps your kitchen sink drain in good condition for reinstallation or replacement.
Remove Plumber’s Putty or Sealant From the Drain Flange
Since the drain flange is sealed tightly with plumber’s putty or sealant, you’ll need to carefully scrape away the material to free the flange without damaging the sink surface.
Start by using a putty knife or a plastic scraper to gently lift and peel off as much of the sealant as possible. Avoid metal tools that could scratch or chip your sink.
For stubborn sealant removal, apply a bit of warm water or a mild solvent designed for sealants to soften the putty, making it easier to scrape off.
Work slowly around the drain flange, ensuring you remove all residue to prevent leaks or future sealing issues. Take your time during this step, as thorough sealant removal is essential for smooth drain flange removal and proper resealing later.
Clean the area well before proceeding to the next step, ensuring the surface is dry and free of debris.
Loosen and Remove the Drain Flange
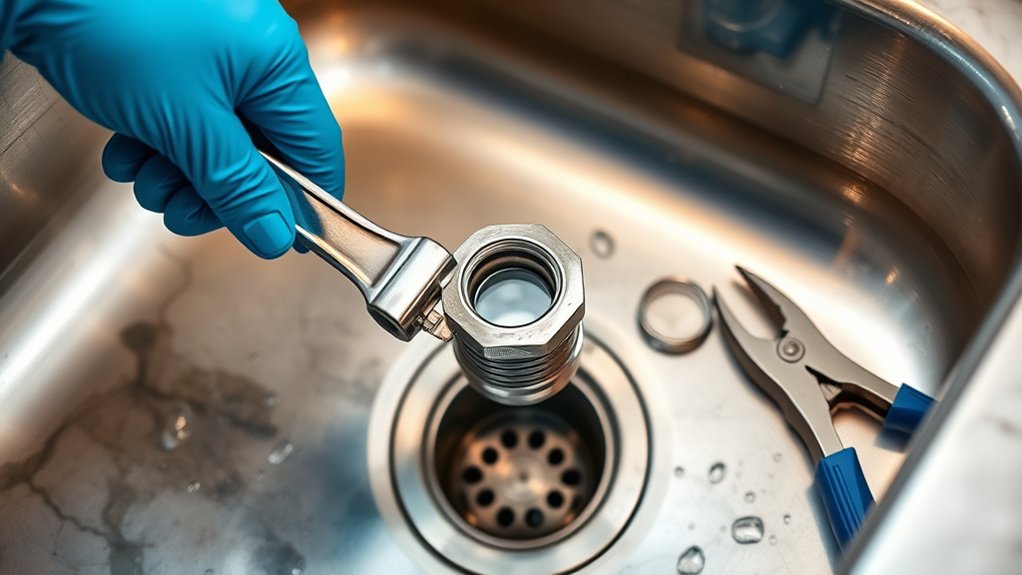
To loosen and remove the drain flange, you’ll need a few basic tools, such as a wrench and pliers. First, loosen the locknut underneath the sink. Then, carefully unscrew the flange from above. Follow these steps closely to avoid damaging the sink or plumbing.
Tools Needed
Before you start loosening and removing the drain flange, gather the right tools to make the job easier and prevent damage. Having the proper equipment is essential, especially if you’re exploring alternative plumbing setups or focusing on efficient sink maintenance. Here’s what you’ll need:
- Basin wrench – This tool reaches tight spaces beneath the sink, letting you grip and turn the locknut without strain.
- Adjustable pliers – Useful for loosening the drain flange and gripping stubborn parts.
- Putty knife – Helps break the seal around the flange gently without scratching the sink surface.
With these tools, you’ll avoid unnecessary damage and handle alternative plumbing configurations smoothly during your sink maintenance routine.
Step-by-Step Removal
Although removing the drain flange might seem tricky, you can handle it easily by following a few clear steps. First, use a wrench to loosen the slip nuts under the sink.
Then, carefully unscrew the drain flange from the sink basin. This step is essential for thorough drain cleaning or a pipe replacement. Keep a bucket handy to catch any residual water.
Once the flange is free, inspect the area for any buildup or damage.
| Step | Tool Needed | Tip |
|---|---|---|
| Loosen nuts | Adjustable wrench | Turn counterclockwise gently |
| Unscrew flange | Hands or pliers | Grip firmly, avoid damage |
| Remove flange | None | Pull straight up |
| Inspect area | Flashlight | Check for clogs or cracks |
| Clean or replace | Cleaning brush or new parts | Ensure proper fit |
Take Out the Drain Assembly From Underneath the Sink
Once you’ve cleared the area under the sink, you’ll find the drain assembly ready to be removed. This step requires careful handling to avoid damage and verify tool compatibility.
Follow these steps:
- Loosen the Locknut: Use an adjustable wrench or pliers suited for your drain assembly’s size. Make sure your tools fit properly to avoid slipping or rounding off the nut.
- Disconnect the Drain Pipe: Once the locknut is loose, gently twist and pull the drain pipe away from the assembly. Be prepared for any residual water that might spill out.
- Remove the Drain Assembly: With the locknut and pipe detached, you can now pull the drain assembly free from underneath the sink.
Hold the assembly firmly and work it out carefully to prevent scratching the sink or damaging any seals.
Clean and Inspect the Drain Parts and Sink Surface
After removing the drain assembly, you’ll want to clean all the parts thoroughly and inspect the sink surface for any damage or buildup. Use a brush and mild detergent to remove grime from the drain components, making sure every crevice is free of residue.
Thoroughly clean all drain parts and inspect the sink surface for damage or buildup before reassembly.
This drain cleaning step helps prevent future clogs and guarantees a proper seal when you reinstall or replace parts.
Next, check the sink surface carefully. Look for cracks, mineral deposits, or old sealant remnants that could interfere with a tight fit. Removing any buildup is vital, as it affects the drain’s sealing ability.
If you notice any damage, you might need to address it before moving forward.
Proper drain cleaning and inspection set the stage for effective sealant application, which is necessary to prevent leaks. Taking time here saves you from potential water damage and guarantees your kitchen sink functions smoothly.
Prep the Sink Surface for a New Drain Installation
Before installing your new drain, make sure the sink surface is completely clean and dry so the sealant adheres properly. Proper preparation helps create a tight, leak-free seal. Follow these steps, use effective cleaning techniques, and keep safety precautions in mind:
- Remove Residue and Debris: Use a non-abrasive cleaner and a soft cloth or sponge to remove old putty, grime, and soap scum. Avoid harsh chemicals that could damage the sink surface or irritate your skin. Wear gloves to protect yourself.
- Rinse Thoroughly: After cleaning, rinse the area with warm water to wash away any remaining cleaner. This prevents residue from interfering with the new sealant.
- Dry Completely: Use a lint-free cloth to dry the surface thoroughly. Moisture can weaken the seal and cause leaks, so check for damp spots before proceeding.
Avoid Common Mistakes When Removing the Kitchen Sink Drain
Although removing a kitchen sink drain might seem straightforward, skipping key steps or using the wrong tools can lead to damage or leaks. To guarantee a smooth drain replacement, avoid these common mistakes.
Don’t force parts apart. Use penetrating oil if fittings are stuck. Avoid using excessive tools that can scratch or crack the sink surface.
If you encounter unusual plumbing, consider alternative plumbing options rather than forcing old parts.
Here’s a quick guide to avoid issues:
| Mistake | Solution |
|---|---|
| Forcing stuck fittings | Apply penetrating oil, wait, then loosen |
| Using incorrect tools | Use adjustable wrenches or plumber’s tools |
| Ignoring alternative plumbing | Assess options before proceeding |
Frequently Asked Questions
What Type of Plumber’s Putty Is Best for Kitchen Sinks?
You’ll want plumber’s putty that’s specifically designed for kitchen sinks, usually a non-hardening, pliable type that creates a tight seal around the drain. Look for drain sealants labeled as safe for kitchen use to avoid odors or stains.
While plumber’s tape is great for sealing threaded connections, it’s not ideal for sink drains. Using the right plumber’s putty guarantees a leak-free, durable seal that you can easily remove later if needed.
How Do I Prevent Leaks After Installing a New Drain?
To prevent leaks after installing a new drain, you need to focus on proper sealant application. Make sure you apply plumber’s putty or silicone sealant evenly around the drain’s flange before tightening it.
Tighten the connections securely but don’t overtighten, or you risk damaging the seal. After installation, check for leaks by running water and inspecting all joints.
Proper leak prevention depends on a good seal and careful tightening.
Can I Remove a Kitchen Sink Drain Without Shutting off Water?
You shouldn’t remove a kitchen sink drain without shutting off the water, especially if you have a dishwasher connection or garbage disposal attached. Even if you disconnect these appliances, water can still flow and cause leaks or damage.
Turning off the water supply guarantees safety and prevents messes. Always disconnect the dishwasher connection and garbage disposal properly before removal to avoid complications and make the process smoother.
What Materials Are Kitchen Sink Drains Typically Made Of?
Kitchen sink drains are usually made of metal or plastic, each chosen for its durability and corrosion resistance. You might find stainless steel, known for its strength and rust-resistant qualities, or brass, which offers excellent corrosion resistance.
PVC plastic is also common because it’s lightweight and resists corrosion well. When you think about these materials, imagine a shield protecting your plumbing from the wear and tear of daily use: reliable and long-lasting.
How Long Does It Usually Take to Replace a Kitchen Sink Drain?
You’ll usually spend about 30 to 60 minutes replacing a kitchen sink drain. It depends on how accessible the pipes are and if there’s any pipe corrosion slowing you down.
If you’ve done some drain cleaning recently, it might speed things up since grime won’t get in your way. Just make sure you have the right tools, and you’ll finish the job without much hassle.
Conclusion
Just as you turn off the water and clear your cabinet, you’ll realize removing your kitchen sink drain isn’t as intimidating as it seemed. With the right tools and a bit of patience, the old drain comes loose like a puzzle piece falling into place.
By following these steps, you’re not just fixing a sink—you’re making space for a fresh start, one simple twist at a time. Ready to plunge in and learn how to remove a kitchen sink drain?