How to Clean Painted Kitchen Cabinets in 7 Easy Steps
Greasy fingerprints, food splatters, and everyday grime can make painted kitchen cabinets look worn fast. You’re not alone—many people struggle to clean them without damaging the paint, which is why choosing gentle products matters.
To clean your painted kitchen cabinets in 7 easy steps, start by removing all items and dusting with a soft cloth or brush.
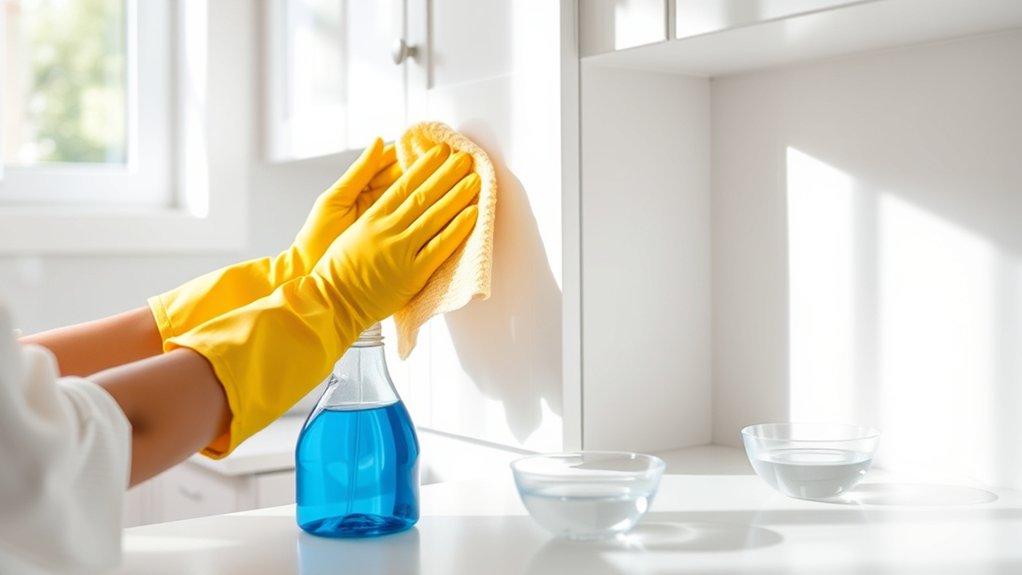
Mix warm water with mild dish soap for a gentle cleaning solution.
Wipe cabinets with a soft sponge, focusing on grease and stains using baking soda paste or vinegar spray if needed.
Rinse and dry thoroughly to prevent moisture damage.
Keep up regular maintenance with gentle care to preserve the paint’s vibrancy and finish.
Learn how to keep them looking their best longer.
Key Takeaways
- Remove all items and use a soft cloth or sponge with mild soap and warm water to gently clean painted cabinets.
- Wipe in the direction of the paint to avoid streaks and use a soft-bristle brush for corners and crevices.
- Spot-treat stains with a baking soda paste or vinegar-water spray, then rinse thoroughly with a clean damp cloth.
- Dry cabinets immediately after cleaning using a soft, dry cloth to prevent moisture damage and water spots.
- Maintain regular cleaning and avoid abrasive tools to keep painted cabinets vibrant and free from scratches or dullness.
Get the Right Supplies for Cleaning Painted Cabinets
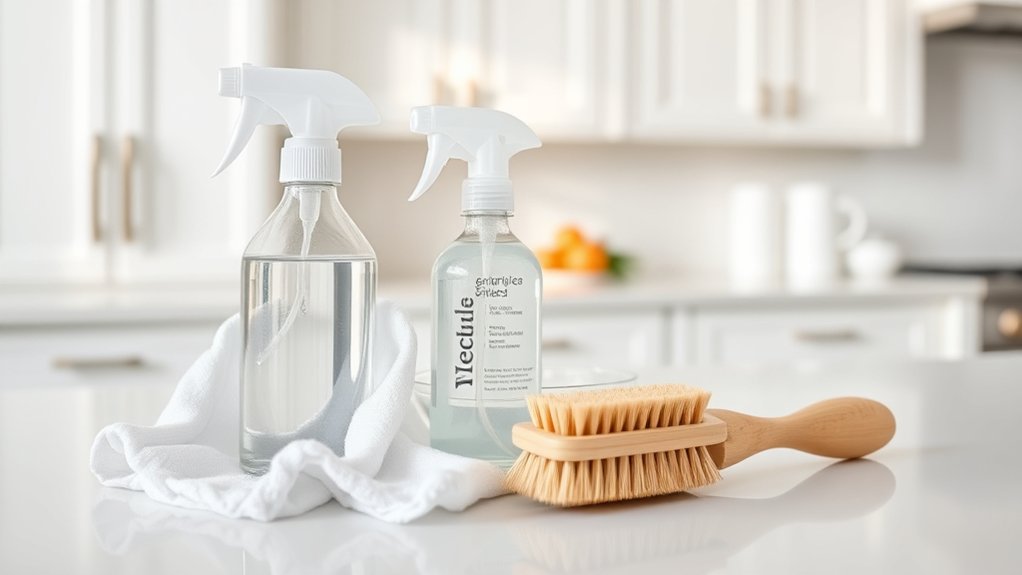
Before you begin cleaning, gather the essential supplies to make the process efficient and safe for your painted cabinets. You’ll need a gentle, non-abrasive cleaner to avoid damaging the paint finish.
Avoid harsh chemicals that could cause paint removal or harm your cabinet refinishing efforts. Grab a soft sponge or microfiber cloth to clean without scratching the surface.
Have a bucket of warm water ready for rinsing. If grease buildup is stubborn, a mild degreaser designed for painted surfaces works best.
Keep a soft-bristle brush on hand for crevices and corners. Avoid steel wool or abrasive scrubbers that can strip paint.
Also, consider wearing gloves to protect your hands during cleaning. Having these supplies ready guarantees you won’t risk damaging your cabinets or undoing any recent cabinet refinishing work.
With the right tools, you’re set to clean effectively while preserving your cabinets’ painted finish.
Gently Remove Dust and Debris
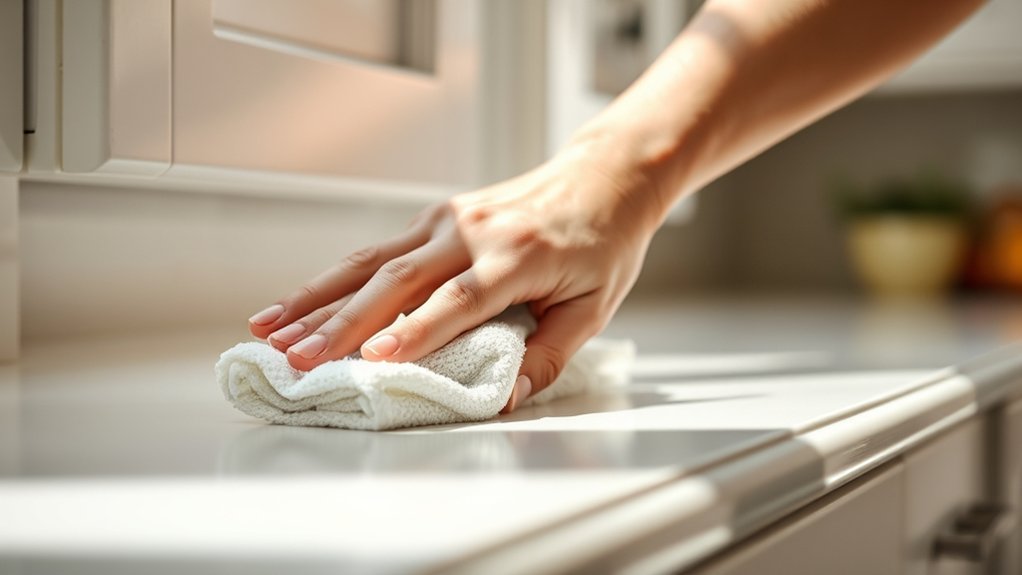
Once you have your supplies ready, start by gently removing dust and debris from your painted cabinets to prevent scratching during cleaning. Dust removal is essential to keep the paint finish smooth and intact.
Begin with a soft microfiber cloth or a feather duster to lift surface dust without applying pressure. For corners and crevices, use a soft-bristled brush to ensure thorough debris clearing without damaging the paint.
Avoid abrasive tools that can scratch or dull the finish.
Here’s a quick guide for effective dust removal and debris clearing:
- Use a dry microfiber cloth for light dusting
- Employ a feather duster for hard-to-reach areas
- Apply a soft-bristled brush to clean grooves and edges
- Gently shake off loose debris before wiping
- Avoid harsh scrubbing or abrasive materials
Following these steps prepares your cabinets for the next cleaning phase without risking damage.
Make a Gentle, Paint-Safe Cleaning Solution
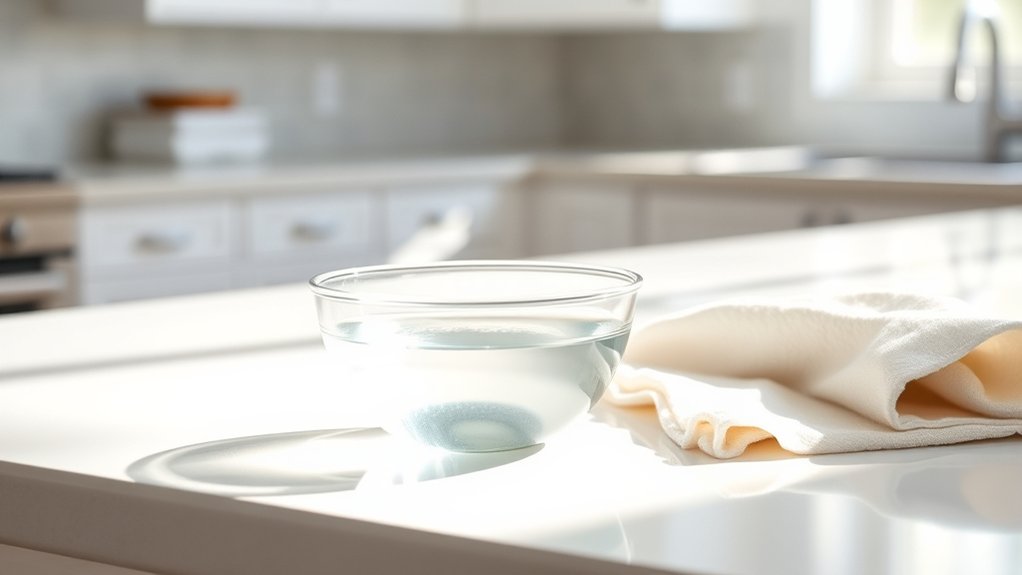
Choose cleaning ingredients that are gentle on painted surfaces, such as mild dish soap and warm water. Mix the solution carefully so it’s effective without being too harsh. This approach helps protect your cabinets while removing dirt and grime.
Choosing Safe Cleaning Ingredients
Although it might be tempting to reach for strong commercial cleaners, choosing gentle, paint-safe ingredients protects your cabinets’ finish while effectively removing dirt and grime.
Avoid harsh chemicals and abrasive scrubbing, which can damage the paint and leave your cabinets looking dull. Instead, opt for these safe options:
- Mild dish soap mixed with warm water
- White vinegar diluted in water for natural disinfecting
- Baking soda paste for tough spots (use sparingly)
- A few drops of gentle essential oils for fresh scent
- Soft microfiber cloths or sponges to prevent scratches
Mixing The Solution Properly
Because the right mixture guarantees effective cleaning without harming your cabinets, you’ll want to combine ingredients carefully. Use proper mixing techniques to assure your cleaning solution is gentle yet effective.
Stick to recommended cleaning solution ratios to protect your painted surfaces while removing grime.
Here’s a simple guide to mixing your solution safely:
| Ingredient | Amount | Purpose |
|---|---|---|
| Warm water | 1 gallon | Dilutes and cleans |
| Mild dish soap | 1 tablespoon | Cuts grease gently |
| White vinegar | 1/4 cup | Disinfects, removes odor |
Mix water and soap first, then add vinegar slowly. Stir gently to avoid foaming.
This balanced solution cleans without stripping paint or leaving residue.
Wipe Down Painted Cabinets With Soft Cloths or Sponges
When wiping down your painted cabinets, use a soft cloth or sponge to protect the finish. Avoid abrasive materials, as they can scratch or damage the paint. Gentle cleaning tools will help keep your cabinets looking fresh and smooth.
Choose Gentle Cleaning Tools
Start with two or three soft cloths or sponges to clean your painted kitchen cabinets gently. Avoid scrubbing brushes and heavy duty sponges, which can damage the paint finish.
Instead, pick tools that protect the surface while effectively removing dirt and grease. Here’s what you should use:
- Microfiber cloths for gentle, streak-free cleaning
- Soft sponges that won’t scratch or peel paint
- Non-abrasive scrub pads for light scrubbing
- Lint-free towels to prevent residue
- Soft-bristle brushes for corners and crevices
Choosing these gentle tools helps preserve your cabinets’ smooth finish and color. You’ll clean efficiently without risking scratches or dullness.
Keep your kitchen cabinets looking fresh by always opting for soft, non-abrasive materials during every cleaning session.
Avoid Abrasive Materials
Although it might be tempting to use tougher materials for stubborn stains, you should always wipe down painted cabinets with soft cloths or sponges. Harsh scrubbers can easily scratch and damage the paint, leading to a dull, worn look.
Abrasive cleaners might seem effective at first, but they can strip away the cabinet’s finish over time, causing costly repairs. Instead, gently clean your cabinets with a damp microfiber cloth or a soft sponge to protect the paint while removing dirt and grime.
Remove Grease and Stubborn Stains Without Damaging Paint
Since painted kitchen cabinets often attract grease and stubborn stains, tackling these spots carefully is essential to avoid damaging the paint. You want to avoid harsh chemicals that can strip paint or abrasive scrubbing that wears down the finish. Instead, try gentle yet effective methods to keep your cabinets looking fresh.
Here’s how you can remove grease and stains without harming your paint:
- Mix warm water with mild dish soap and gently wipe the surface using a soft cloth.
- Use a baking soda paste (baking soda + water) to spot-treat stubborn stains. Apply gently and rinse well.
- Avoid harsh solvents that risk paint removal or discoloration.
- Clean hardware separately by soaking knobs and handles in soapy water. Dry them fully before reinstalling.
- For tough grease, try a vinegar and water solution sprayed lightly, then wiped clean.
Following these steps keeps your painted cabinets spotless and preserves their finish.
Dry and Polish Cabinets to Restore Shine
After carefully removing grease and stains, you’ll want to dry your painted cabinets thoroughly to prevent moisture damage. Use a clean, soft cloth to wipe down every surface, paying close attention to corners and edges where water can linger.
Once dry, it’s time to restore the shine. Gently polish the cabinets with a microfiber cloth or a soft polishing pad designed for painted surfaces. This step not only improves the appearance but also adds a protective layer that can extend the life of your paint.
If you notice any worn spots or minor scratches during this process, consider cabinet refinishing or quick paint touch ups to keep your cabinets looking fresh. These fixes help maintain a smooth, vibrant finish and prevent further wear.
Maintain Painted Cabinets With Gentle Cleaning
To keep your painted kitchen cabinets looking their best, clean them gently and regularly. Proper cleaning helps prevent buildup that can dull the finish or cause damage.
Clean painted kitchen cabinets gently and regularly to prevent buildup and maintain their finish.
Choose a routine that suits your kitchen’s use, and avoid harsh chemicals that can wear down the paint.
Here are some tips for maintaining your cabinets with gentle cleaning:
- Use a soft microfiber cloth to wipe down surfaces.
- Mix mild dish soap with warm water for a gentle cleaning solution.
- Avoid abrasive scrubbers or sponges that can scratch the paint.
- Dry cabinets immediately after cleaning to prevent moisture damage.
- Clean spills promptly to minimize stains and deterioration.
Following these simple steps will help your painted cabinets stay vibrant and well-preserved. Regular care can extend their lifespan and keep your kitchen looking fresh.
Frequently Asked Questions
Can I Use a Pressure Washer on Painted Kitchen Cabinets?
You shouldn’t use a pressure washer on painted kitchen cabinets because it can cause serious paint damage. The high-pressure water can strip away the paint, chip the surface, and even damage the wood underneath.
Instead, you should clean them gently with mild soap and a soft cloth. Using a pressure washer might seem quick, but it risks ruining your cabinets’ finish and costing you more in repairs or repainting.
How Often Should I Repaint My Kitchen Cabinets?
When it comes to repainting your kitchen cabinets, don’t bite off more than you can chew. Usually, every 5 to 10 years is sufficient.
The frequency depends on the cabinet material and how well you use painting techniques. For wood cabinets, you might need touch-ups sooner, especially in high-traffic areas.
Proper prep and quality paint can extend the life of your finish. Keep an eye out for chips or fading to know when it’s time for a fresh coat.
What Type of Paint Is Best for Kitchen Cabinets?
You’ll want to choose a paint finish that’s both durable and easy to clean for your kitchen cabinets. Semi-gloss or satin finishes work best because they offer excellent paint durability and resist stains, making your cabinets look fresh longer.
These finishes handle frequent wiping without chipping or dulling. Avoid flat or matte paints since they’re less durable and harder to clean, which isn’t ideal for kitchen cabinets exposed to moisture and grease.
Can I Clean Cabinets With a Steam Cleaner?
You can clean cabinets with a steam cleaner, but you need to be cautious. Steam cleaning techniques work well to remove grease and grime without harsh chemicals, but you must follow safety precautions.
Avoid excessive moisture, as it can damage painted surfaces or cause warping. Use a low-pressure setting and keep the steam moving continuously.
Always test a small area first to verify the paint holds up, protecting your cabinets while cleaning effectively.
How Do I Fix Chipped Paint on Kitchen Cabinets?
When chipped paint on your kitchen cabinets feels like a thorn in your side, don’t fret! First, remove the cabinet hardware to get a smooth surface. Lightly sand the chipped area, wipe clean, and apply a paint touch-up that matches your cabinet color.
Let it dry, then reinstall the hardware. This quick fix will have your cabinets looking fresh again, hiding those chips like they never existed.
Conclusion
Now that you know how to clean painted kitchen cabinets without damaging the finish, you’ll see how easy it is to keep them looking fresh and bright. Gentle solutions work best because they protect the paint while removing grime.
By following these simple steps regularly, you’ll maintain that beautiful shine and enjoy your kitchen’s charm for years to come. Cleaning painted kitchen cabinets doesn’t have to be complicated!