How Can You Paint Kitchen Cabinets Without Sanding in 7 Easy Steps?
Painting kitchen cabinets can transform your space, but the thought of sanding for hours is enough to make anyone hesitate. You’re not alone—many people want a fresh, updated look without the dust, mess, and exhausting prep work.
To paint your kitchen cabinets without sanding, start by removing all hardware and thoroughly cleaning to remove grease and dirt. Next, apply a bonding primer suited for smooth surfaces to guarantee paint sticks well.
Use water-based acrylic or low VOC alkyd paint in thin, even coats, allowing each to dry fully.
Finish with a clear sealer for durability and reinstall hardware only once everything’s dry.
Follow these steps carefully, and you’ll be ready to improve your cabinets with confidence and ease.
Key Takeaways
- Remove all cabinet hardware and thoroughly clean surfaces with degreasers or mild soap to ensure proper paint adhesion without sanding.
- Apply a bonding or adhesion primer designed for non-sanded surfaces to create a smooth, durable base for paint.
- Use high-quality water-based acrylic latex or low VOC alkyd paint, applying 2-3 thin, even coats for optimal coverage.
- Maintain a wet edge and allow each coat to fully dry before applying the next to prevent streaks and peeling.
- Finish with a clear polyurethane sealer and reinstall hardware only after the paint is completely dry for lasting protection.
How to Paint Kitchen Cabinets Without Sanding: What You Need to Know
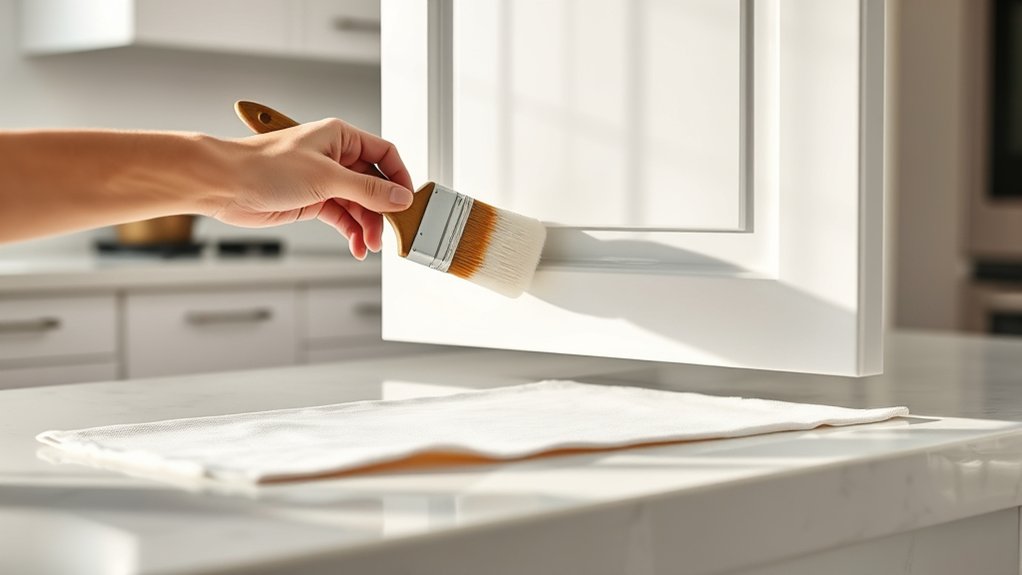
Although sanding is a common step in painting kitchen cabinets, you can skip it if you prepare the surface properly. The key is to focus on creating a smooth, clean base that allows the paint to adhere well.
Skipping sanding is possible by properly preparing a smooth, clean surface for better paint adhesion.
Before you start, remove all cabinet hardware to avoid getting paint on knobs or hinges. This also helps you visualize how new hardware might complement your color coordination plans.
When choosing paint, pick a color that works harmoniously with your kitchen’s existing palette and hardware finishes. Using a quality primer designed for non-sanded surfaces will improve adhesion and durability.
Make sure you apply thin, even coats to prevent drips and achieve a professional look. By carefully prepping and selecting your paint and hardware, you can transform your kitchen cabinets without the mess and effort sanding demands, all while maintaining a stylish, coordinated appearance.
How to Clean and Degrease Cabinets for Better Paint Adhesion
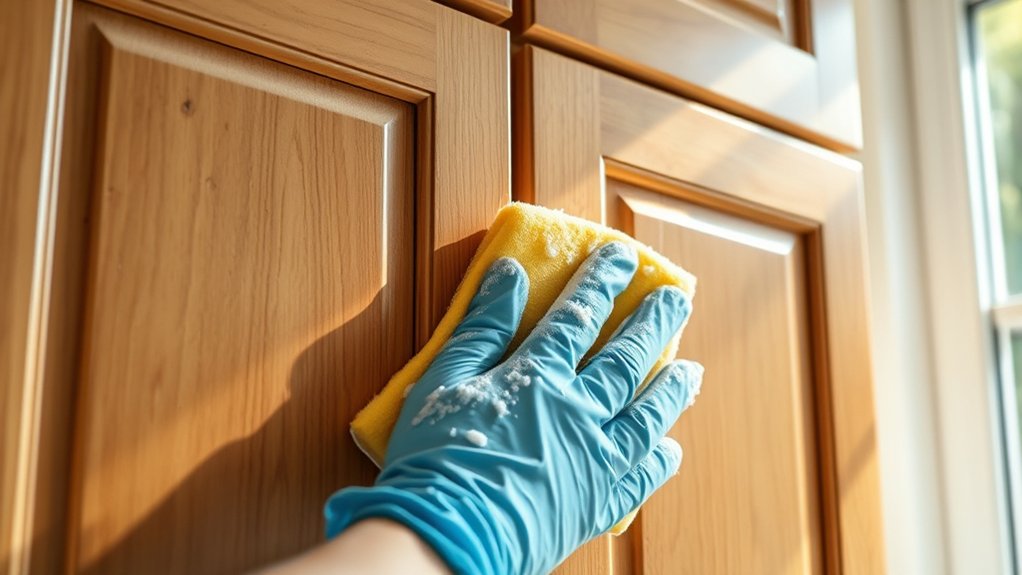
Start by wiping down your cabinets with a cleaning solution that cuts through grease and grime. A household degreaser or a mixture of warm water and mild dish soap works well. Make sure the surface is completely clean before painting, since removing built-up residue helps the paint adhere—even if you’re skipping sanding.
Effective Cleaning Solutions
Before applying any paint, you need to thoroughly clean and degrease your kitchen cabinets to guarantee the paint sticks properly. Start by removing all cabinet hardware—knobs, handles, and hinges—so you can clean every surface without obstruction.
Use a reliable cleaning solution designed to cut through grease and grime, ensuring no residue remains. Pay special attention to corners and edges where dirt often builds up.
This step is vital not only for adhesion but also for achieving a smooth finish that complements your paint color selection. Skipping this can cause peeling or uneven coverage.
Once cleaned, let your cabinets dry completely before moving on. Proper preparation makes all the difference when painting without sanding, giving you professional-looking results without the hassle.
Degreasing Techniques Overview
When preparing to paint your kitchen cabinets, thoroughly degreasing them guarantees the paint adheres properly and lasts longer. Degreasing is an essential step in surface preparation that removes oils, grime, and residues that interfere with paint durability.
Start by using a strong degreaser or a mixture of warm water and trisodium phosphate (TSP). Apply the solution with a sponge or cloth, scrubbing areas prone to grease buildup like around handles and edges.
Rinse with clean water and let the cabinets dry completely before painting. Skipping this step can cause peeling or bubbling paint, undermining your efforts to avoid sanding.
Proper degreasing ensures your paint job not only looks smooth but also stands up to daily kitchen wear and tear.
How to Choose the Best Primer for Painting Cabinets Without Sanding
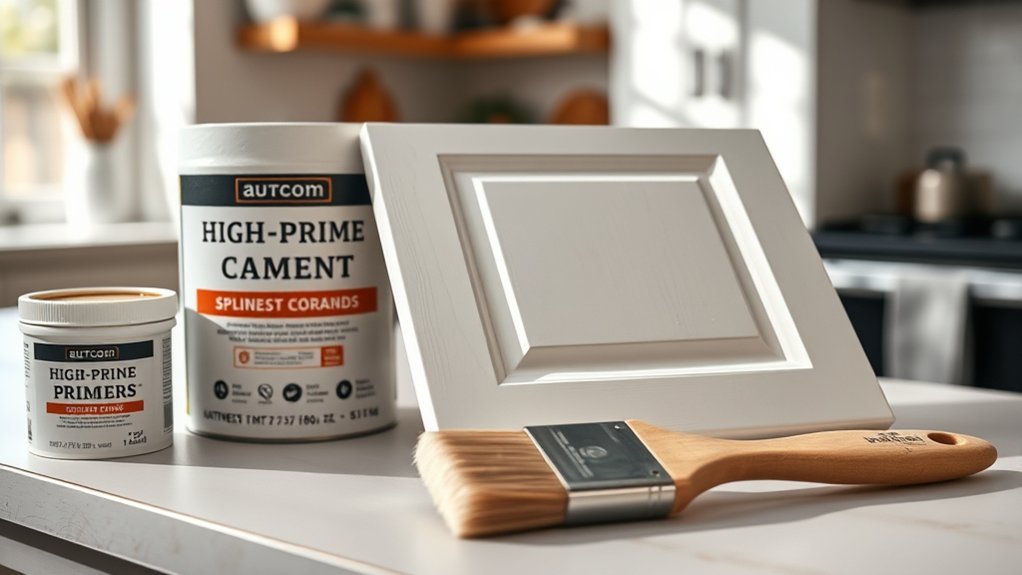
Although skipping sanding saves time, choosing the right primer becomes essential to guarantee your paint adheres properly and lasts. You want a primer specifically designed for glossy or non-sanded surfaces, such as bonding or adhesion primers. These create a strong grip without the need for roughening the surface.
Consider your cabinet styles too. Smooth, flat panels may need a different primer than textured or ornate ones.
Also, think about color coordination when selecting a primer. If you’re painting light colors over dark cabinets, a tinted primer can prevent the old color from bleeding through, giving you a cleaner finish.
Conversely, white or neutral primers work well under most shades. Make sure the primer is compatible with your paint type to avoid peeling or chipping later.
What Paint Types Work Best for Cabinets Without Sanding
Since you’re skipping sanding, selecting the right paint is essential to guarantee it adheres well and withstands daily wear. For cabinets without sanding, water-based acrylic latex paint is an excellent choice.
It offers strong adhesion, dries quickly, and resists chipping, making it perfect for kitchen cabinets. Another option is alkyd paint, which is oil-based but now formulated with low VOCs.
Alkyd paints provide a smooth, durable finish and self-level well, reducing brush marks.
When choosing your paint color, consider color coordination with your kitchen’s overall look and cabinet hardware. Lighter tones can make your space feel larger, while darker shades add drama and sophistication.
Also, pick a paint finish that matches your hardware style. Matte or satin finishes work well with modern hardware, while semi-gloss or gloss complements classic designs.
This thoughtful approach ensures your cabinets look polished without sanding, enhancing your kitchen’s aesthetic and durability.
How to Apply Primer and Paint Smoothly Without Sanding
Choose a primer that bonds well to your cabinet surface so you can achieve a smooth finish without sanding. Apply it with a high-quality brush or foam roller to minimize streaks and brush marks.
Once the primer has dried, apply the paint in light, even strokes. This will help keep the surface sleek and flawless.
Choosing The Right Primer
Choosing the right primer is essential when you want a smooth, long-lasting finish without sanding your kitchen cabinets. You’ll want a primer that promotes excellent adhesion to prevent peeling and chipping over time.
Look for a bonding primer specifically designed for slick or glossy surfaces, as it boosts paint durability. Also, consider color matching the primer to your topcoat, especially if you’re switching from dark to light shades or vice versa.
This helps reduce the number of paint coats needed, saving you time and effort. Water-based primers are great for ease of use and quick drying, while oil-based primers offer superior stain blocking and durability.
Picking the right primer sets the foundation for a flawless, professional-looking cabinet makeover without the hassle of sanding.
Techniques For Smooth Application
Even without sanding, you can achieve a smooth, professional finish by applying primer and paint carefully and methodically. Start by selecting a high-quality brush designed for smooth finishes, and use long, even strokes to avoid brush marks.
When applying primer, work in thin layers, allowing each coat to dry fully. Once primed, focus on color coordination by choosing paint shades that complement your kitchen’s overall palette, enhancing cohesion and style.
Apply paint using the same gentle brush techniques, maintaining a wet edge to prevent streaks or uneven texture. Remember to avoid overloading your brush, as excess paint can cause drips.
Taking your time with each layer ensures a flawless, durable finish without the need for *guarantee*.
How to Finish and Protect Your Cabinets After Painting Without Sanding
Although you’ve skipped sanding, you can still achieve a durable finish by applying a protective topcoat designed for painted surfaces. Choose a clear polyurethane or water-based sealer that won’t yellow over time.
Apply it evenly with a high-quality brush or foam applicator, making sure to cover edges and corners. Let it dry fully between coats, applying two to three layers for maximum protection.
Before finishing, consider how color matching plays a role if you plan to replace or reinstall cabinet hardware. New hardware should complement your cabinet’s refreshed look, so choose finishes that harmonize with your paint color.
Removing hardware before painting makes application smoother. When reattaching it, check that the screws don’t peel the finish. If needed, use a touch-up brush to fix any nicks around the hardware areas.
This careful finishing step helps ensure your cabinets not only look great but also stay protected and functional without sanding.
Common Mistakes to Avoid When Painting Kitchen Cabinets Without Sanding
Protecting your freshly painted cabinets is important, but avoiding common mistakes during the painting process itself can save you time and frustration. First, don’t skip cleaning the cabinets thoroughly; grease and dirt prevent paint from adhering properly.
Thoroughly cleaning cabinets before painting ensures better paint adhesion and saves time and frustration.
Also, avoid using the wrong type of paint. Choose one designed for cabinetry to assure durability without sanding.
When selecting your paint color, think about color coordination with your kitchen’s overall design. Picking a shade that clashes with your walls or countertops can throw off the entire aesthetic.
Another mistake is neglecting the cabinet hardware. Remove all knobs and handles before painting to avoid smudges and guarantee a smooth finish. Reinstall hardware only after the paint has fully dried.
Lastly, avoid rushing between coats. Give each layer enough time to dry, or you risk peeling and uneven texture. Being patient and precise will help your cabinets look professionally done without sanding.
Frequently Asked Questions
Can I Paint Kitchen Cabinets Without Sanding if They Have Peeling Paint?
You shouldn’t paint kitchen cabinets with peeling paint without proper surface preparation. Peeling paint indicates the old finish isn’t adhering well, so just painting over it will cause your new paint to peel too.
Instead, you’ll need to scrape off the loose paint and clean the surface thoroughly. While sanding isn’t always required, some light sanding or using a deglosser can help guarantee better adhesion and a smoother finish.
How Long Does the Paint Take to Fully Cure on Cabinets Without Sanding?
You’ll wait about 7 days for paint to fully cure on cabinets without sanding. Use smooth brush techniques to apply even coats, ensuring better paint durability.
Avoid rushing; curing takes time, drying takes hours, and handling takes patience. During this period, keep cabinets dry, avoid heavy use, and allow the paint to harden properly.
Doing so guarantees your cabinets look great and last longer without sanding.
Is It Necessary to Remove Cabinet Doors Before Painting Without Sanding?
You don’t have to remove cabinet doors before painting without sanding, but it’s often easier for cabinet preparation and paint application. Taking them off lets you work more thoroughly, ensuring even coverage and avoiding drips on nearby surfaces.
If you choose to leave doors attached, use painter’s tape and be extra careful to protect hinges and hardware. Either way, thorough cleaning and degreasing are key for a smooth finish.
Can I Use a Paint Sprayer Instead of Brushes for Sanding-Free Cabinet Painting?
You can definitely use a paint sprayer instead of brushes for sanding-free cabinet painting. While brushes offer control and precision, sprayers deliver smooth, even coats quickly, reducing streaks and brush marks.
However, sprayers require more prep to protect surrounding areas and can waste more paint. Comparing brush vs. sprayer, your choice depends on your comfort with paint application techniques and how flawless and fast you want the finish to be.
How Do I Handle Hardware Removal or Replacement When Painting Cabinets Without Sanding?
When painting cabinets without sanding, start by removing all cabinet hardware like knobs and hinges to guarantee smooth paint prep. This helps prevent paint from sticking unevenly around hardware.
Label each piece and screw so you can easily replace them later. If you’re replacing hardware, do it after the paint fully dries.
Taking these steps keeps your cabinets looking clean and professional without the hassle of sanding.
Conclusion
Now that you’ve learned how to paint kitchen cabinets without sanding, it’s time to let your creativity shine like a fresh morning sunrise. With the right prep, primer, and paint, your cabinets can transform beautifully, as if kissed by a gentle breeze.
Avoid common pitfalls, and you’ll have a kitchen that glows with new life—without dust clouds or heavy sanding. Your dream kitchen is just a brushstroke away!