How to Refinish a Wooden Kitchen Table in 3 Easy Steps
Refinishing a wooden kitchen table can feel overwhelming, especially when years of scratches, stains, and dullness have taken away its charm. You’re not alone—many people struggle to achieve a smooth, durable finish without professional help.
This guide to how to refinish a wooden kitchen table in 3 easy steps makes the process simple.
First, clear your table and clean it with a mild soap solution, then dry it thoroughly.
Next, sand the surface starting with medium-grit sandpaper to remove old finish and scratches, and use wood filler for deeper marks if needed.
Finally, apply your chosen stain evenly, let it dry, then protect the surface with thin coats of polyurethane or varnish, sanding lightly between coats.
Keep going to uncover tips for a flawless, long-lasting finish.
Key Takeaways
- Clear and clean the table surface thoroughly using a damp cloth and mild soap, then dry completely.
- Sand the table starting with medium-grit, then fine-grit sandpaper, and repair deep scratches with matching wood filler.
- Select a stain matching your decor, test it on a hidden spot, then apply evenly with a brush following the grain.
- Apply thin, even coats of a clear protective finish like polyurethane, allowing each coat to dry and sanding lightly between coats.
- Maintain the refinished table regularly and use multiple finish coats for long-lasting protection and beauty.
Get Your Wooden Table Ready for Refinishing
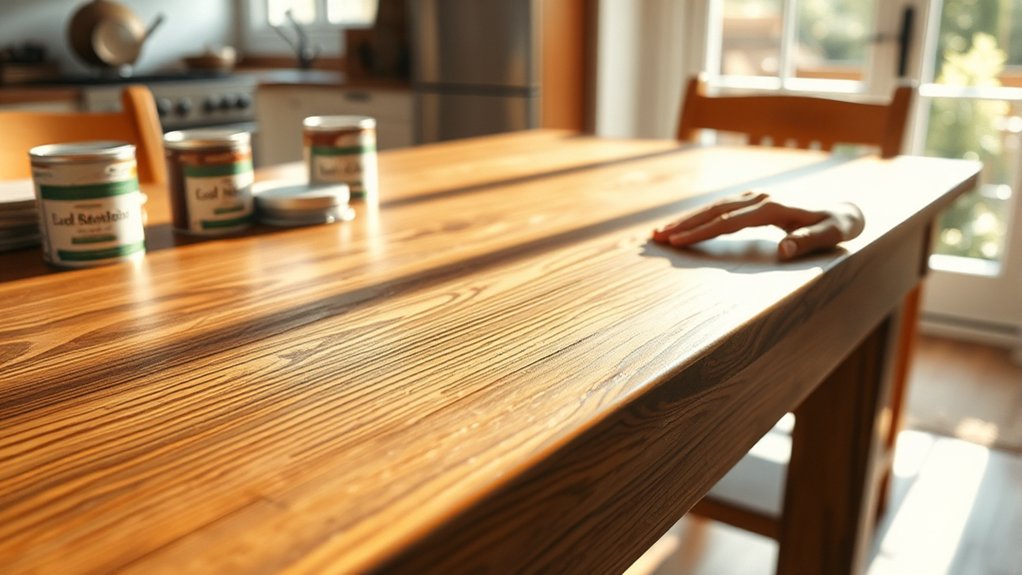
Before you begin refinishing, make sure you clear the table completely and clean it thoroughly. Start by removing all items and wiping the surface with a damp cloth to eliminate dust and grime.
Use effective cleaning techniques, like a mild soap solution, to break down any stubborn dirt without damaging the wood. Once cleaned, dry the table well to avoid moisture issues.
Next, consider the wood type of your table. Selecting wood types matters because different woods react uniquely to refinishing products and techniques.
For example, hardwoods like oak and maple can handle more aggressive cleaning and refinishing, while softer woods like pine need gentler care to prevent damage.
Identifying your table’s wood type will help you choose the right cleaning agents and prepare the surface properly. Taking these steps ensures the wood is ready for sanding and refinishing, setting a solid foundation for a beautiful, durable finish.
Sand and Repair Scratches on Your Table Surface

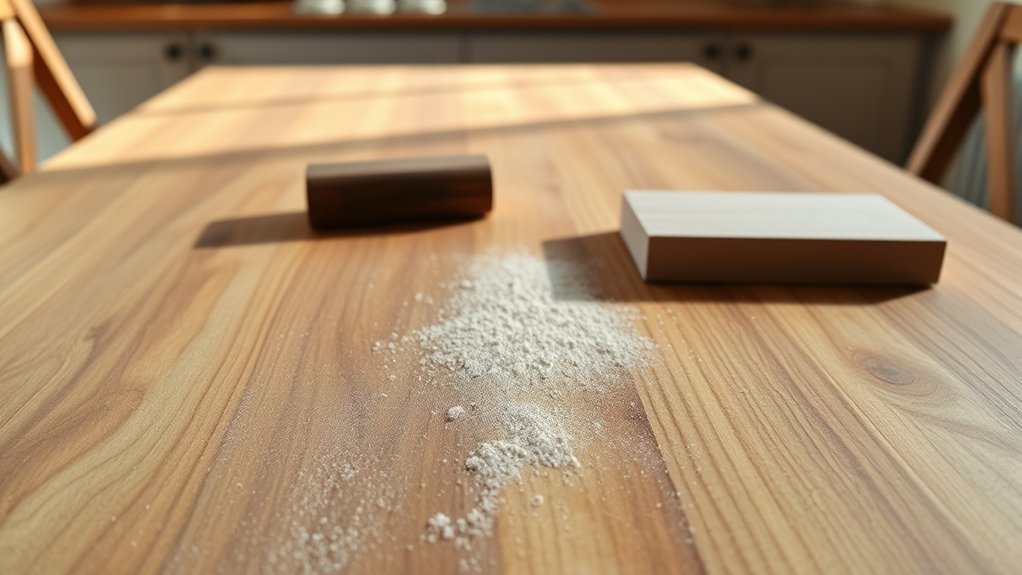
Once your table is clean and dry, it’s time to smooth out the surface by sanding and fixing any scratches. Start with medium-grit sandpaper to remove old finishes and level scratches, then finish with fine-grit for a smooth feel.
For deeper scratches, use wood filler or a matching wood putty. Be sure to color match the filler to your table’s wood tone for a seamless repair.
After sanding and repairing, wipe away dust thoroughly to prepare for protective coatings later.
Here’s a quick guide to sanding and repair:
| Task | Tool/Material | Tip |
|---|---|---|
| Sanding | Medium and fine sandpaper | Sand with the grain |
| Repairing Scratches | Wood filler or putty | Color match before applying |
| Cleaning Surface | Damp cloth | Remove all dust before coating |
These steps guarantee your table’s surface is perfectly prepped for refinishing.
Apply Stain and Finish to Restore Your Table’s Beauty

Although sanding and repairs create a smooth base, applying stain and finish truly revitalizes your wooden table. Start by choosing a stain that matches the table’s original color or complements your kitchen décor.
Test the stain on a hidden spot to verify the color match. Apply the stain evenly with a brush or cloth, following the wood grain. Let it soak for a few minutes, then wipe off the excess to avoid blotches.
Once the stain dries completely, protect your work with a clear protective coating. Polyurethane or varnish works well to safeguard your table from spills and scratches.
Apply thin, even coats, allowing each layer to dry before adding the next. Lightly sand between coats for a smooth finish. This step enhances the wood’s beauty and extends your table’s life, helping maintain its charm for years to come.
Frequently Asked Questions
What Type of Wood Is Best for Kitchen Tables?
You’ll want hardwoods like oak, maple, or cherry for the best kitchen tables. These woods offer a strong wood grain that not only looks beautiful but also adds to table durability.
You’ll appreciate how they resist scratches and dents, making your table last longer through daily use. Plus, their natural patterns give your kitchen a warm, inviting feel.
Choose wood with a tight grain for the best balance of style and strength.
How Long Does the Refinishing Process Usually Take?
The refinishing process usually takes a couple of days, depending on the finish types you choose. You’ll spend several hours sanding and prepping the table with cleaning supplies to remove dirt and old finish.
After that, each coat of stain or varnish needs a few hours to dry, sometimes overnight. So, plan on at least two days to let everything cure properly and guarantee a smooth, durable finish on your wooden kitchen table.
Can I Refinish a Table With Water Damage?
You can tackle water damage repair like a gardener pruning a wilting plant—it’s all about careful attention. Yes, you can refinish a table with water damage by using specific table repair techniques such as sanding down the swollen areas, applying wood filler to cracks, and sealing the wood properly to prevent future issues. With patience and the right approach, your table can bounce back beautifully from water damage.
What Safety Precautions Should I Take When Refinishing?
You should prioritize chemical safety by wearing gloves and a mask to protect your skin and lungs from harsh fumes. Make sure you work in a well-ventilated area or open windows to allow fresh air in and prevent inhaling toxic vapors.
Avoid smoking or open flames nearby, as many refinishing products are flammable. Keeping a fire extinguisher handy and reading all product labels carefully will help you stay safe throughout the process.
How Often Should I Refinish My Wooden Table?
You’ll want to refinish your wooden table only when it screams for help, usually every 3 to 5 years. Of course, if you love constant furniture polishing and obsess over cleaning techniques, you might do it sooner.
Regular cleaning and polishing extend the finish’s life, so you don’t have to refinish too often. Keep an eye on scratches, dullness, or water stains; that’s your cue to get out the sandpaper and varnish.
Conclusion
Now that you’ve sanded, smoothed, and sealed your wooden wonder, your kitchen table’s timeless texture and tone truly shine. By carefully cleaning, correcting, and coating, you’ve crafted a charming centerpiece that engages and comforts.
Remember, regular refinishing revives and reinforces your table’s natural beauty, bringing brilliance back to your beloved space. Keep caring for your refinished wooden kitchen table, continue coating, and celebrate the satisfying sparkle of your stunning wooden surface!