How to Clean Greasy Kitchen Cabinets in 10 Easy Steps
Greasy kitchen cabinets can make your whole kitchen feel untidy, even after you’ve cleaned the counters. You’re not alone—many people struggle to remove sticky buildup without damaging the finish. This guide to how to clean greasy kitchen cabinets shares simple steps and helpful tips for lasting cabinet care.
Start by identifying your cabinet material to avoid damage, then gather soft cloths, sponges, and a gentle cleaning solution made from vinegar, mild soap, and baking soda.
Dust and remove debris first, spray the solution on greasy spots, and scrub gently with soft tools. Rinse with a damp cloth, dry thoroughly to prevent warping, and maintain cleanliness weekly to stop grease buildup.
Keep going, and you’ll uncover even more tips for lasting cabinet care.
Key Takeaways
- Identify cabinet material to choose safe cleaning methods and avoid damage during grease removal.
- Prepare a natural cleaning solution with warm water, vinegar, mild dish soap, and baking soda for effective degreasing.
- Remove dust and debris first using microfiber cloths or soft dusters to prevent smearing grease during cleaning.
- Apply the cleaning solution on greasy spots, let sit 5-10 minutes, then gently scrub with soft tools.
- Dry cabinets thoroughly with a microfiber cloth and air circulation to prevent moisture damage and warping.
Find Out What Kind of Cabinets You Have (Wood, Laminate, Painted)
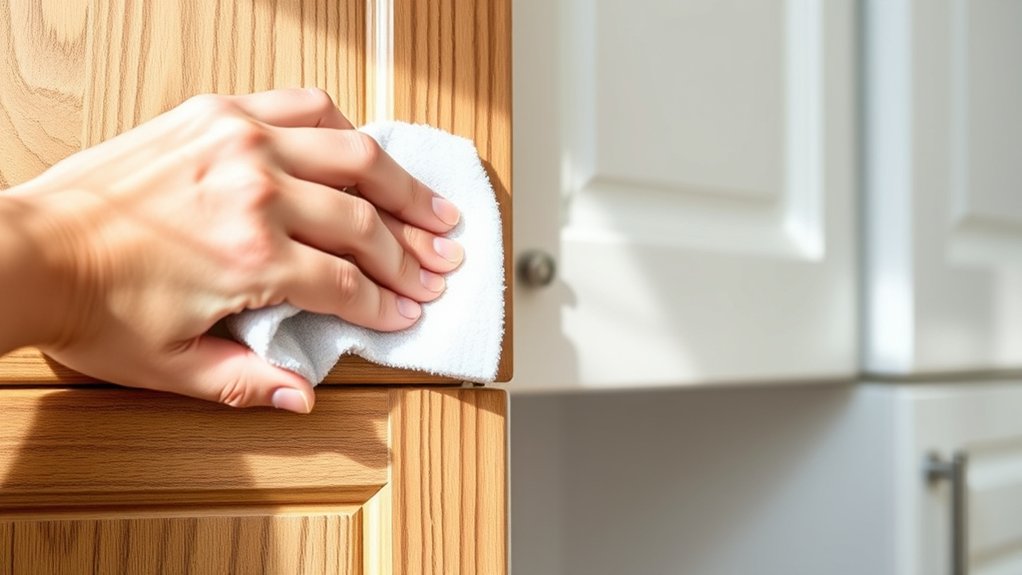
Before you start cleaning, you need to identify what type of cabinets you have—wood, laminate, or painted. Knowing your cabinet material is essential because each one reacts differently to cleaning methods and products.
Wood cabinets often have a natural grain and a glossy or matte surface finish, so you’ll want to avoid harsh chemicals that can strip the finish or damage the wood. Laminate cabinets usually have a smooth, plastic-like surface finish, making them more resistant to moisture but prone to scratches if you use abrasive tools.
Wood cabinets need gentle care to protect their finish, while laminate resists moisture but scratches easily.
Painted cabinets come with a painted surface finish, which can chip or peel if scrubbed too aggressively. By understanding your cabinet material and surface finish, you can choose the right cleaning approach that removes grease effectively without causing harm.
Taking this step first saves you from costly damage and guarantees your cabinets stay beautiful and durable for years.
Gather Your Cleaning Supplies and Tools for Greasy Cabinets
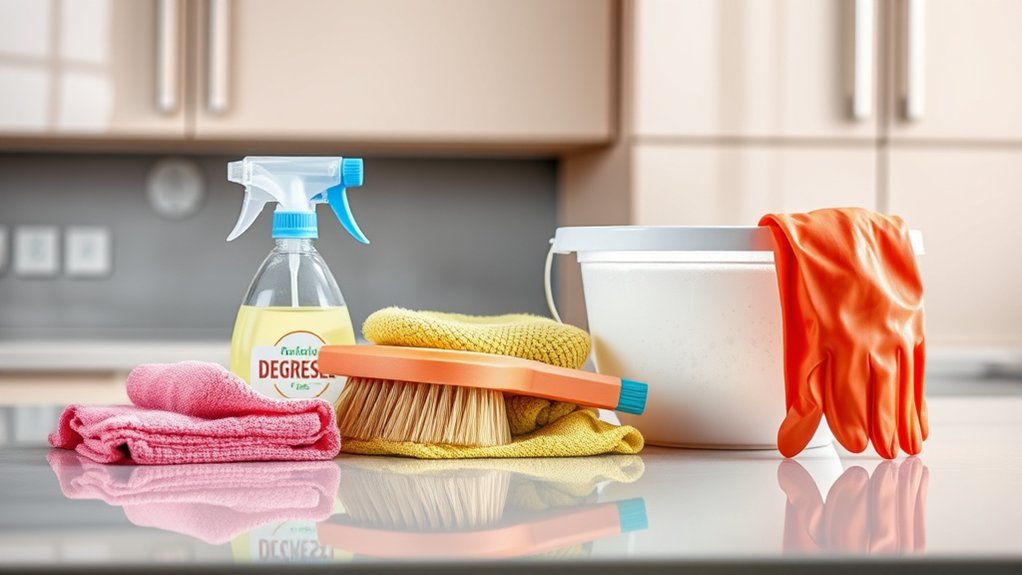
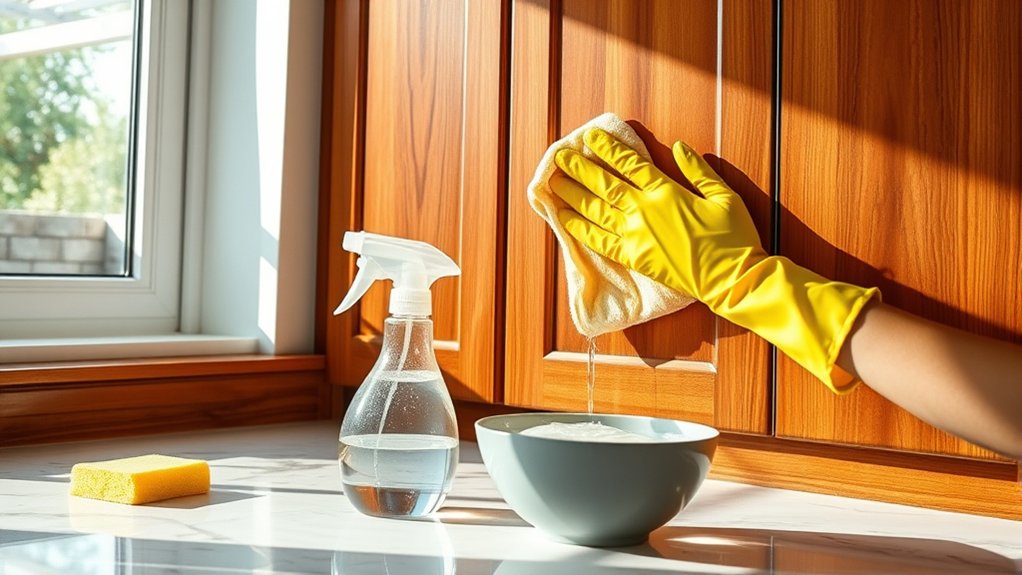
When tackling greasy cabinets, you’ll need the right cleaning supplies and tools to make the job easier and more effective. Start by gathering microfiber cloths, a soft sponge, and a scrub brush with gentle bristles to avoid damaging cabinet paint.
You’ll also want a bucket for mixing cleaning solutions and gloves to protect your hands.
Don’t forget a step stool if your cabinets are high up, so you can reach every corner safely. To protect your kitchen flooring during cleaning, lay down old towels or a plastic sheet to catch drips and prevent slipping.
Having a spray bottle handy helps you apply cleaner evenly without soaking the surface.
Prepare a Safe, Effective Cleaning Solution for Grease Removal
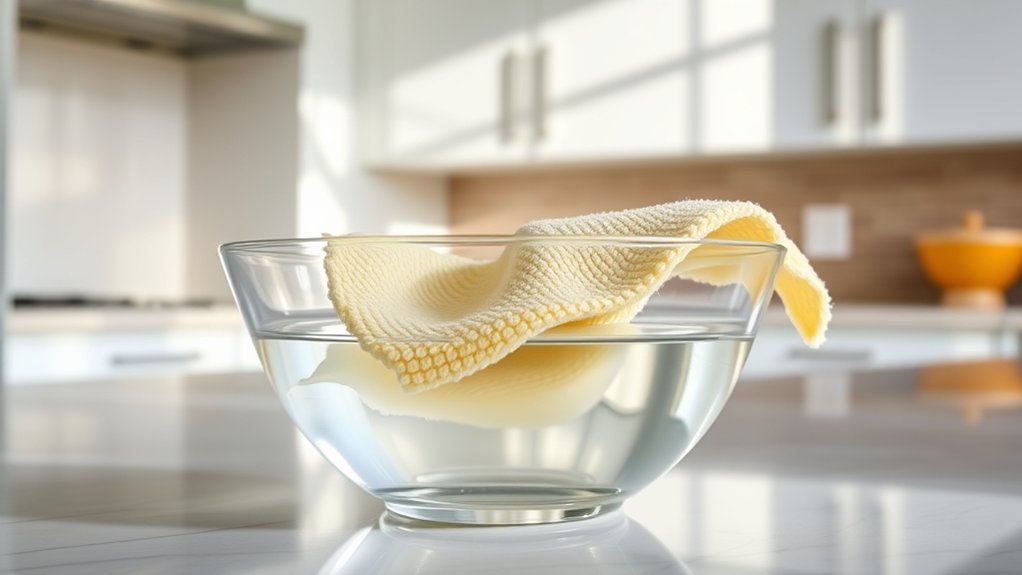
With your supplies ready, it’s time to mix a cleaning solution that tackles grease without harming your cabinets. Prioritizing cleaning safety means avoiding harsh chemicals that can damage finishes or irritate your skin.
Instead, opt for gentle, effective alternatives that break down grease safely.
Here’s a simple, safe solution you can prepare:
- Mix equal parts warm water and white vinegar for natural degreasing power.
- Add a few drops of mild dish soap to boost grease-cutting ability.
- Stir in a teaspoon of baking soda for extra scrubbing strength without scratching.
- Use essential oils like lemon or tea tree for a fresh scent and added antibacterial effect.
This blend is safe for most cabinet surfaces and gentle on your hands, reducing the risk of irritation. Always test a small area first to ensure compatibility.
With this solution, you’re set to clean effectively while keeping safety top of mind.
Remove Dust and Loose Debris Before Cleaning
Although it may seem like a small step, removing dust and loose debris from your kitchen cabinets makes a big difference in the cleaning process. Before tackling grease, you want to confirm the surface is free from particles that can smear or scratch your cabinets during cleaning.
Start by using a microfiber cloth or a soft duster. These dusting tips help trap dust without spreading it around. Gently wipe down all cabinet surfaces, including edges and corners, where debris tends to accumulate.
For stubborn crumbs or loose debris, use a handheld vacuum with a brush attachment or a soft-bristled brush to sweep them away effectively.
This debris removal step prevents dirt from mixing with your cleaning solution, which can reduce its effectiveness. Taking this simple action sets you up for smoother, more thorough grease cleaning and helps your kitchen cabinets look fresh and spotless.
Apply Cleaning Solution to Greasy Spots
Since grease tends to cling stubbornly to cabinet surfaces, you’ll need a targeted cleaning solution to break it down effectively. Choose one that’s safe for your cabinet material, and avoid harsh chemicals that can damage the finish.
Spray or dab the solution directly onto the greasy spots, focusing on areas with visible buildup.
Here are some tips for applying cleaning solution to greasy spots:
- Use a microfiber cloth or sponge for even application without scratching.
- Let the solution sit for 5 to 10 minutes to loosen the grease.
- Reapply if the grease is particularly stubborn.
- Avoid soaking the wood to prevent warping or damage.
Scrub Gently to Avoid Cabinet Damage
When you scrub your cabinets, use soft cleaning tools, such as sponges or microfiber cloths, to protect the surface. Avoid harsh chemicals, which can strip the finish or cause discoloration. A gentle approach helps keep your cabinets looking great without causing damage.
Use Soft Cleaning Tools
To protect your cabinets while cleaning, always choose soft tools like microfiber cloths or non-abrasive sponges. These cleaning tools help you remove grease effectively without scratching or damaging the cabinet surfaces. Soft cloths are gentle yet efficient, making it easier to maintain your cabinets’ finish.
Here are some cleaning tools to contemplate:
- Microfiber cloths that trap dirt and grease
- Soft sponges designed for delicate surfaces
- Soft-bristled brushes for crevices and corners
- Lint-free towels to prevent streaks
Avoid Harsh Chemicals
Although harsh chemicals might seem like a quick fix for greasy cabinets, they can easily damage the finish and cause lasting harm. Instead, choose gentle chemical alternatives that clean effectively without compromising your cabinets’ surface.
Eco friendly options like vinegar, baking soda, or mild dish soap work wonders on grease while being safe for your kitchen and the environment. When cleaning, scrub gently with a soft cloth or sponge to avoid scratching or stripping the finish.
Avoid abrasive pads or harsh scrubbing, which can dull or chip the surface. By using these safer methods, you protect both your cabinets and your indoor air quality.
You’ll maintain your kitchen’s beauty and durability without risking damage from aggressive chemicals.
Use Natural Degreasers for Tough Grease Stains
Since tough grease stains can resist regular cleaning, you’ll want to reach for natural degreasers that cut through grime effectively without harsh chemicals. Natural cleaners offer a safe and eco-friendly way to tackle stubborn buildup on your kitchen cabinets.
Tough grease calls for natural degreasers that clean effectively without harsh chemicals or damage.
They’re gentle on surfaces but tough on grease, making them ideal for maintaining your cabinets’ finish while removing sticky residue.
Try these natural degreasers for tough stains:
- White vinegar: Its acidity breaks down grease and lifts dirt easily.
- Baking soda: Acts as a mild abrasive that scrubs away grime without scratching.
- Lemon juice: The natural oils and acid in lemon juice dissolve grease and leave a fresh scent.
- Castile soap: A plant-based soap that effectively cuts grease while being gentle on wood and paint.
Using these natural cleaners regularly helps keep your cabinets spotless and protects them from harsh chemical damage.
Rinse and Wipe Down Cabinets to Remove Residue
After applying natural degreasers, remove any leftover residue to prevent buildup and keep your cabinets looking fresh. Use a clean, damp microfiber cloth to gently wipe down all cabinet surfaces, paying attention to the cabinet finish.
This step ensures no cleaning solution lingers, which can dull or damage the finish over time. Good kitchen ventilation helps speed drying and reduces moisture accumulation during this process.
Here’s a quick guide to rinsing and wiping:
| Step | Tool Needed | Tip |
|---|---|---|
| Wipe with damp cloth | Microfiber cloth | Avoid abrasive materials |
| Rinse cloth often | Warm water | Prevent spreading residue |
| Check cabinet finish | Soft cloth | Protect delicate surfaces |
Dry Cabinets Thoroughly to Prevent Damage
To prevent water damage and warping, dry your kitchen cabinets thoroughly right after wiping them down. Different materials react to moisture differently, so using the right drying techniques helps keep them in great shape.
Wood cabinets are especially prone to warping if left damp, while laminate surfaces can develop bubbles or peel.
Here are some effective drying techniques:
- Use a soft, dry microfiber cloth to absorb moisture quickly without scratching.
- Open cabinet doors and drawers to allow air circulation inside.
- Avoid harsh heat sources like hairdryers, which can damage finishes.
- If possible, use a fan or dehumidifier in the kitchen to speed up drying time.
Maintain Cabinets to Prevent Future Grease Build-Up
To keep your cabinets free of grease, clean them regularly so buildup doesn’t have time to set in. You can also apply a protective finish to help create a barrier against future grime. With these simple steps, your cabinets will stay fresh and be easier to clean over time.
Regular Cleaning Routine
Although grease can quickly accumulate in your kitchen, you can keep your cabinets looking fresh by sticking to a regular cleaning routine. By organizing your cabinets well and establishing a consistent cleaning frequency, you’ll prevent stubborn grease build-up and maintain a tidy kitchen environment. Here’s how to stay on top of it:
- Wipe down cabinets weekly with a mild cleaner or vinegar solution.
- Immediately clean up spills and splatters to avoid sticky residue.
- Declutter and organize cabinet contents monthly to reduce mess and improve airflow.
- Use microfiber cloths for gentle, effective cleaning without damaging surfaces.
Use Protective Finishes
Keeping up with regular cleaning helps reduce grease buildup, but adding a protective coating can take your maintenance to the next level. Protective finishes create a barrier that repels grease and moisture, making future cleanings quicker and easier.
Applying cabinet sealing products not only improves your cabinets’ durability but also prevents stubborn grease stains from soaking in. Choose finishes compatible with your cabinet material and follow application instructions carefully for the best results.
| Protective Finish Type | Benefits | Application Tips |
|---|---|---|
| Polyurethane | Durable, moisture-resistant | Apply thin coats, allow drying |
| Wax-based Sealers | Easy to reapply, natural look | Buff gently after drying |
| Varnish | Glossy finish, strong seal | Use in well-ventilated areas |
Use protective finishes regularly to keep your kitchen cabinets looking fresh and grease-free.
Frequently Asked Questions
Can Greasy Cabinets Cause Health Issues in the Kitchen?
Yes, greasy cabinets can cause health issues in your kitchen. The oil residue left behind creates a sticky surface that attracts dirt and bacteria, increasing the risk of contamination.
Over time, this buildup can also promote mold growth, which leads to respiratory problems and allergic reactions. Keeping your cabinets clean helps maintain a healthier environment and prevents these potential health hazards from affecting you and your family.
How Often Should I Deep Clean My Kitchen Cabinets?
You should deep clean your kitchen cabinets every three to six months, depending on cabinet materials and usage. For wooden cabinets, use gentle cleaning tools like microfiber cloths and mild cleaners.
For laminate or metal cabinets, you can use stronger tools and solutions but still avoid abrasives. Regular deep cleaning helps maintain hygiene, preserves cabinet finish, and prevents buildup.
Stay consistent, use the right cleaning tools, and treat your cabinets well to keep them looking fresh.
Are There Professional Services for Cleaning Greasy Cabinets?
Yes, you can definitely hire professional cleaning services for greasy cabinets. These experts specialize in cabinet polishing and deep cleaning, restoring your cabinets’ shine and removing stubborn grease effectively.
If you don’t have time or the right products, professional cleaning is a great option to keep your kitchen looking fresh. They use specialized techniques and safe cleaners that you might not have at home, ensuring your cabinets stay spotless without damage.
Can Greasy Cabinet Buildup Damage Kitchen Appliances?
Greasy buildup won’t just sit pretty on your cabinets—it can harm your kitchen appliances too. While cabinet material might seem separate, the grease can spread, especially if your cooking habits involve lots of frying or heavy oil use.
Over time, this layer attracts grime and dust, clogging appliance vents or causing overheating. So, keeping your cabinets clean protects both their finish and your appliances’ performance, ensuring everything runs smoothly.
What Causes Excessive Grease Accumulation on Cabinets?
Excessive grease accumulation on your cabinets happens mainly because of oil buildup from cooking. When you fry or sauté, kitchen fumes containing tiny oil droplets spread and settle on surfaces, including your cabinets.
Over time, without regular cleaning, this oily residue thickens and becomes stubborn. Poor ventilation and frequent high-heat cooking can worsen the problem, so keeping your kitchen aired out helps reduce the amount of greasy buildup you’ll have to deal with.
Conclusion
Just like a chef trusts their best knife, you can rely on these steps to keep your kitchen cabinets gleaming. By knowing your cabinet type, using the right cleaners, and staying consistent, you’ll banish grease like a pro.
Remember, a little daily care goes a long way. With these tips for how to clean greasy kitchen cabinets, your cabinets will stay bright and polished, ready for every culinary performance you throw their way.