10 Easy Steps to Seal Your Kitchen Sink to the Countertop
A loose or leaky kitchen sink can quickly damage your countertop and cabinets. If you’re struggling to create a clean, watertight seal, you’re not alone—many homeowners find this task trickier than expected. The right sealant and a few careful steps can make the job much easier.
To seal your kitchen sink to the countertop, start by gathering the right tools and selecting a quality sealant suitable for wet areas.
Clean and dry the surface thoroughly, then remove any old caulk.
Apply painter’s tape to protect edges, press the sink firmly in place, and apply an even bead of sealant.
Smooth the line before removing the tape, then let it cure fully.
Keep checking for leaks to maintain a watertight seal.
There’s more to guarantee a perfect finish.
Key Takeaways
- Thoroughly clean and dry the sink and countertop areas to ensure proper sealant adhesion.
- Remove old caulk carefully using a utility knife or caulk removal tool for a smooth surface.
- Apply painter’s tape along the edges to create clean sealant lines and prevent mess.
- Cut the sealant tube tip at a 45° angle. Apply an even bead, then smooth it immediately with a damp finger or tool.
- Remove the tape while the sealant is tacky. Allow it to cure fully before using the sink to prevent leaks.
Gather Tools and Materials for Sealing Your Sink

Before you begin sealing your kitchen sink, you’ll need to gather all the necessary tools and materials. Proper preparation guarantees your plumbing maintenance goes smoothly and your kitchen decor remains intact.
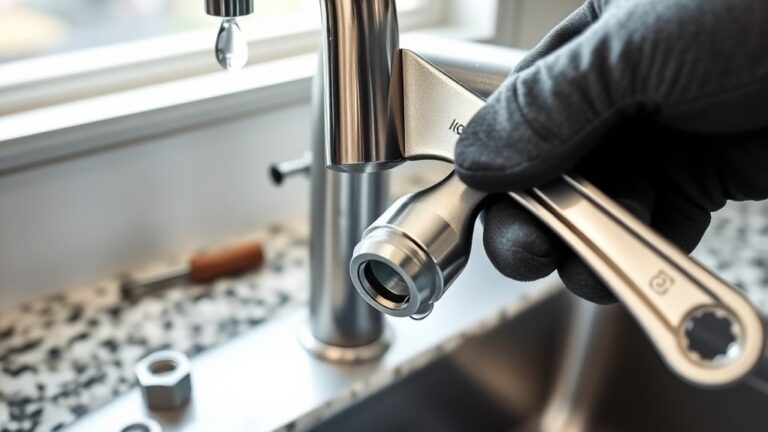
Start with a quality caulking gun and a tube of sealant designed for kitchen sinks. You’ll also need a utility knife to remove old sealant, a putty knife or scraper for cleaning the edges, and some painter’s tape to protect your countertop during application.
Don’t forget a clean cloth and rubbing alcohol or a mild cleaner to thoroughly prepare the surface. Having gloves handy protects your hands from chemicals, and a bucket can catch any drips or debris.
Choose the Right Sealant for Your Kitchen Sink

When sealing your kitchen sink, selecting the right sealant guarantees a durable, watertight bond that stands up to daily use and moisture. You’ll want to take into account sealant types like silicone, polyurethane, or hybrid sealants.
Silicone is popular for its flexibility and water resistance, while polyurethane offers strong adhesion and durability. Hybrid sealants combine benefits from both, providing excellent performance in wet environments.
Next, think about the application methods. Most sealants come in tubes designed for a caulking gun, allowing precise control during application.
You’ll want to apply an even bead along the sink edge to ensure complete coverage without gaps. Some sealants may require smoothing with a tool or finger to create a clean finish.
Choosing the right sealant type and application method is critical for a long-lasting seal that keeps your kitchen sink leak-free and secure.
Clean and Dry the Sink Edge and Countertop

Start by wiping away any dirt and debris from the sink edge and countertop to create a clean surface. Then, dry the area thoroughly before applying any sealant. Use cleaning products that are safe for your surfaces to prevent damage while preparing them for sealing.
Remove Dirt And Debris
Since dirt and debris can prevent the sealant from adhering properly, you’ll need to thoroughly clean and dry the sink edge and countertop. Start by gathering your cleaning tools: a soft brush, a sponge, and a cloth are essential.
Use the brush to loosen and remove any stubborn debris stuck in the corners or crevices. Next, wipe down the surfaces with a damp sponge to clear away dust and residue.
For tougher grime, a mild detergent works well, but avoid harsh chemicals that could damage the surfaces. After you’ve removed all debris, rinse the area with clean water to guarantee no cleaner remains.
Finally, use a dry cloth to wipe the edges, preparing the surface for a strong, lasting seal.
Ensure Surface Is Dry
Two key areas—the sink edge and the countertop—must be completely dry before applying any sealant. Proper surface preparation helps the sealant adhere well and last longer.
Use effective drying techniques, such as wiping with a clean cloth and allowing the surface to air-dry, to remove moisture. Avoid rushing this step, as even small damp spots can cause sealant failure.
| Surface Area | Recommended Drying Technique | Time to Dry (Approx.) |
|---|---|---|
| Sink Edge | Wipe with microfiber cloth | 5 minutes |
| Countertop | Air dry after wiping | 10 minutes |
| Around Faucet | Use paper towels | 3 minutes |
| Drain Opening | Blow dry with hairdryer | 2 minutes |
| Corner Joints | Use cotton swabs | 4 minutes |
Following these steps guarantees a dry, clean surface ready for sealing.
Use Appropriate Cleaning Agents
Once the surfaces are completely dry, you’ll want to clean the sink edge and countertop thoroughly using the right cleaning agents. Choosing appropriate cleaning agents is essential for effective surface preparation.
Avoid harsh chemicals that could damage your countertop material or leave residues interfering with the sealant’s adhesion. Instead, opt for a mild detergent or a specialized surface cleaner designed for kitchen use.
Apply the cleaning agent with a soft cloth or sponge, scrubbing gently to remove grease, dirt, and old sealant traces. After cleaning, rinse the area well with water to eliminate any leftover residue.
Finally, dry the surfaces completely with a lint-free cloth. Proper use of cleaning agents guarantees your sink and countertop bond securely, making your seal last longer and preventing leaks.
Remove Old Caulk and Sealant Around the Sink
Before applying new sealant, you’ll need to remove the old caulk and any remaining sealant around your sink. This step is vital for a clean, lasting seal.
Start by softening the caulk with a caulk remover or warm water. Then, use a caulk removal tool or a utility knife to carefully scrape away the old material without damaging the countertop or sink.
Begin by softening old caulk, then gently scrape it away to protect your sink and countertop.
Keep these tips in mind for effective caulk removal:
- Work slowly to avoid scratching surfaces.
- Use a plastic scraper for delicate areas.
- Clean the area thoroughly after removal to guarantee good adhesion.
- Dispose of old caulk properly to avoid mess.
Choosing the right sealant comes next, but first, make sure all remnants are gone. Proper caulk removal sets the stage for a smooth application and prevents leaks.
Taking your time here guarantees your sealant will stick well and last longer.
Apply Painter’s Tape to Protect Countertop Edges
After thoroughly removing all old caulk and cleaning the area, you’ll want to protect your countertop edges to guarantee a neat sealant application. Start by applying painter’s tape along the edge where the sink meets the countertop.
This creates a clean boundary and prevents excess sealant from spreading onto your countertop surface. When placing the tape, make sure it’s straight and firmly pressed down to avoid any sealant seeping underneath.
Choosing the right sealant type is essential, but just as significant is ensuring the sealant color matches your countertop and sink. Painter’s tape helps maintain crisp lines, making the color matching look professional and seamless.
Take your time positioning the tape so that once you remove it, you’re left with an even, tidy finish. This small step saves you from messy cleanup and improves the overall appearance of your sink installation.
Apply a Smooth Sealant Bead Around the Sink Rim
Choose a waterproof, mold-resistant sealant to help keep your sink secure. As you apply it, use steady pressure and move the caulking gun slowly to create an even bead. Then, smooth the sealant with a wet finger or tool for a clean, finished look.
Choosing The Right Sealant
How do you guarantee a watertight seal between your kitchen sink and countertop? Choosing the right sealant is essential. Different sealant types offer varying levels of adhesion, flexibility, and durability, so picking the right one guarantees a long-lasting bond.
Here are some key points to think about when selecting your sealant:
- Silicone sealants are highly flexible and waterproof, perfect for wet areas.
- Acrylic sealants are paintable but less durable in constant water exposure.
- Polyurethane sealants provide strong adhesion and resist wear.
- Check product labels for kitchen-specific formulas to avoid mold and mildew.
Keep these application tips in mind: clean surfaces thoroughly and apply sealant evenly. Selecting the best sealant type and following proper application tips sets the foundation for a reliable seal.
Techniques For Smooth Application
When applying sealant around your sink rim, steady hands and the right technique guarantee a smooth, even bead that prevents leaks and looks professional. Start by cutting the sealant tube tip at a 45-degree angle for precise control.
Apply consistent pressure to the caulking gun as you move steadily around the sink. Use a damp finger or a smoothing tool to gently press and shape the bead immediately after application.
Remember sealing safety: work in a well-ventilated area and wear gloves. Proper sealant storage is essential. Keep the tube sealed tightly and store it in a cool, dry place to maintain effectiveness.
| Technique | Tip |
|---|---|
| Cut tip at 45° | Ensures controlled flow |
| Steady pressure | Prevents uneven bead |
| Smooth bead promptly | Avoids ridges and gaps |
| Store sealant well | Maintains sealant quality |
Press and Secure the Sink to the Countertop
Before the sealant sets, firmly press the sink into the countertop cutout to guarantee a tight fit. This step ensures the sealant creates a watertight bond, especially when considering different sealant types and countertop materials. Apply consistent pressure to avoid gaps or uneven sealing.
Here’s how to secure the sink properly:
- Press evenly around all edges to distribute sealant uniformly.
- Check for any movement to ensure the sink stays in position.
- Use clamps or weights if needed, depending on the sink type.
- Confirm that excess sealant squeezes out slightly, indicating a full seal.
Pay attention to countertop materials like granite or laminate, as they may require different handling or pressure levels. Using the right sealant type is essential for durability and compatibility.
Remove Painter’s Tape and Smooth the Sealant Line
Once the sealant has started to set but is still tacky, carefully peel off the painter’s tape. This helps prevent the tape from pulling up the caulk. Then, use a damp finger or smoothing tool to gently even out the sealant line for a clean finish. The right timing and technique will help you achieve a smooth, professional look.
Timing for Tape Removal
Although the sealant may look dry on the surface, you should remove the painter’s tape while the sealant is still slightly tacky. Proper tape removal timing is key to getting a clean, sharp line without damaging the sealant.
Waiting too long can cause the sealant to tear or pull away, ruining your work. Keep these points in mind for ideal sealant drying time and tape removal timing:
- Check the sealant manufacturer’s recommended drying time.
- Remove tape when the sealant is firm but still flexible.
- Pull tape off slowly at a 45-degree angle for a smooth edge.
- Avoid waiting until the sealant fully cures to prevent cracking.
Following these tips ensures a neat finish and a well-sealed kitchen sink.
Techniques to Smooth Sealant
To achieve a smooth sealant line, carefully remove the painter’s tape and gently smooth the sealant while it’s still tacky. Start by pulling the tape away at a 45-degree angle to avoid disturbing the sealant’s edge.
Next, use a damp finger or smoothing tool to gently shape the sealant line, enhancing its flexibility and ensuring a tight, even bond. Apply consistent pressure and follow your chosen application techniques to avoid gaps or air bubbles.
Working while the sealant is still pliable allows for better adhesion and durability. These steps help create a professional-looking finish that’s both functional and visually appealing, ensuring your kitchen sink is properly sealed to the countertop.
Let Sealant Cure Before Using Your Sink
Before you start using your sink, let the sealant fully cure to guarantee a strong, watertight bond. Proper curing allows the sealing materials to harden and form a durable barrier that prevents water leaks and damage. Rushing this step can compromise the seal’s effectiveness.
To guarantee ideal curing, follow these tips:
- Keep the area dry and free from moisture during the curing time.
- Avoid disturbing or touching the sealant to maintain its shape and adhesion.
- Check the manufacturer’s instructions for specific curing times, which can vary by product.
- Maintain good ventilation to help the sealant cure evenly and thoroughly.
Check for Leaks and Keep Your Sink Seal Maintained
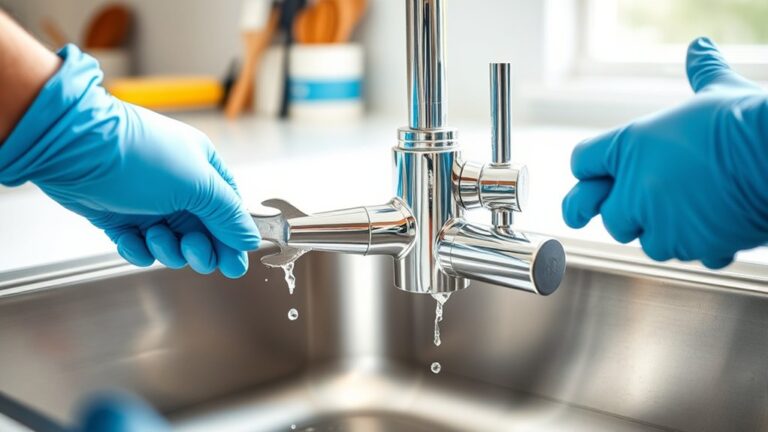
How often do you check your sink for leaks? Regular inspections are essential for leak prevention and maintaining the sealant longevity around your kitchen sink. Start by looking under the sink and around the edges where the sink meets the countertop.
Regularly inspect under your sink and around edges to prevent leaks and maintain sealant durability.
If you spot any moisture or water droplets, address it immediately to prevent water damage.
To keep your sink seal maintained, clean the area regularly with a mild detergent and avoid harsh chemicals that can degrade the sealant. Reapply sealant whenever you notice cracks, gaps, or peeling.
This proactive approach extends the sealant’s life and ensures a watertight barrier.
Also, avoid placing heavy or sharp objects that can damage the sealant. By staying vigilant and performing simple maintenance, you’ll protect your countertop and sink from leaks and costly repairs.
Frequently Asked Questions
How Often Should I Reseal My Kitchen Sink?
You should reseal your kitchen sink every 1 to 2 years, depending on your cleaning frequency and the sealant types you use. If you clean your sink often with harsh chemicals, the sealant may wear out faster.
Silicone sealants usually last longer than acrylic ones, so check for cracks or peeling regularly. Staying on top of resealing prevents leaks and keeps your countertop looking great.
Can I Use Silicone Sealant for Both Metal and Porcelain Sinks?
Just like a master painter chooses the right brush, you can use silicone sealant for both metal and porcelain sinks. Its material compatibility shines because it adheres well to non-porous surfaces, creating a waterproof barrier.
When applying, follow sealing techniques carefully: clean the area, apply a smooth bead, and wipe away excess. This guarantees a strong, lasting seal that prevents leaks and keeps your sink snug against the countertop.
What Signs Indicate a Failing Sink Seal?
You’ll notice a failing sink seal if water pools around the edges or leaks beneath the sink. Mold or mildew growth and unpleasant odors also signal trouble.
Cracks or gaps in the sealant show it’s time for sealant removal. Before resealing, you need proper surface preparation—clean and dry the area thoroughly to guarantee the new sealant adheres well.
Catching these signs early helps prevent water damage and costly repairs.
Is It Safe to Use the Sink Immediately After Sealing?
You shouldn’t use the sink immediately after sealing because most sealant types need time to cure for full water resistance. Depending on whether you use silicone, polyurethane, or another type, curing times can range from a few hours to 24 hours.
To avoid leaks or damaging the seal, wait at least until the sealant feels completely dry and firm. Following the manufacturer’s instructions guarantees the best results and a durable seal.
Can Sealing My Sink Prevent Mold Growth?
Yes, sealing your sink helps with mold prevention by blocking moisture from seeping into gaps where mold thrives. When you apply a quality sealant properly, you create a waterproof barrier that keeps water out, reducing mold growth risks.
Plus, ensuring good sealant longevity means you won’t have to reseal often, maintaining that protective barrier over time. So, sealing not only protects your sink area but also keeps your kitchen healthier.
Conclusion
Sealing your kitchen sink properly can prevent up to 60% of common countertop water damage, saving you time and money. By following these easy steps, you can create a watertight seal that keeps your kitchen clean and mold-free.
Remember, a little care goes a long way in maintaining your sink’s durability. Take your time, follow the process, and enjoy a leak-free kitchen for years to come with proper kitchen sink sealing.