How to Install a Kitchen Sink Drain in 10 Easy Steps
A leaky or outdated kitchen sink drain can quickly turn into a frustrating plumbing problem. You’re not alone—many people struggle with choosing the right parts and installing them correctly.
This guide will help you understand how to install a kitchen sink drain with confidence.
First, turn off your water supply and clear the area under your sink. Next, remove the old drain assembly carefully. Then roll plumber’s putty around the new drain flange and insert it into the sink hole.
Secure the drain body underneath with a gasket and mounting nut.
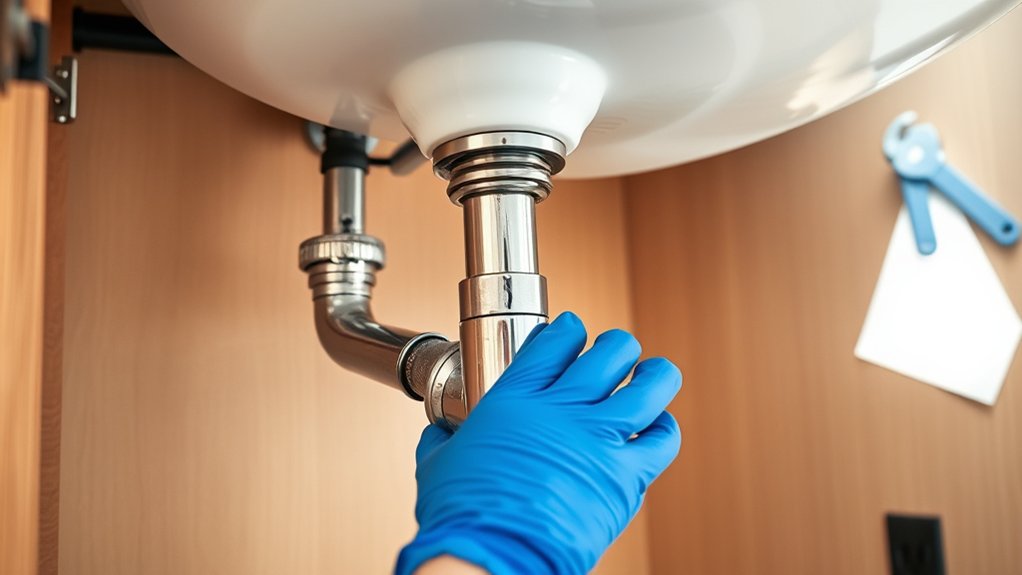
Attach the tailpiece and connect the P-trap, ensuring all parts align properly. Tighten all slip nuts and check for leaks by running water.
Keep going, and you’ll uncover valuable tips for a flawless installation.
Key Takeaways
- Turn off the water supply and clear the workspace before starting the drain installation.
- Remove the old drain by loosening slip nuts and unscrewing the drain flange from the sink.
- Apply plumber’s putty around the drain flange and insert it firmly into the sink drain hole.
- Assemble and secure the drain components, including the rubber gasket, mounting nut, and tailpiece.
- Connect and align the P-trap, then test the installation for leaks by running water through the drain.
Gather Tools and Materials for Kitchen Sink Drain
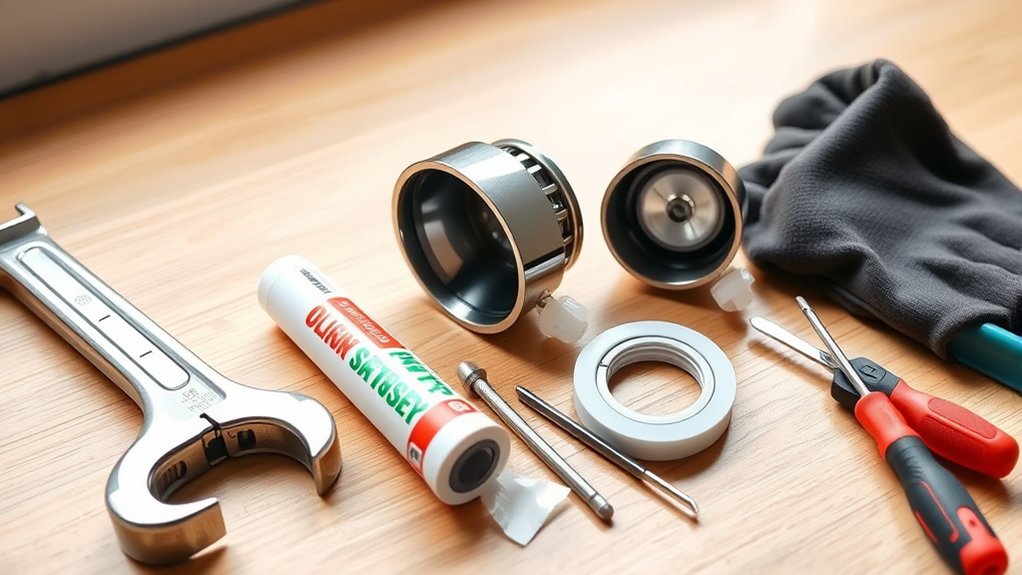
Before you begin installing your kitchen sink drain, make sure you gather all the necessary tools and materials. Having everything on hand streamlines the process and helps avoid interruptions.
You’ll need a pipe wrench, plumber’s putty, slip-joint pliers, and a bucket to catch any water. Don’t forget a screwdriver, plumber’s tape, and replacement gaskets or washers specific to your sink model.
Collecting these tools supports efficient plumbing maintenance and prevents unnecessary trips during your project. Proper preparation also ties into kitchen cleaning efforts by minimizing mess and ensuring you can address any leaks promptly.
Keeping your workspace organized reduces the risk of damaging surfaces or fixtures.
Turn Off Water Supply and Prepare Your Workspace
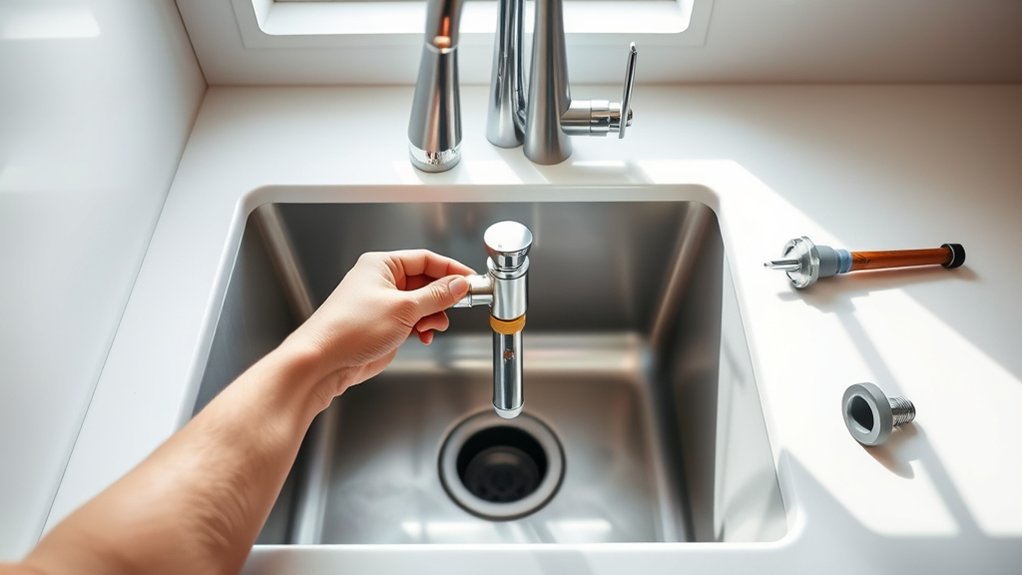
Since water can cause damage and disrupt your work, turn off the water supply to your kitchen sink before you begin. Locate the shut-off valves under the sink and turn them clockwise until they stop.
Always turn off your kitchen sink’s water supply by closing the shut-off valves before starting any work.
If there aren’t any valves there, you may need to shut off the main water supply for your home. Double-check by turning on the faucet to confirm no water flows.
This step not only prevents leaks but also aligns with plumbing regulations designed to keep your home safe.
Next, clear the area around your sink. Remove any items from under the cabinet, then lay down a waterproof mat or towel to catch spills.
Good workspace preparation helps you stay organized and prevents water damage to cabinets and floors. Following these steps also supports water conservation by avoiding unnecessary leaks or drips during installation.
With the water off and your workspace ready, you’re set to move on to the next step confidently.
Remove the Old Drain Assembly Safely
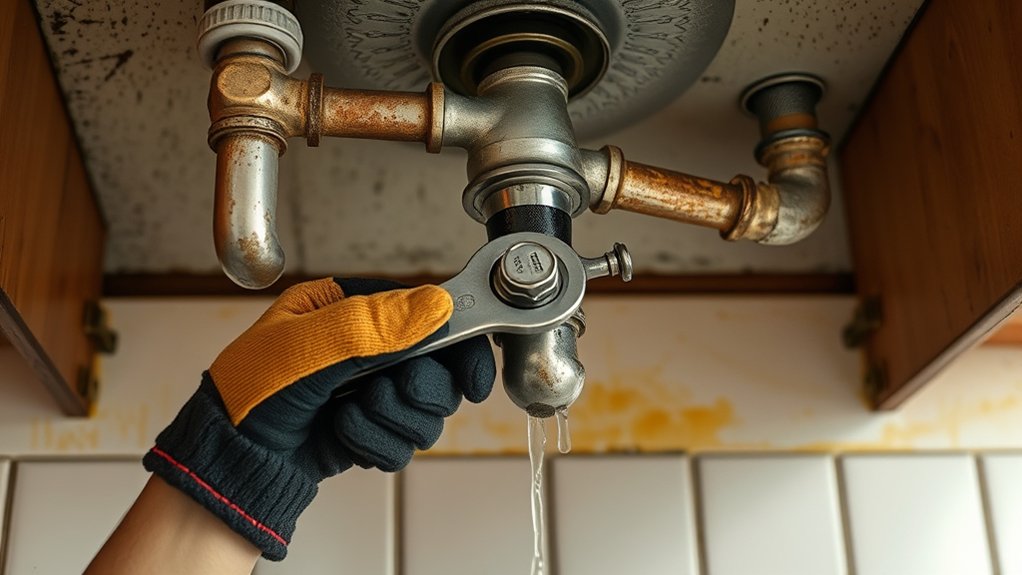
When you’re ready to remove the old drain assembly, start by loosening the slip nuts that connect the drain pipes under the sink. Place a bucket underneath to catch any residual water.
Carefully disconnect the pipes, then unscrew the drain flange from the sink’s basin. If the old assembly is stuck, gently tap it with a rubber mallet to loosen it without damaging the sink.
Here’s a quick guide for effective drain removal:
| Step | Tip |
|---|---|
| Loosen Slip Nuts | Use adjustable pliers for grip |
| Drain Pipe Removal | Keep bucket handy to catch drips |
| Unscrew Drain Flange | Turn counterclockwise slowly |
| Remove Assembly | Use mallet gently if stuck |
Apply Plumber’s Putty to the Drain Flange
Choose a high-quality plumber’s putty to create a strong, lasting seal. Roll the putty into a rope, then apply it evenly around the drain flange before setting it in place. This helps prevent leaks and keeps your sink drain secure.
Choosing Quality Plumber’s Putty
Although plumber’s putty might seem like a minor detail, choosing a high-quality one is essential for a secure, leak-free seal around your drain flange. When selecting plumber’s putty, focus on material selection and consider these key points:
- Opt for a putty that remains pliable and won’t crack over time.
- Guarantee it’s compatible with your sink material to avoid staining, especially with granite or marble.
- Look for a product that resists water and mold to maintain durability.
- Choose a brand known for reliable sealing performance and easy cleanup.
Proper Application Technique
Selecting the right plumber’s putty sets the stage for a reliable seal, but applying it correctly guarantees that seal holds. You’ll want to use the proper technique to avoid leaks and guarantee durability.
Start by rolling the putty into a rope shape about 1/4 inch thick, then evenly press it around the drain flange’s underside. Avoid gaps or uneven thickness, as these can compromise the seal.
Here’s a quick reference for application methods:
| Step | Action | Tip |
|---|---|---|
| 1 | Roll putty into a rope | Consistent thickness is key |
| 2 | Press around drain flange | Cover entire circumference |
| 3 | Remove excess putty | Use a putty knife for clean edges |
Following this proper technique ensures a secure fit and prepares you for the next steps.
Ensuring Leak-Free Seal
When you apply plumber’s putty to the drain flange, you create a watertight barrier that prevents leaks beneath your sink. This step is vital for effective leak prevention and guaranteeing long-lasting performance.
Here’s how to do it right:
- Verify material compatibility: Use plumber’s putty only on metal drain flanges, as it may not adhere well to plastic.
- Roll the putty into a rope about the size of a pencil.
- Press the putty evenly around the underside edge of the drain flange.
- Insert the flange into the sink drain hole, applying steady pressure to create a tight seal.
This method guarantees the putty fills any gaps, preventing water from escaping and protecting your cabinet from damage.
Insert and Tighten the Drain Body Under the Sink
Before you secure the drain body under the sink, make sure the plumber’s putty or gasket is properly seated around the drain flange to prevent leaks.
Now, take the drain body and carefully insert it up through the sink drain hole, aligning it with the flange on top. Hold the drain assembly in place as you prepare for the tightening procedure.
From beneath the sink, position the rubber gasket and mounting nut onto the drain body’s threaded section. Hand-tighten the mounting nut to secure the drain assembly, ensuring it stays aligned.
Use a wrench to carefully tighten the nut further, but don’t overdo it. You want a firm seal without damaging the sink or drain parts.
The tightening procedure is crucial for preventing leaks while maintaining the integrity of the drain assembly.
Once tightened, check that the drain body feels secure and doesn’t shift when you apply gentle pressure. This step sets the foundation for a leak-free, sturdy sink drain installation.
Attach the Rubber Gasket and Mounting Nut
Place the rubber gasket onto the drain body to create a watertight barrier. Then, screw the mounting nut onto the drain body and tighten it securely by hand or with a wrench. This creates a tight seal to help prevent leaks under your sink.
Positioning The Rubber Gasket
Although it may seem simple, positioning the rubber gasket correctly is essential for preventing leaks in your kitchen sink drain. The gasket material must create a tight seal between the sink and drain assembly.
Here’s how to verify proper positioning:
- Inspect the gasket material for any defects or dirt that could compromise the seal.
- Place the gasket flat against the underside of the sink drain hole, aligning it evenly.
- Make sure the gasket covers the entire contact area without folding or twisting.
- Hold the gasket in place as you prepare to attach the mounting nut, ensuring it doesn’t shift.
Securing The Mounting Nut
How tightly should you secure the mounting nut to guarantee a leak-proof connection? You want it snug enough to hold the rubber gasket firmly in place without deforming it.
Start by threading the mounting nut onto the drain pipe beneath the sink, turning it clockwise by hand. Once finger-tight, use a wrench to tighten it further, applying steady pressure.
Be careful not to overtighten, which can damage the gasket or strip the threads. The key is achieving a balance that keeps the mounting nut secure while maintaining the gasket’s integrity.
As you tighten, the securing lock mechanism will engage, preventing the nut from loosening over time. This assures your kitchen sink drain stays firmly attached and ready for the next step.
Ensuring A Tight Seal
After securing the mounting nut just right, the next step is to create a watertight seal by properly attaching the rubber gasket. This guarantees no leaks occur under your sink.
Follow these steps for effective gasket positioning and sealant application:
- Clean the sink drain opening thoroughly to remove debris.
- Apply a thin layer of sealant around the drain flange to improve the seal.
- Position the rubber gasket firmly against the underside of the sink, aligning it evenly around the drain opening.
- Tighten the mounting nut by hand, then use a wrench for a final snug fit. Avoid overtightening to prevent damage.
Connect the Tailpiece to the Drain Assembly
Once you’ve secured the drain assembly in place, you’ll need to attach the tailpiece to create a continuous path for water to flow from the sink to the plumbing system.
Start by selecting the appropriate tailpiece, usually made of metal or plastic. Match the pipe materials to guarantee compatibility and durability.
Slide the slip nut and washer onto the tailpiece before inserting it into the drain assembly’s threaded outlet. Hand-tighten the slip nut to hold the tailpiece firmly, but avoid overtightening, which can damage the threads or cause leaks.
Properly connecting the tailpiece is vital for effective drain cleaning later, as a secure fit helps prevent debris buildup and clogs.
Once attached, check that the tailpiece aligns straight down from the drain assembly without bends or stress. This alignment helps maintain smooth water flow and simplifies future maintenance, confirming that your kitchen sink drain functions efficiently.
Install the P-Trap and Check Alignment
Before securing your kitchen sink’s P-trap, verify that all parts align properly to prevent leaks and ensure smooth drainage. Proper pipe alignment and drain positioning are essential for a snug fit and to avoid future issues.
Ensure all parts align perfectly before securing the P-trap to prevent leaks and ensure smooth drainage.
Follow these steps to install the P-trap and check alignment:
- Attach the P-trap’s inlet to the tailpiece coming from the drain assembly, ensuring the washer is in place.
- Connect the outlet of the P-trap to the drainpipe extending from the wall or floor.
- Adjust the P-trap by sliding and rotating it gently until both connections line up perfectly. Make sure there is no strain on the pipes.
- Hand-tighten all slip nuts, then use pliers for a firm but careful finish. Avoid overtightening to prevent damage.
Test Kitchen Sink Drain for Leaks
Now that everything’s installed, check each connection for leaks. Run water through the drain and watch closely for drips or moisture. If you spot any leaks, tighten the connections and make sure the seals are seated securely.
Visual Leak Inspection
Although you’ve tightened all the connections, you’ll want to carefully inspect the sink drain for leaks to make certain everything is sealed properly. Leak detection is essential to avoid water damage or costly repairs later.
Grab your inspection tools, like a flashlight and paper towels, to help spot any moisture. Follow these steps for a thorough visual leak inspection:
- Shine a flashlight along all joints and connections to reveal any wet spots.
- Wipe around the drain pipes with paper towels to detect moisture or drips.
- Check for water pooling under the sink cabinet or on the floor.
- Look for corrosion or loose fittings that might indicate potential leaks.
Water Flow Testing
How can you be sure your kitchen sink drain is truly leak-free? Start by running water at a moderate flow rate, similar to everyday use, to simulate real conditions. Pay attention to how the water moves through the drain. Any slow drainage or pooling could indicate a clog or improper installation.
While testing, consider the water quality. Hard water might leave mineral deposits that affect flow over time. Watch carefully under the sink for any signs of moisture or drips as water runs.
If everything flows smoothly and remains dry underneath, your drain is functioning correctly. This step guarantees your installation handles normal water pressure and quality without leaks, giving you confidence before moving on to the seal tightness check.
Seal Tightness Check
After confirming that water flows smoothly and no moisture appears beneath the sink, it’s time to check the seal tightness. Ensuring seal integrity is vital to avoid leaks and water damage. Here’s how you can perform an effective leak detection:
- Fill the sink with water and let it sit for a few minutes.
- Inspect all connections and joints closely for any signs of moisture or drips.
- Use a dry cloth to wipe around seals and connections to detect slow leaks that may be invisible at first glance.
- If you spot any leaks, tighten fittings or reapply plumber’s putty or sealant to restore seal integrity.
This careful seal tightness check guarantees your kitchen sink drain installation remains leak-free and durable.
Clean Up and Finish Your Installation
Once you’ve secured all the connections and tested for leaks, it’s time to clean up your workspace and finalize the installation. Start by wiping down any excess plumber’s putty or sealant around the drain and decorative fixtures to keep everything looking neat.
Remove any tools and materials to avoid clutter and potential hazards. If you installed a water filtration system under the sink, double-check its connections to guarantee it’s properly integrated with your new drain setup.
Tighten any loose fittings and verify that the water flows smoothly without leaks. Finally, run water through the sink for a few minutes to confirm everything functions correctly.
Frequently Asked Questions
Can I Install a Kitchen Sink Drain Without Plumber’s Putty?
Yes, you can install a kitchen sink drain without plumber’s putty by using silicone caulk instead. For your DIY plumbing project, silicone seals well and’s easier to clean up.
Just apply a bead around the drain flange before tightening it down. This method also helps with drain maintenance since silicone is durable and prevents leaks effectively.
Remember to wipe away any excess caulk quickly to keep things neat and guarantee a solid seal.
What Type of Pipe Wrench Is Best for Sink Drain Installation?
For sink drain installation, a basin wrench works best because it’s designed to reach tight spaces behind sinks and grab drain pipe fittings securely. Pipe wrench types like adjustable and tongue-and-groove can be useful too, but they’re bulkier and less precise in cramped areas.
You’ll want a tool that lets you tighten or loosen fittings without damaging them, so a basin wrench is your go-to for most drain pipe fittings under the sink.
How Do I Fix a Slow-Draining Kitchen Sink After Installation?
If your kitchen sink drains slowly after installation, start with clog removal by checking the trap for debris and clearing it out. Use a plunger or a drain snake to tackle deeper blockages.
For ongoing drain cleaning, pour a mixture of baking soda and vinegar followed by hot water down the drain to break up buildup. Regularly maintaining your drain helps prevent future slow drainage and keeps water flowing smoothly.
Are There Eco-Friendly Alternatives to Traditional Drain Materials?
Yes, you can choose eco-friendly alternatives like biodegradable pipes that break down naturally, reducing environmental impact. You’ll also find recyclable fittings made from materials such as stainless steel or certain plastics, which you can reuse or recycle after their lifespan.
How Often Should I Replace My Kitchen Sink Drain Components?
You should replace your kitchen sink drain components every 5 to 10 years, depending on drain maintenance and usage. Regularly inspect for leaks, corrosion, or clogs that shorten component lifespan.
If you notice persistent issues or worn parts, don’t wait. Swap them out to avoid bigger problems. Staying proactive with drain maintenance helps extend lifespan, ensuring your sink works smoothly and prevents costly repairs down the line.
Conclusion
You started with a cluttered, leaky mess, unsure where to begin. Now, you’ve transformed your sink into a smoothly draining, reliable centerpiece of your kitchen.
The frustration of drips and clogs has given way to the satisfaction of a job well done. With just a few tools and these simple steps, you’ve turned a formidable task into a quick success.
Enjoy the calm flow of your newly installed kitchen sink drain. You’ve earned it.