How to Clean a Kitchen in 5 Easy Steps
Keeping your kitchen clean can feel like a never-ending chore, especially when dishes, clutter, and stubborn messes pile up. You’re not alone—many people struggle to keep this busy space fresh without spending hours scrubbing.
To clean a kitchen in 5 easy steps, start by gathering your supplies and clearing countertops and clutter. Wash dishes and scrub the sink to keep the area fresh. Wipe down counters, cabinets, and appliance exteriors with an all-purpose cleaner.
Next, tackle kitchen appliances by soaking stove parts and cleaning the oven and microwave. Finish by sweeping and mopping the floor thoroughly.
Keep going to find helpful tips that make the process even smoother and quicker!
Key Takeaways
- Gather all cleaning supplies and clear countertops by putting away dishes and organizing pantry items.
- Wash and rinse dishes thoroughly, then clean and clear the sink area of grime and debris.
- Wipe down countertops, cabinets, and appliances with appropriate cleaners, focusing on handles and hidden corners.
- Clean kitchen appliances by soaking removable parts, using degreasers, and wiping interiors with suitable solutions.
- Sweep the floor thoroughly, spot-clean stains, then mop in an S-pattern, paying special attention to grease and grout.
Gather Cleaning Supplies and Clear Kitchen Clutter
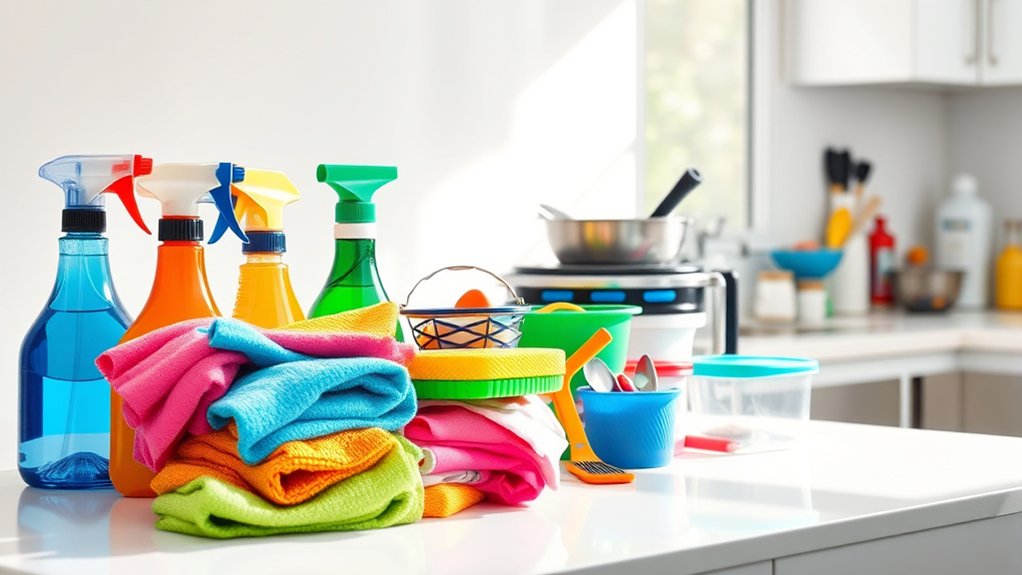
Before you plunge into scrubbing and wiping, gather all the cleaning supplies you’ll need and clear any clutter from your kitchen surfaces. Start by putting away dishes and food items, then focus on organizing pantry shelves.
Gather supplies and clear kitchen clutter before scrubbing to create a smooth, efficient cleaning process.
Group similar items together, check expiration dates, and toss expired products. This not only frees up space but makes future cooking easier.
While you’re at it, set up separate bins or bags for recycling waste like cardboard, glass, and plastic containers. Sorting recyclables now saves you time later and helps keep your kitchen eco-friendly.
Use a trash bag for non-recyclable garbage. With your counters clear and supplies in hand, such as all-purpose cleaner, sponges, and microfiber cloths, you’re ready to tackle cleaning efficiently.
Taking these initial steps guarantees your kitchen is tidy and well-prepped, making the rest of your cleaning routine smoother and more effective.
Wash Dishes and Clear the Sink Area
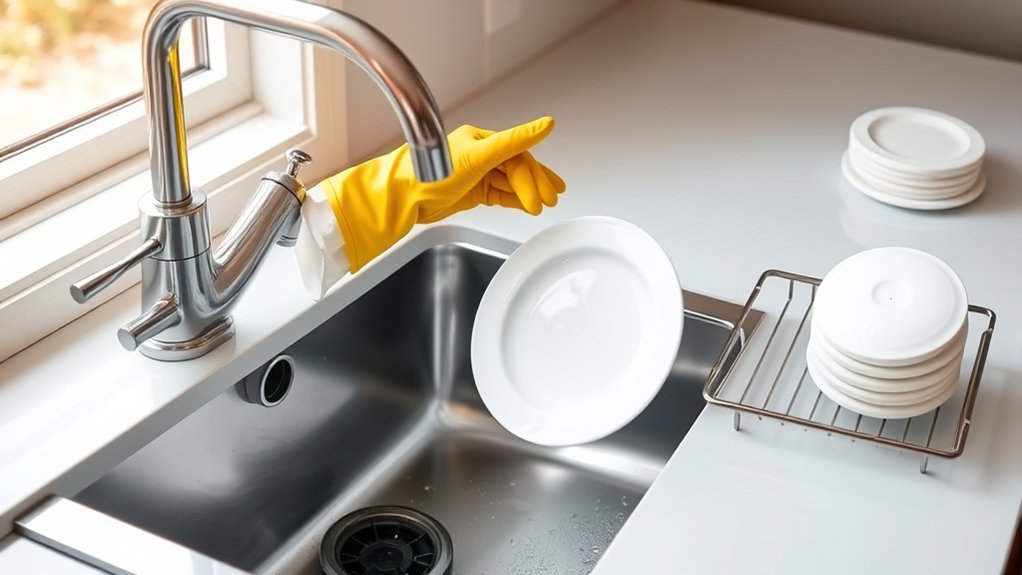
Once you’ve cleared the countertops, focus on washing any dirty dishes and clearing out the sink area. Start by rinsing dishes to remove loose debris, then apply dish soap and use a scrub brush to tackle stuck-on food.
Wash in order: glasses, utensils, plates, and pots to keep water cleaner longer. Rinse thoroughly and place dishes in a drying rack or towel.
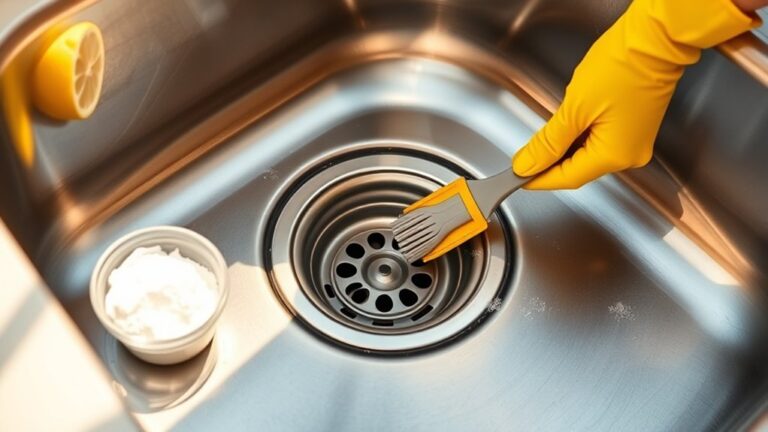
Don’t forget to clean the sink itself. Scrub it with dish soap and your scrub brush to remove grime and prevent odors.
Clear out any food particles from the drain to keep water flowing smoothly.
Here’s a simple guide to washing dishes efficiently:
| Step | Tool Needed | Tip |
|---|---|---|
| Rinse | Water | Remove loose food first |
| Scrub | Dish soap, brush | Use circular motions |
| Rinse & Dry | Water, rack | Let air-dry or towel dry |
This routine keeps your sink area spotless and ready for the next kitchen task.
Wipe Down Kitchen Counters, Cabinets, and Appliances
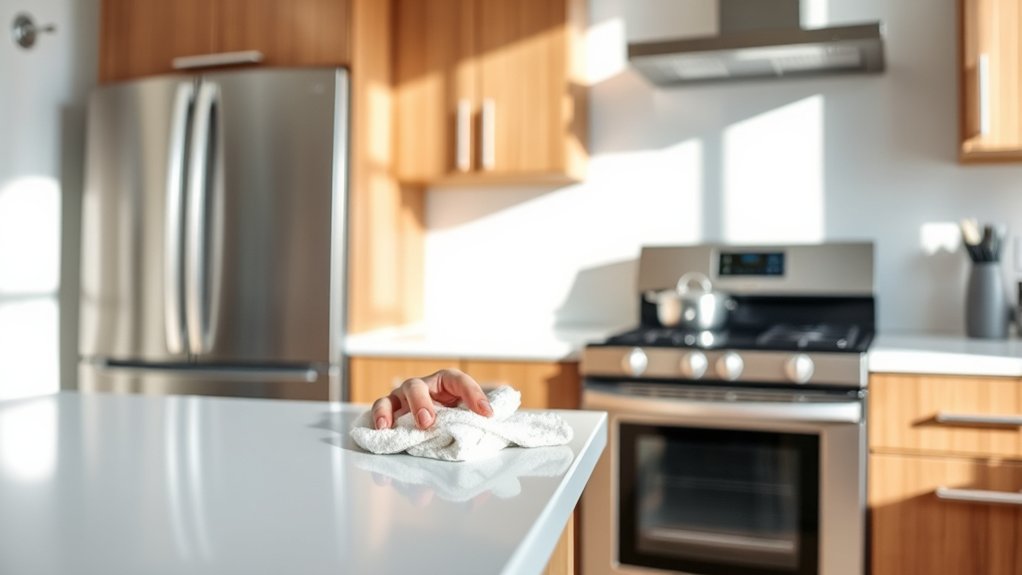
While your dishes dry, wipe down the kitchen counters, cabinets, and appliances to remove crumbs, spills, and fingerprints. Start with a clean cloth and an all-purpose cleaner suitable for your surfaces.
For effective countertop sanitization, spray the cleaner evenly and let it sit briefly before wiping to kill germs and lift stains. Don’t forget edges and corners where crumbs often hide.
Next, move to cabinet polishing. Use a gentle wood or laminate cleaner depending on your cabinet material, and apply it with a soft cloth to restore shine and protect the finish.
Avoid harsh chemicals that can damage surfaces or strip protective coatings. Finally, wipe down the exterior of your appliances, like the fridge and dishwasher, focusing on handles and touchpoints to remove buildup.
Keeping these areas clean not only improves your kitchen’s appearance but also maintains hygiene and prolongs the life of your surfaces.
Clean Kitchen Appliances: Stove, Oven, and Microwave
After wiping down your counters, cabinets, and appliance exteriors, it’s time to focus on cleaning the stove, oven, and microwave, which often collect grease, food splatters, and odors.
Start by removing stove grates and burner caps to soak in warm, soapy water. Scrub away residue with a non-abrasive sponge, then wipe the stovetop with a degreaser to restore its shine.
For the oven, use a commercial oven cleaner or baking soda paste to break down baked-on grime. Let it sit before scrubbing and wiping the surface clean.
Don’t forget to clean the oven racks by soaking them in hot water and dish soap.
Finally, tackle the microwave by heating a bowl of water with lemon juice inside for a few minutes. This loosens food particles, making it easier to wipe the interior with a soft cloth.
Regular cleaning supports kitchen organization and extends appliance maintenance, helping your kitchen run smoothly and efficiently.
Sweep and Mop the Kitchen Floor
Although cleaning appliances takes care of the visible mess, you can’t forget about the kitchen floor. Sweeping removes crumbs, dust, and debris that accumulate daily.
Start by thoroughly sweeping every corner, especially under cabinets and appliances. Next, tackle any floor stains by spot-cleaning before mopping.
Using the right mop techniques ensures your floor gets truly clean without spreading dirt around.
Here’s what to focus on while you sweep and mop:
- Gather crumbs and dirt from tile grout lines
- Remove sticky spills near the sink
- Target grease spots around the stove area
- Clean under the refrigerator edges
- Use a gentle scrubbing motion for stubborn floor stains
Finish by mopping in an S-pattern to cover the entire surface evenly. Rinse your mop frequently and change the water if it gets dirty.
This way, your kitchen floor will look spotless and fresh every time.
Frequently Asked Questions
How Often Should I Deep Clean My Kitchen?
You should deep clean your kitchen every one to two months to keep it in top shape. Sticking to a regular cleaning schedule helps with kitchen maintenance and prevents grime buildup.
If you cook frequently or notice messes piling up, you might want to deep clean more often. Make deep cleaning part of your routine alongside daily and weekly tasks to guarantee your kitchen stays hygienic and efficient without feeling overwhelming.
What Natural Cleaners Are Safe for Kitchen Surfaces?
You’d think knights would’ve carried vinegar as their secret eco-friendly solution, and you’re not far off—white vinegar, baking soda, and lemon juice make excellent natural cleaners.
These DIY cleaning tips help you clean without harsh chemicals, keeping your kitchen surfaces safe and sparkling. Just mix vinegar with water for countertops, sprinkle baking soda for scrubbing, and use lemon juice to disinfect.
You’ll love how fresh and chemical-free your kitchen feels.
How Do I Clean Mold From Kitchen Walls?
To clean mold from kitchen walls, start by mixing white vinegar or a baking soda solution. Spray it on the affected area and scrub gently with a brush. Rinse with water and dry thoroughly to prevent mold from returning.
Use effective wall cleaning techniques like regular wiping and ensuring good ventilation. For mold prevention, keep your kitchen dry and fix leaks promptly. This keeps mold from coming back and keeps your walls clean.
Can I Use Vinegar to Clean Stainless Steel Appliances?
You can definitely give vinegar a gentle hug when cleaning your stainless steel appliances. Vinegar safety is important—you should dilute it with water to avoid any harsh effects.
Spray the mixture lightly and wipe with a soft cloth to remove fingerprints and grime. This method supports stainless steel polishing, leaving your appliances shining without harsh chemicals.
Just remember to dry thoroughly to keep that sleek, polished look you’re aiming for.
How Do I Organize My Pantry for Easy Access?
To organize your pantry for easy access, start by grouping similar items together, like snacks, canned goods, and baking supplies. Use clear containers to keep things visible and fresh.
Don’t forget shelf labeling—it helps you quickly find what you need and keeps everything in its place. Place frequently used items at eye level and less-used ones higher or lower.
This pantry organization method saves you time and reduces clutter effectively.
Conclusion
Now that you know how to clean a kitchen in just five easy steps, you’ll save time and enjoy a sparkling space. Did you know that a clean kitchen can reduce the risk of foodborne illness by up to 30%?
Keeping your counters, appliances, and floors spotless not only makes cooking more enjoyable but also keeps your family healthier. So, grab your supplies and get started. You’ll love the fresh, inviting kitchen you create!