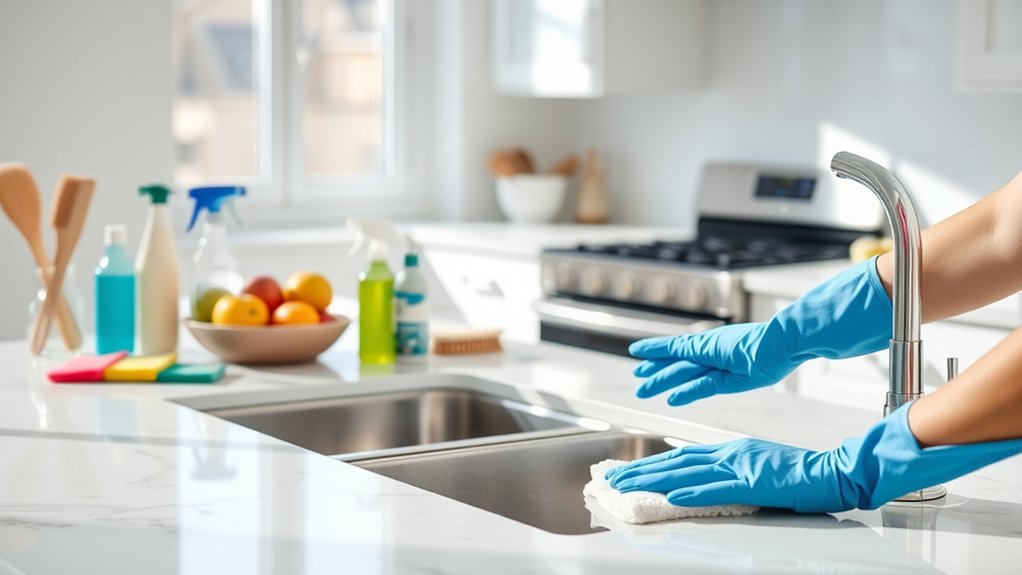
How to Clean Your Kitchen in 7 Easy Steps
Keeping a kitchen clean can feel like an endless chore, especially when clutter, greasy surfaces, and stubborn spills quickly pile up. You’re not alone—many people struggle to keep their kitchen fresh and organized.
This guide to how to clean your kitchen in 7 easy steps will help you get the job done with less stress.
Start by clearing clutter, sorting items to keep or toss, and organizing with stackable shelves and clear containers.
Put away dishes by size, drying them thoroughly.
Wipe down countertops and sinks using gentle cleaners suited for your surfaces, then clean the stove and oven, letting degreasers sit before scrubbing.
Sweep and mop floors carefully, changing water often.
Finish by disinfecting door handles, light switches, and appliance controls to keep germs away.
Follow these steps, and you’ll find more tips for a spotless kitchen ahead.
Key Takeaways
- Declutter and organize one area at a time, sorting items to keep, toss, or relocate for a manageable cleaning process.
- Clean countertops and sinks using gentle cleaners suited to the surface. Apply disinfectants to high-touch areas like handles and switches.
- Remove grease and grime from the stove and oven by soaking racks and using degreasers. Scrub after letting the cleaning agents sit.
- Sweep and mop floors thoroughly, targeting corners and stubborn stains. Change the mop water frequently to avoid spreading dirt.
- Regularly disinfect door handles, light switches, and appliance controls with appropriate wipes. Focus on edges and crevices for better hygiene.
Clear Out Clutter
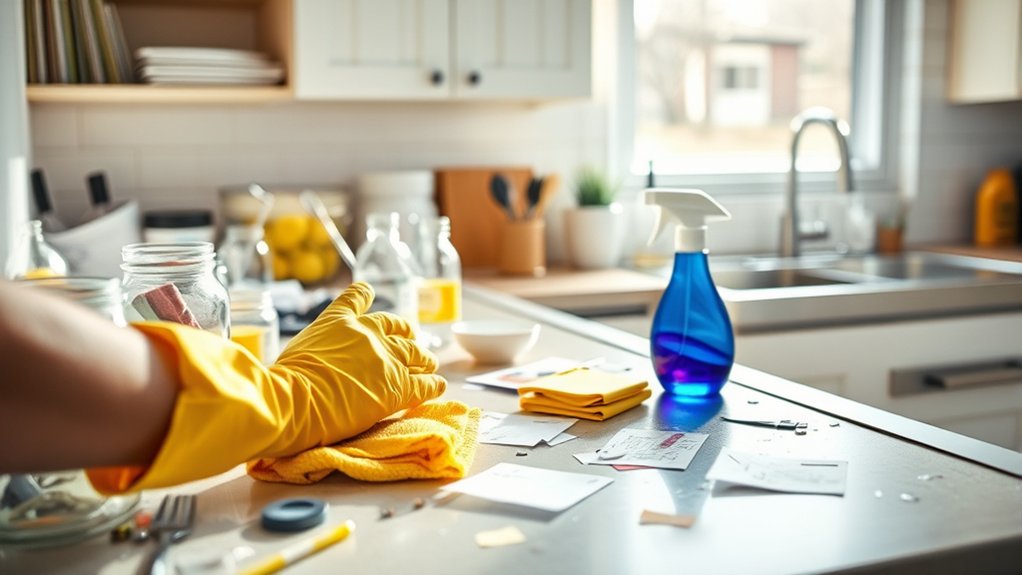
Where do you even begin when your kitchen counters are buried under piles of stuff? Start by tackling one section at a time to avoid feeling overwhelmed.
Use simple decluttering tips like sorting items into categories: keep, toss, or relocate. Be ruthless. If you haven’t used something in months, it’s time to let it go.
Sort items into keep, toss, or relocate—if unused for months, it’s time to let it go.
Next, consider your storage solutions. Maximize cabinet space with stackable shelves or drawer organizers to keep everything neat and accessible.
Clear containers can help you see what you have, reducing unnecessary duplicates. Don’t forget vertical space. Hooks and magnetic strips are perfect for utensils or knives.
By clearing out clutter and implementing smart storage solutions, you’ll create a tidy, functional kitchen that makes cooking more enjoyable.
Put Away Dishes
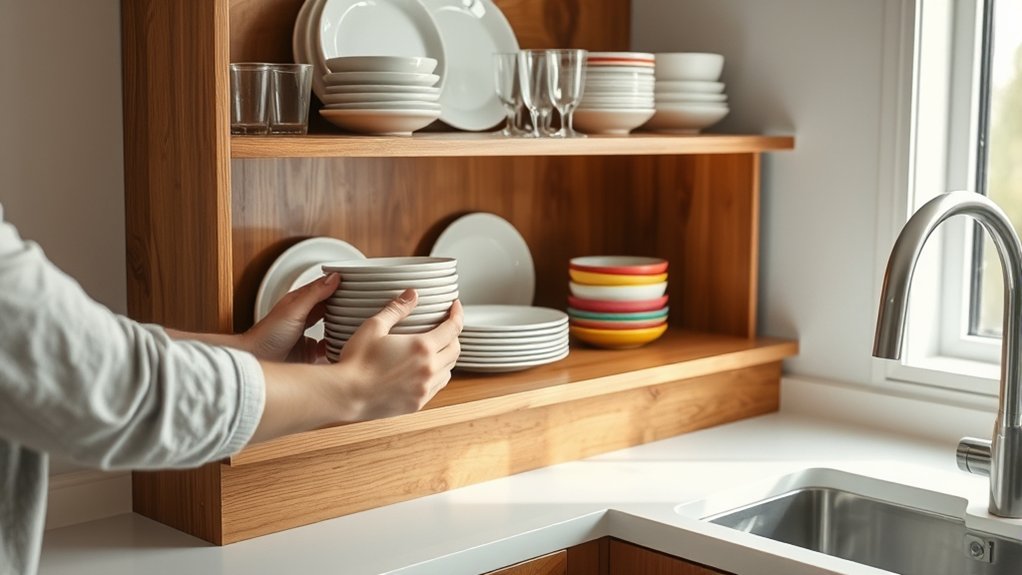
Start by organizing your dishes by size. It’ll make putting them away quicker and easier. Stack plates together, and nest bowls neatly in their proper storage spots. This keeps your kitchen tidy and helps your cabinets stay organized.
Organize By Size
Although it might seem simple, organizing your dishes by size can make putting them away faster and keep your kitchen tidy. Start by grouping plates, bowls, and cups from largest to smallest, so everything fits neatly in your cabinets.
This not only streamlines your daily routine but also complements your kitchen decor by creating a clean, uniform look. When dishes are properly arranged, you reduce the risk of accidents that could damage both your dishes and nearby appliances, supporting better appliance maintenance.
Plus, a well-organized cabinet means you’ll spend less time searching for the right dish, making cooking and cleaning more efficient. Take a few minutes to sort your dishes today. It’s a small step that makes a big difference.
Use Proper Storage
When you put away dishes, using proper storage techniques guarantees they stay clean and intact for longer. Start by drying each item thoroughly to prevent moisture buildup, which can lead to odors or damage.
Store plates and bowls in sturdy cabinets or shelves that suit their size to avoid chips or cracks. For glasses and cups, keep them upright to maintain their shape and cleanliness.
Incorporate food storage containers neatly in your pantry organization, stacking them by size and purpose for easy access. Label containers clearly to avoid confusion and keep your kitchen efficient.
Properly storing dishes not only protects them but also streamlines your daily routine, making your kitchen a cleaner, more organized space.
Wipe Down Kitchen Countertops and Surfaces
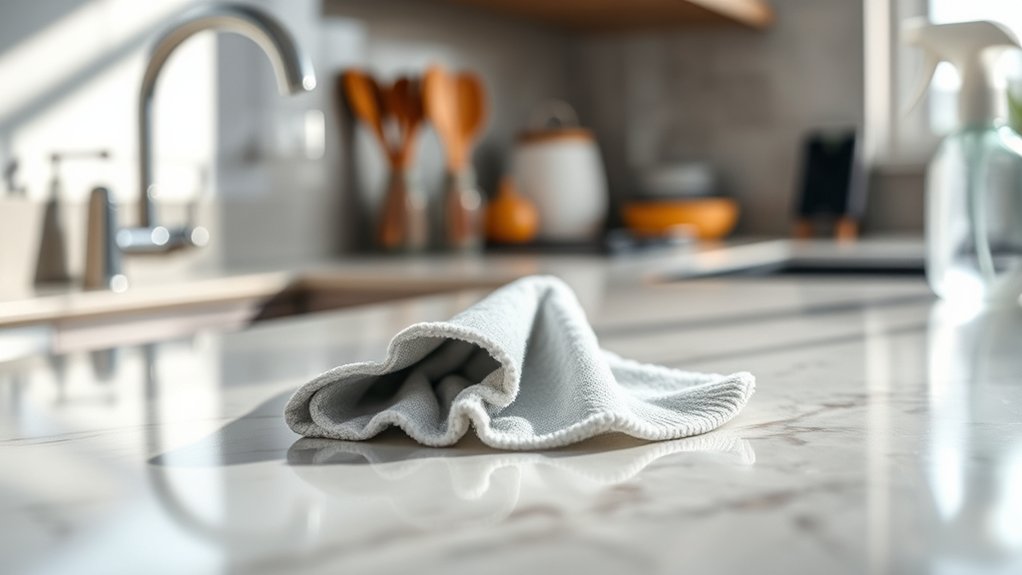
How often do you clean your kitchen countertops and surfaces? Keeping them spotless is essential for both hygiene and appearance.
Start by identifying your countertop material, such as granite, laminate, or wood, since this determines the best cleaning method. Use a gentle cleaner for delicate materials like wood, while stone surfaces can handle mild detergents.
Avoid harsh chemicals that might damage finishes. Next, apply surface disinfectants to kill germs, especially after food prep.
Spray evenly and let it sit for the recommended time before wiping. Use a microfiber cloth to clean without scratching.
Don’t forget high-touch areas like backsplashes and cabinet handles. Regularly wiping down these surfaces prevents buildup and keeps your kitchen safe.
Clean the Kitchen Sink and Faucets Thoroughly
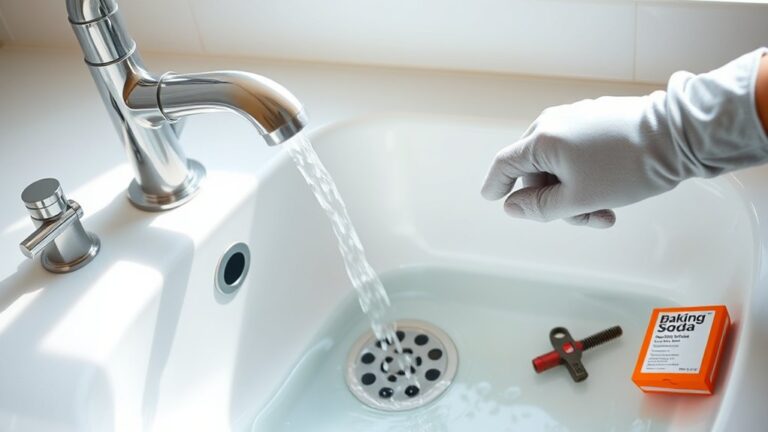
After wiping down your countertops and surfaces, paying close attention to the kitchen sink and faucets is the next step. Start by clearing out any debris from the drain to prevent clogs. This is essential drain maintenance.
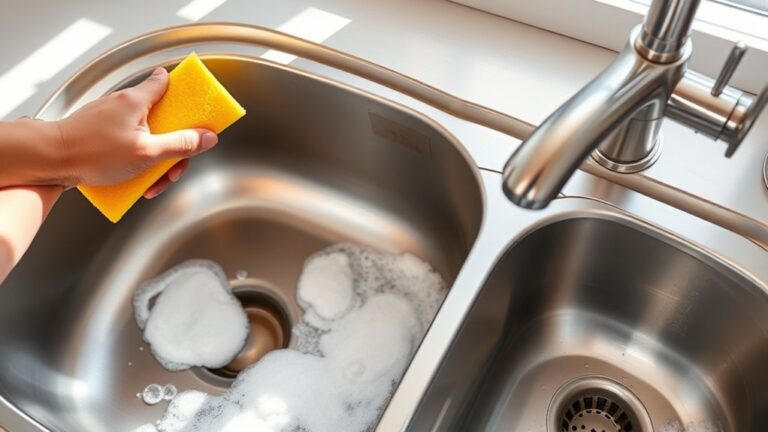
Use a mixture of baking soda and vinegar to break down buildup, then flush with hot water for a fresh, clean drain. Next, scrub the sink basin with a non-abrasive cleaner to remove stains and grime.
For your faucets, focus on faucet polishing to restore their shine. Use a gentle cleaner or a solution of equal parts water and vinegar, then buff with a soft cloth to avoid scratches.
Don’t forget to clean around the base and handles where dirt often hides. This thorough sink and faucet cleaning improves your kitchen’s appearance, helps maintain hygiene, and prolongs the life of your fixtures.
Regular attention here makes your kitchen cleaner and more inviting.
Clean the Stove and Oven
Start by tackling the grease buildup on your stove so scrubbing is easier. Then, use an oven-cleaning method that suits your oven type. Be sure to choose safe cleaning products to protect both your appliances and your health.
Removing Grease Buildup
Why does grease buildup stubbornly cling to your stove and oven? Grease removal requires targeted stain treatment because cooking oils bond tightly with heat-exposed surfaces.
To tackle this, start by applying a degreasing agent and letting it sit to break down the grime. Then, scrub gently with a non-abrasive sponge to avoid damage.
| Step | Tool/Agent | Purpose |
|---|---|---|
| Apply cleaner | Degreaser or vinegar | Loosen grease stains |
| Wait | 10-15 minutes | Allow agent to work |
| Scrub & rinse | Sponge & warm water | Remove grease buildup |
Following this method ensures efficient grease removal and keeps your stove and oven spotless without harsh scrubbing.
Oven Cleaning Techniques
When grease and food splatters accumulate inside your oven, tackling the mess promptly makes cleaning much easier. Start by removing the oven racks and soaking them in warm, soapy water.
Next, create a paste using baking soda and water to apply inside the oven, focusing on greasy spots. Let it sit for at least 30 minutes to break down stubborn stains.
Then, use a damp cloth or sponge to wipe away the paste, which helps with grease removal. For tough grime, a plastic scraper can assist without damaging surfaces.
Finally, rinse the oven interior with a clean, damp cloth and dry it thoroughly. Regular oven cleaning prevents buildup, improves performance, and keeps your kitchen fresh and hygienic.
Don’t forget to clean your stove regularly to maintain overall grease removal.
Safe Cleaning Products
How often do you consider the safety of the cleaning products you use on your stove and oven? Choosing safe options not only protects your health but also benefits the environment.
You can keep your kitchen spotless without harsh chemicals by opting for products with natural ingredients and environmentally friendly formulas.
Here are three tips to help you pick safe cleaning products:
- Look for labels highlighting natural ingredients like vinegar, baking soda, or lemon extracts.
- Avoid products with ammonia, chlorine bleach, or synthetic fragrances that can irritate your skin and lungs.
- Choose biodegradable and environmentally friendly brands to reduce your carbon footprint.
Sweep and Mop the Kitchen Floor
Although it might seem like a simple task, sweeping and mopping your kitchen floor requires a bit of strategy to guarantee it’s thoroughly clean. Start by sweeping the floor to remove crumbs, dust, and debris, paying close attention to corners where dirt tends to accumulate.
Use a broom with stiff bristles for better results on textured floors. When it’s time to mop, choose the right mop technique to tackle floor stains effectively.
For stubborn spots, apply a little cleaning solution directly and let it sit for a few minutes before scrubbing gently. Mop in a consistent pattern, either figure eights or straight lines, to avoid missing areas.
Change your mop water frequently to prevent spreading dirt around. Finally, let the floor air dry or wipe it with a clean, dry cloth to avoid streaks.
Following these steps will keep your kitchen floor spotless and hygienic.
Disinfect Door Handles, Light Switches, and Appliance Controls
Since these high-touch areas are breeding grounds for germs, you should disinfect door handles, light switches, and appliance controls regularly. Focusing on door handle sanitization and light switch sterilization helps reduce the spread of bacteria and viruses in your kitchen.
Regularly disinfect door handles and light switches to help curb the spread of germs in your kitchen.
Here’s how to do it effectively:
- Use disinfectant wipes or a cloth with an appropriate cleaning solution. Avoid soaking surfaces to protect electronics.
- Wipe down door handles thoroughly, paying attention to edges and crevices where germs hide.
- Carefully sterilize light switches and appliance controls by gently cleaning around buttons and surfaces without dripping liquid inside.
Frequently Asked Questions
How Often Should I Deep Clean My Refrigerator?
You should deep clean your refrigerator every three to four months to keep it fresh and organized. During this time, focus on refrigerator organization by removing expired items and wiping down shelves.
Don’t forget door seal maintenance—clean the gasket with warm soapy water to guarantee it seals properly and saves energy. Regular deep cleaning helps prevent odors and keeps your fridge running efficiently, making your kitchen feel cleaner and more inviting.
What Natural Cleaners Are Safe for Kitchen Cabinets?
Clever, clean, and chemical-free! You can safely spruce up your kitchen cabinets using eco-friendly solutions like a DIY blend of baking soda and vinegar or mild castile soap mixed with warm water.
These natural cleaners won’t harm your cabinet’s finish and keep your kitchen toxin-free. Just grab a soft cloth, dip it in your eco-friendly mix, and gently wipe away grime.
You’ll love these DIY cleaning tips for a spotless, safe space!
How Do I Remove Grease Stains From Kitchen Walls?
To remove grease stains from kitchen walls, start by mixing warm water with a few drops of dish soap for effective grease removal. Dip a soft cloth or sponge into the solution and gently scrub the wall stains.
For tougher spots, try a baking soda paste or vinegar spray. Always test a small area first to avoid damage.
Rinse with clean water and dry the walls to prevent streaks and residue buildup.
Can I Use Vinegar to Clean Wooden Cutting Boards?
Yes, you can use vinegar to clean wooden cutting boards, but you should be mindful of vinegar safety. Vinegar is a natural disinfectant and helps remove odors, but don’t soak the board for too long, as the acidity can damage the wood.
After applying vinegar, rinse and dry the board thoroughly. For wooden board maintenance, regularly oil your cutting board to keep it from drying out and cracking, ensuring it lasts longer and stays safe for food prep.
What Is the Best Way to Clean Kitchen Trash Cans?
The best way to clean kitchen trash cans is to first remove the trash can liners and empty the bin. Rinse it with warm, soapy water, scrubbing any stuck-on grime.
For odor control, use a mixture of vinegar and baking soda to deodorize and disinfect. Rinse thoroughly and let it dry completely before putting in fresh trash can liners.
This keeps your trash area clean and helps prevent bad smells.
Conclusion
Cleaning your kitchen is like tending a garden; every step you take nurtures a space where life blossoms. By clearing clutter and wiping surfaces, you’re planting seeds of calm and order.
Scrubbing the sink and stove is like watering your roots, keeping everything healthy and strong. Sweeping floors and disinfecting handles polish your garden’s shine, inviting warmth and comfort.
Keep tending your kitchen with care, and it’ll always be a place you love to gather. Follow these 7 easy steps to clean your kitchen and keep it welcoming.