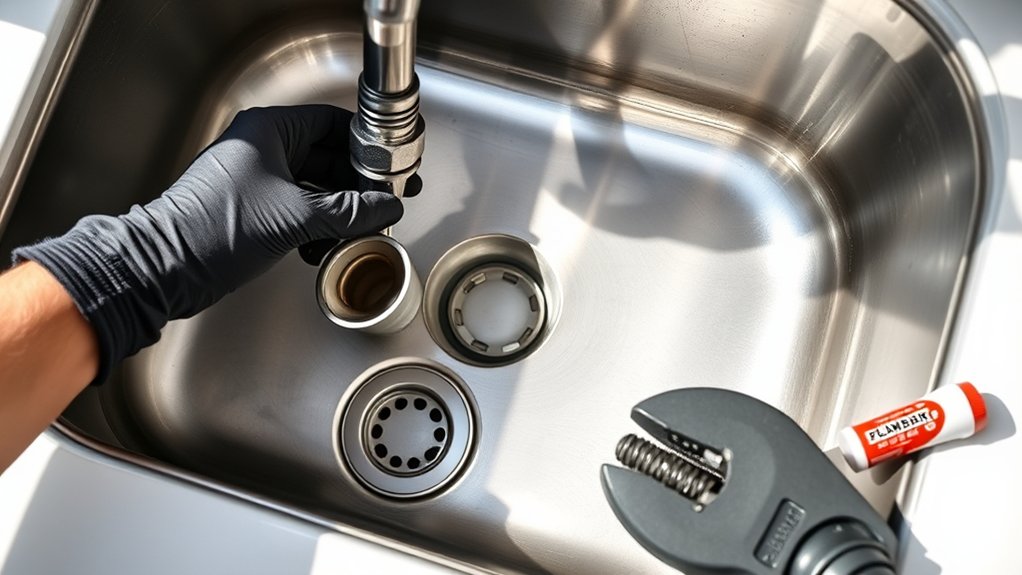
How to Replace a Kitchen Sink Drain in 10 Easy Steps
A clogged, leaking, or outdated kitchen sink drain can quickly turn a simple chore into a frustrating repair. You’re not alone—many people struggle with knowing where to start, but learning how to replace a kitchen sink drain can make the job feel much easier.
To replace your kitchen sink drain, first gather your tools and clear out under-sink cabinets for easy access. Turn off the water supply, disconnect plumbing, and remove the old drain assembly carefully.
Clean the drain opening before applying plumber’s putty to install the new flange securely. Reconnect drain pipes, tighten fittings, and test for leaks and proper flow.
If any issues pop up, troubleshoot promptly to avoid bigger problems. Keep going, and you’ll find useful tips to guarantee a smooth, lasting repair.
Key Takeaways
- Turn off water supply and disconnect existing drain pipes and P-trap using a wrench and bucket to catch residual water.
- Remove old drain assembly by loosening slip nuts and cleaning the drain opening thoroughly with a brush.
- Apply plumber’s putty around the new drain flange and press firmly into the sink’s drain hole for a watertight seal.
- Secure the drain flange underneath with rubber gasket, metal washer, and mounting nut, tightening carefully to avoid damage.
- Reconnect drain pipes and P-trap, then run water to check for leaks and ensure proper drainage flow without pooling.
Gather the Tools and Materials You’ll Need
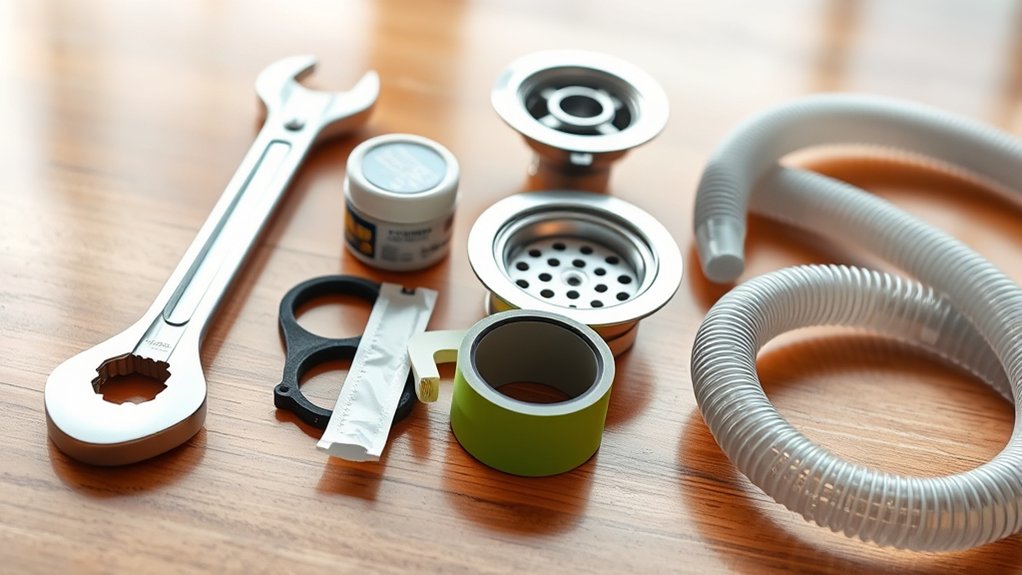
Before you begin replacing your kitchen sink drain, make sure you gather all the necessary tools and materials. Having everything at hand saves time and helps you work efficiently.
Start by selecting high-quality materials. Choose a drain assembly that fits your sink and is made of durable materials like stainless steel or brass to avoid frequent replacements.
Opt for durable, well-fitting drain assemblies like stainless steel or brass to ensure long-lasting kitchen sink repairs.
As for tools, you’ll need a wrench, plumber’s putty, a screwdriver, and a bucket for catching water. Don’t forget to check your tools beforehand, as tool maintenance is essential.
Ensure wrenches aren’t rusted, screwdrivers have intact tips, and all items operate smoothly. This prevents delays and potential damage during the job.
Clear Out Under-Sink Cabinets
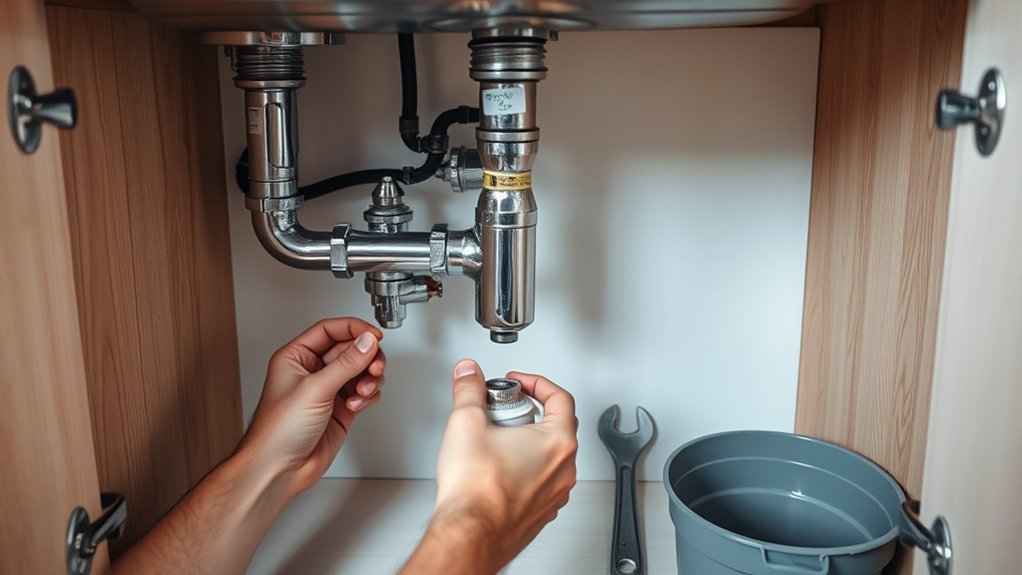
Start by taking everything out from under the sink so you have plenty of room to work. Then, place a waterproof mat or a few towels inside the cabinet to protect it from spills. Finally, make sure the area is well lit so you can clearly see all the connections.
Remove All Stored Items
Since you’ll need full access to the plumbing beneath your sink, clear out everything stored in the under-sink cabinets. Remove all cleaning supplies, trash bags, and any other items so you can work comfortably and avoid accidents.
Use this opportunity to evaluate your organizational tips and consider better storage solutions for when you put things back. Bins, stackable containers, or tension rods can help keep items tidy and accessible, preventing clutter from building up again.
Labeling containers can also save time searching later. Clearing out the space completely guarantees you won’t knock anything over or damage stored items while replacing the drain.
Plus, it makes it easier to spot leaks or other issues during the repair process. Keep the area empty until your work is finished.
Protect Cabinets From Water
Although you’ve cleared out the under-sink cabinets, you’ll want to protect them from potential water damage during the drain replacement. Proper cabinet maintenance helps prevent costly repairs.
Lay down a waterproof mat or plastic sheeting to catch drips and spills. Keep a towel nearby to quickly wipe any water that escapes.
Inspect the cabinet surfaces afterward to address any signs of moisture.
| Step | Action | Purpose |
|---|---|---|
| 1 | Clear out cabinets | Prevent damage to stored items |
| 2 | Lay waterproof mat | Protect cabinet floor |
| 3 | Use towels nearby | Quickly absorb spills |
| 4 | Check for leaks | Early detection of water damage |
| 5 | Dry cabinet surfaces | Maintain cabinet integrity |
This simple routine supports effective cabinet maintenance and minimizes water damage risks.
Ensure Adequate Lighting
Now that you’ve protected your cabinets from water damage, it’s important to make sure you have enough light to work safely and efficiently. Clear out everything from under the sink to create an open workspace.
Good lighting ambiance is key; it reduces shadows and helps you spot leaks or loose fittings easily. Consider installing a bright LED light or a small clamp light with adjustable bulb placement so you can direct light exactly where you need it.
Avoid relying on overhead kitchen lights alone, as they often cast shadows under the sink. Proper lighting ensures you won’t miss any details and prevents accidents while replacing the drain.
Taking these steps will make your repair smoother and safer.
Turn Off the Water Supply and Disconnect Plumbing
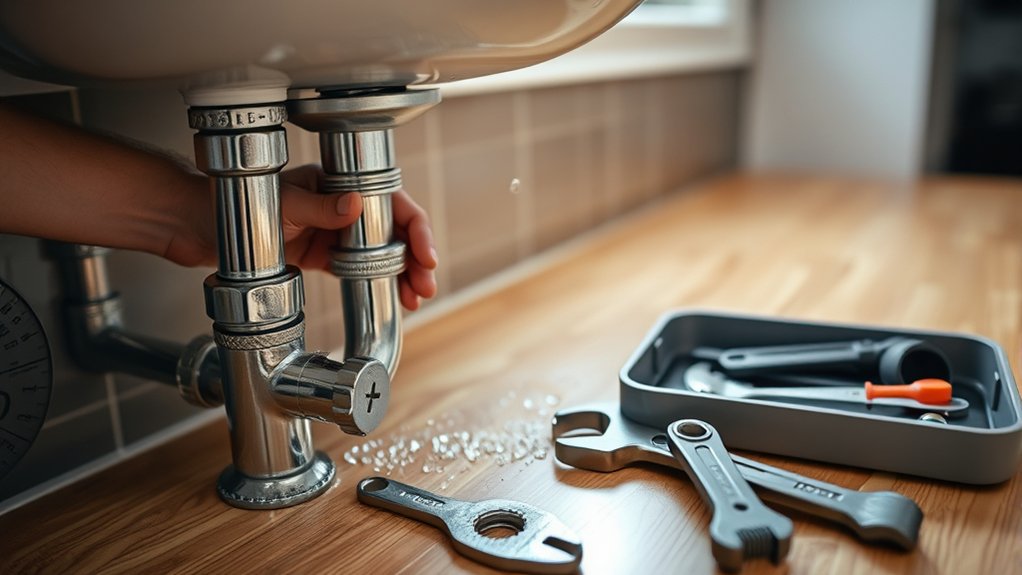
Before you start disconnecting any pipes, make sure you turn off the water supply to prevent leaks or flooding. Locate the shut-off valves under the sink and turn them clockwise until they stop. If your valves are old or stiff due to pipe corrosion, apply gentle force or use a wrench carefully to avoid damage.
After shutting off the valves, open the faucet to release any remaining water and relieve water pressure in the lines. This step minimizes spills when you disconnect the plumbing.
Next, place a bucket or towel under the drain pipes to catch residual water. Use a wrench or your hands to loosen the slip nuts connecting the drain pipes, P-trap, and tailpiece.
Be mindful of corroded fittings that may require extra effort. Once loosened, carefully disconnect the pipes, keeping the bucket in place to avoid messes.
With the water supply off and plumbing disconnected, you’re ready to move on to removing the old drain assembly.
Remove the Old Kitchen Sink Drain Assembly
With the water supply turned off and the plumbing disconnected, you can start removing the old drain assembly.
Begin by loosening the slip nuts that hold the drain assembly in place under the sink. Use a wrench or channel-lock pliers to carefully unscrew these nuts without damaging the pipes.
Once the nuts are removed, gently pull the drain assembly apart, freeing it from the sink drain opening. You might need to twist or wiggle the drain flange from above the sink to break any seal created by plumber’s putty or silicone.
Keep a bucket handy to catch any residual water trapped in the drain assembly during the removal process.
Inspect the removed parts for wear or damage, which often cause leaks or blockages. After removing the old drain assembly, you’re ready to move on to the next step in replacing your kitchen sink drain.
The removal process is straightforward but requires patience to avoid damaging your sink or plumbing.
Clean the Kitchen Sink Drain Opening Thoroughly
Although you’ve removed the old drain assembly, leftover debris and buildup can still clog the sink drain opening. Proper drain cleaning is vital to guarantee a smooth flow and prevent future blockages.
Soap buildup, grease, and food particles often accumulate in the opening, creating a stubborn barrier. Use a brush and a mild cleaner to scrub the area thoroughly.
Rinse well with hot water to wash away loosened grime. A clean drain opening makes the next steps easier and helps your new drain seal properly.
Here’s a quick overview of common buildup types and tips to tackle them:
| Buildup Type | Cleaning Tip |
|---|---|
| Soap Buildup | Use warm water and vinegar |
| Grease | Apply baking soda and scrub |
| Food Particles | Remove manually, then rinse |
| Mineral Deposits | Use lemon juice or vinegar |
| Residual Dirt | Scrub with a stiff brush |
Taking these steps guarantees your kitchen sink drain opening is spotless and ready for replacement.
Seal the Drain With Plumber’s Putty
Once you’ve cleaned the drain opening thoroughly, you’ll want to create a watertight seal by applying plumber’s putty around the drain flange. Start by rolling a small amount of putty between your hands until it forms a rope about ¼ inch thick.
After cleaning the drain, roll plumber’s putty into a ¼ inch rope to seal around the flange.
Lay this rope evenly around the underside edge of the drain flange to ensure full coverage. This step is essential after proper drain cleaning to prevent leaks.
Make sure the plumber’s putty you choose has sealant compatibility with your sink material. Some putties don’t adhere well to certain surfaces like granite or quartz.
Using an incompatible sealant can cause future leaks or damage. After applying the putty, press the flange firmly into place to spread the putty evenly and create a tight seal.
Excess putty will squeeze out, which you can trim away later. By sealing the drain properly now, you’ll avoid water damage and maintain the integrity of your kitchen sink drain system.
Install the New Kitchen Sink Drain Flange
After applying plumber’s putty to create a watertight seal, you’re ready to install the new kitchen sink drain flange. Begin by pressing the drain flange firmly into the sink’s drain hole, ensuring the plumber’s putty spreads evenly beneath it. This step is vital for preventing leaks.
Hold the flange steady while you flip the sink over to access the underside for the next part of the installation process.
Underneath the sink, slide the rubber gasket and then the metal washer onto the drain flange’s threaded end. Secure them tightly with the mounting nut by turning it clockwise.
Use adjustable pliers to tighten the nut further, but don’t overtighten. This could crack the sink or damage the flange. Wipe away any excess plumber’s putty that squeezes out around the top of the drain flange.
Following this installation process correctly ensures your new drain flange sits securely and leak-free, setting you up for the next steps.
Attach Kitchen Sink Drain Pipes to Plumbing
Several components must be connected to attach the kitchen sink drain pipes to your home’s plumbing correctly. Begin by ensuring proper pipe alignment between the sink drain and the existing plumbing to avoid leaks or stress on joints. Position the trap and extension pipes carefully, adjusting their angles so everything fits snugly.
Next, apply thread sealing tape or plumber’s putty on threaded connections to create a watertight seal. This thread sealing prevents leaks where pipes and fittings screw together. Hand-tighten the slip nuts first, then use a wrench to secure them, but don’t overtighten as this can crack plastic parts.
Make sure all connections are firm but flexible enough to accommodate slight adjustments. Double-check the alignment once everything is hand-tightened before fully tightening. Proper pipe alignment and thread sealing are key to a durable, leak-free connection between your kitchen sink drain pipes and home plumbing.
Test the New Drain for Leaks and Proper Flow
Now that the drain pipes are attached, run some water to check for leaks. Carefully inspect each connection while the water is flowing, and make sure it drains smoothly without backing up or slowing down. Catching problems early helps ensure your new drain works properly and prevents future issues.
Leak Detection Methods
Although you’ve installed the new drain carefully, you’ll want to verify it’s working properly before finishing up. Start by running water through the sink, watching closely under the pipes for any signs of leaks.
Use a flashlight to inspect joints and connections where pipe corrosion might cause weaknesses. If you spot moisture, tighten fittings or replace worn washers immediately.
To detect hidden leaks, place a dry paper towel around suspect areas; if it becomes wet, you’ve found a leak. Avoid drain clogs by guaranteeing all debris is cleared before testing.
Finally, listen for any unusual dripping sounds and check for water pooling around the cabinet floor. Catching leaks early prevents damage and ensures your new drain functions smoothly.
Flow Rate Verification
After confirming there are no leaks, the next step is to verify that your new drain allows water to flow freely and efficiently. Testing the flow rate ensures your kitchen sink drain functions properly under normal water pressure.
Turn on the faucet fully and observe how quickly the water drains. Watch for slow drainage or backup, which could signal blockages or incorrect installation.
Here’s what to focus on:
- Consistent, strong flow without hesitation
- No pooling water around the drain
- Smooth drainage with no gurgling sounds
- Water pressure remains steady without fluctuations
- Quick clearing of water to prevent clogs
Troubleshoot Common Kitchen Sink Drain Issues
When your kitchen sink drain starts acting up, you’ll want to identify the cause quickly to prevent bigger problems. One common issue is drain clogging, which slows water flow and can cause backups.
Start by checking for visible blockages in the drain or P-trap. Use a plunger or a drain snake to clear stubborn clogs before they worsen. If water drains slowly despite these efforts, the pipes might need a professional inspection.
Another frequent concern is odor elimination. Foul smells usually come from trapped food debris or stagnant water in the drain.
Pouring a mixture of baking soda and vinegar followed by hot water can neutralize odors effectively. Keeping the drain clean and running water regularly helps prevent buildup.
If odors persist, you might need to replace the drain gasket or clean the vent pipe. Addressing these issues promptly ensures your kitchen sink drain works efficiently and avoids costly repairs.
Frequently Asked Questions
What Type of Sink Drain Is Best for a Farmhouse Sink?
For the best farmhouse drain compatibility, choose a heavy-duty, corrosion-resistant drain made from stainless steel or brass. These materials complement your farmhouse sink’s durability and provide long-lasting performance against wear and tear.
A drain with a wide opening and slip-joint connection fits farmhouse sinks well, helping prevent leaks and clogs. Choose one designed for thicker sink walls so it seals properly and keeps everything running smoothly.
Can I Replace a Kitchen Sink Drain Myself Without Plumbing Experience?
Yes, you can replace a kitchen sink drain yourself even without plumbing experience. With basic tools and a willingness to learn, DIY plumbing projects like this are manageable.
Just take your time, follow step-by-step guides, and watch tutorial videos to avoid mistakes. Doing your own sink maintenance saves money and helps you understand your kitchen’s plumbing better.
If you run into trouble, don’t hesitate to ask for advice or call a pro.
How Long Does It Usually Take to Replace a Kitchen Sink Drain?
You’ll spend about 30 to 60 minutes replacing a kitchen sink drain, depending on your skill level and tools. You’ll remove the old drain, clean the pipes for drain cleaning, and install the new drain carefully to guarantee leak prevention.
Taking your time to seal connections properly and test for leaks will help you avoid future problems. With patience and attention, you’ll finish efficiently and keep your sink running smoothly.
Are There Eco-Friendly Materials for Kitchen Sink Drains?
Yes, you can choose eco-friendly materials for your kitchen sink drain. Look for drains made from biodegradable materials that break down naturally over time, reducing environmental impact.
You’ll also find options that incorporate recycled components, which help conserve resources and lower waste. By selecting these sustainable materials, you’ll not only improve your kitchen’s function but also contribute to a greener planet without sacrificing durability or style.
What Should I Do if My Kitchen Sink Smells After Installation?
If your kitchen sink smells after installation, start by checking for drain odor caused by trapped debris or poor sealing. Clean the drain thoroughly and pour a mixture of baking soda and vinegar down it to neutralize odors.
Also, inspect your ventilation solutions. Improper venting can cause smells to linger. Make sure the vent pipes aren’t blocked or clogged, allowing air to flow freely and prevent drain odor buildup.
Conclusion
Replacing your kitchen sink drain is more than a task—it’s a fresh start. Like clearing a path for water to flow freely, you’re opening the way for new moments in your home.
With each tightened pipe and sealed flange, you’re not just fixing plumbing; you’re restoring comfort and peace. Welcome this small victory—it symbolizes your ability to take control and nurture the heart of your kitchen, where life and memories flow endlessly.
By learning how to replace a kitchen sink drain, you’re creating a cleaner, more functional space for everyday moments.