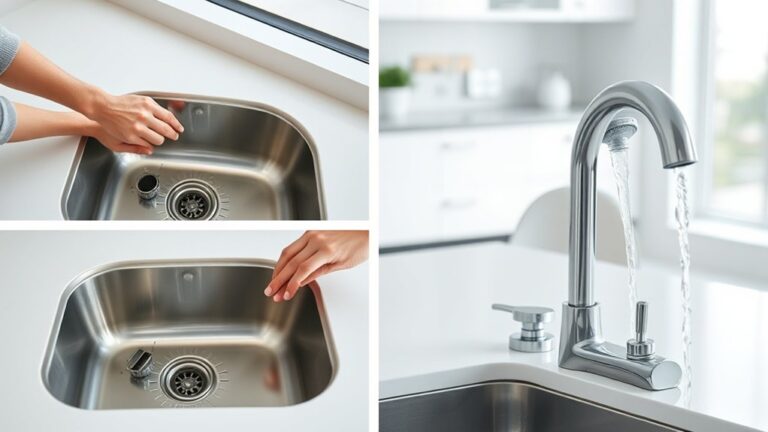
How to Replace a Kitchen Sink in 7 Easy Steps
Replacing a kitchen sink can feel overwhelming, especially when you’re worried about leaks, poor fit, or damaging your countertop. You’re not alone—many homeowners struggle with knowing where to start, but the right tools and a clear plan can make the job much easier.
First, gather all necessary tools and make certain your new sink fits the countertop opening. Then, turn off the water supply and disconnect the plumbing.
Measure carefully before removing the old sink and cleaning the area thoroughly.
Position your new sink, apply sealant, and secure it properly. Next, reconnect plumbing, checking for any leaks as you turn the water back on.
Finally, test water flow and stability to confirm a solid installation. Keep going to uncover detailed tips and tricks for each step.
Key Takeaways
- Turn off water supply, disconnect plumbing, and remove the old sink carefully.
- Measure countertop opening and ensure the new sink fits precisely before installation.
- Position the new sink, apply silicone sealant, and secure it firmly in place.
- Reconnect plumbing with plumber’s tape and check all fittings for leaks.
- Test water flow and drainage, ensuring no leaks or alignment issues remain.
Gather Tools and Materials for Your Kitchen Sink Replacement
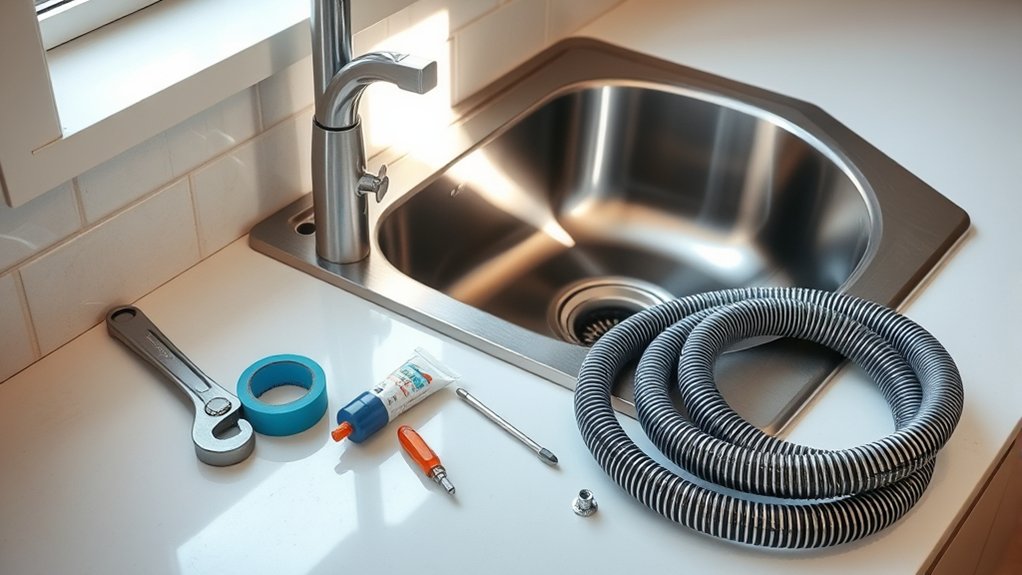
Before you begin replacing your kitchen sink, make certain you have all the necessary tools and materials on hand. Start by gathering a new sink, plumber’s putty, pipe wrench, plumber’s tape, bucket, and adjustable wrench. Don’t forget a utility knife and silicone sealant for a tight, clean finish. Having these ready saves you time and frustration during the process.
Consider your design ideas carefully before choosing your sink. Whether you want an undermount or drop-in style, select one that fits your kitchen layout and complements your décor.
While you’re at it, check out cleaning tips specific to your sink material. For example, stainless steel sinks need regular wiping to avoid water spots, while composite granite sinks benefit from gentle cleansers.
Preparing with these tips ensures your new sink stays spotless and stylish longer. Being organized upfront helps your replacement go smoothly and keeps your kitchen looking fresh from the start.
Turn Off Water and Disconnect Plumbing Pipes
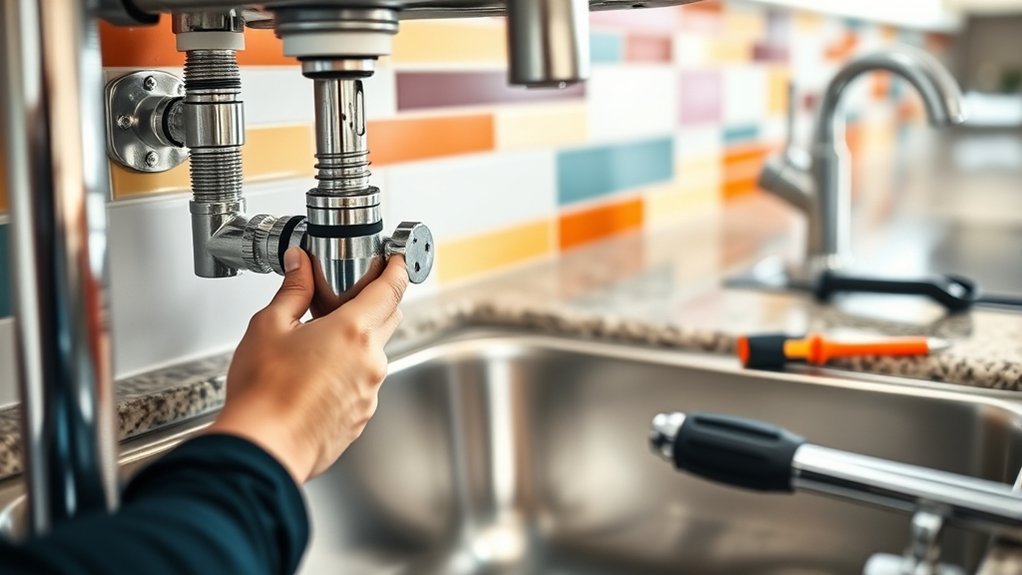
Once you’ve gathered all your tools and chosen the right sink, it’s time to shut off the water supply to prevent leaks or spills. Locate the shutoff valves under the sink and turn them clockwise to stop the water flow. If you don’t find individual valves, turn off the main water supply for your home.
Next, open the faucet to relieve any remaining water pressure in the pipes. This step helps avoid sudden sprays when you disconnect the plumbing.
Carefully disconnect the water supply lines using an adjustable wrench. Watch for signs of pipe corrosion, which can weaken connections and cause leaks.
If you notice corrosion, consider replacing the affected pipes to guarantee a secure fit with your new sink. Finally, detach the drain pipes, loosening the slip nuts by hand or with pliers.
Have a bucket ready to catch residual water. With the plumbing disconnected, you’re now ready to remove your old sink and install the replacement.
Measure Your Countertop Opening and Check Sink Compatibility
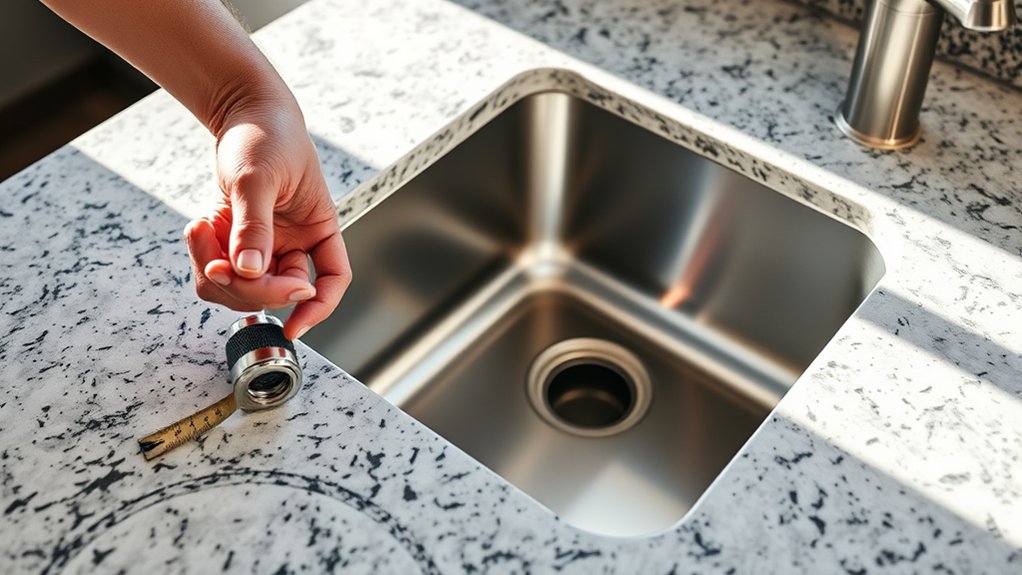
Start by measuring your countertop opening carefully to ensure accurate sizing. Then, compare those measurements with the dimensions of the new sink to confirm that it will fit. Finally, check the sink’s mounting type to make sure it’s compatible with your countertop setup.
Measure Countertop Dimensions
Although choosing a new sink is exciting, you’ll need to measure your countertop opening accurately to guarantee the replacement fits perfectly. Start by identifying your countertop material, as this affects how you take measurements and install the sink.
Use a tape measure to determine the length and width of the opening, focusing on the edge measurement where the sink will sit. Measure from the outer edge to the inner edge of the cutout on all sides to ensure precision.
Don’t forget to check for any irregularities or curves in the countertop edge that could affect fit. Recording these dimensions carefully helps you avoid mistakes and assure your new sink will align perfectly with the existing countertop cutout.
Accurate measurements save time and stress during installation.
Verify Sink Size Compatibility
With your countertop measurements in hand, you can now verify that the new sink will fit properly. First, compare the sink’s dimensions with your countertop opening to confirm a snug fit.
Remember that different sink materials can affect sizing slightly, so check the specifications carefully. Also, consider the sink’s depth to avoid clearance issues below the counter.
Don’t forget to confirm faucet compatibility. Make sure your existing faucet or a new one will work with the sink’s design and mounting holes.
To keep everything aligned, focus on:
- Accurate width and length matching your countertop cutout
- Sink material thickness and how it impacts fit
- Faucet compatibility with the sink’s hole configuration and spacing
This helps avoid surprises and ensures a smooth installation process.
Check Sink Mounting Types
How do you know if your new sink will sit properly in your countertop? First, measure the countertop opening carefully to verify the new sink fits perfectly. Next, check the sink mounting types, whether it’s top-mount, undermount, or farmhouse style, as each requires different installation techniques.
Understanding the mounting hardware included is essential since this affects how the sink attaches to your countertop. For example, top-mount sinks use clips and screws to secure from above, while undermount sinks need brackets underneath.
Make sure your countertop material supports the chosen mounting type and that the sink’s dimensions align with your opening. By matching mounting hardware and installation techniques with your countertop, you’ll avoid leaks and guarantee a stable, professional-looking installation.
Remove the Old Kitchen Sink and Clean the Area
Before you install your new kitchen sink, you’ll need to carefully remove the old one and clean the surrounding area. Start by disconnecting the plumbing and loosening any mounting clips or sealants holding the sink in place.
Once removed, use appropriate cleaning tools, such as scrapers, brushes, and mild cleaners, to clear away old putty, grime, and residue. Proper surface preparation is essential to ensure a smooth, secure fit for your new sink.
Focus on these key steps during removal and cleaning:
- Safely detach all plumbing to avoid leaks and water damage.
- Use cleaning tools to thoroughly remove old sealant and debris.
- Inspect and prepare the countertop surface for the new sink installation.
Install the New Kitchen Sink and Apply Sealant
Once you’ve prepared the countertop, you can set the new sink into place, guaranteeing it aligns properly with the cutout. Before securing it, double-check that the sink sits flush and level.
For a strong, watertight fit, choose the right sealant material—silicone is usually best due to its durability and flexibility. Apply a continuous bead of sealant around the edge of the sink where it meets the countertop.
This sealant application prevents water from seeping underneath, protecting your cabinets from damage. Press the sink firmly into the sealant, creating a tight bond.
Wipe away any excess sealant promptly with a damp cloth to keep the installation neat. Allow the sealant to cure according to the manufacturer’s instructions for maximum effectiveness.
Reconnect Plumbing and Check for Leaks
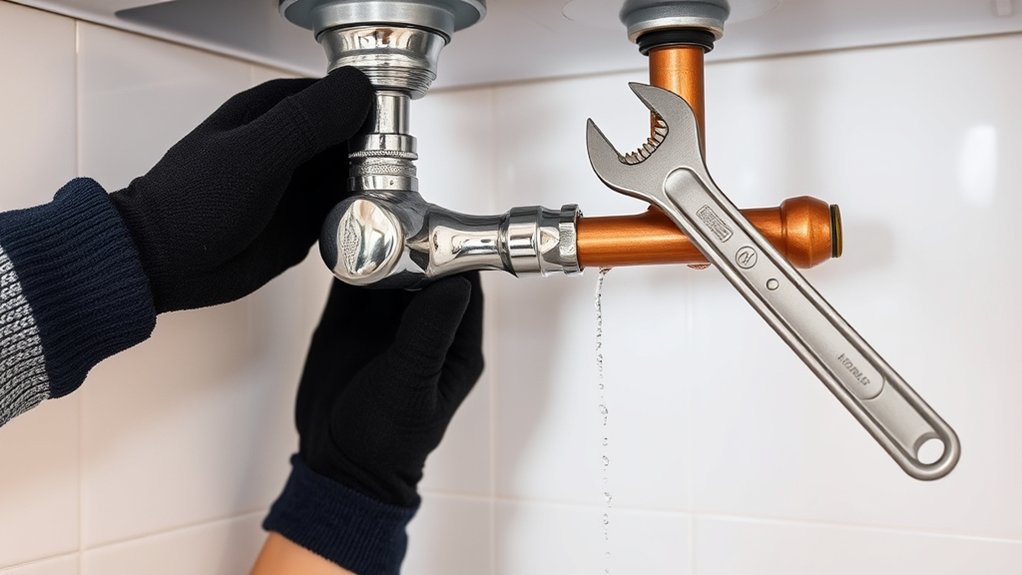
After securing your new sink, you’ll need to reconnect the plumbing to restore water flow and drainage. Start by attaching the drain pipes and tightening the slip nuts by hand, then use a wrench for a snug fit, but avoid overtightening to maintain plumbing safety.
Reconnect the water supply lines, making sure the hot and cold lines are correctly positioned.
Once everything’s connected, check for leaks by slowly turning on the water supply. Watch all joints closely. If you spot any drips, tighten the connections or replace worn washers.
Leak detection is vital to prevent water damage and ensure your sink functions properly.
Keep these tips in mind:
- Always turn off the main water supply before reconnecting plumbing.
- Use plumber’s tape on threaded connections to prevent leaks.
- Inspect all seals and joints carefully during leak detection.
Following these steps ensures a safe, leak-free plumbing setup after your new kitchen sink installation.
Test Your New Kitchen Sink and Finish Up
Now that everything’s reconnected, turn on the water and check all the connections for leaks. Make sure the water flows smoothly, with no drips or blockages. If you spot any loose fittings, tighten them to finish the job.
Check For Leaks
How can you be sure your new kitchen sink is properly installed? Start by performing thorough leak detection. Turn on the water and carefully observe all connections under the sink.
Pay close attention to areas where pipes meet and around the drain. Maintaining consistent water pressure is essential during this check to reveal any hidden leaks.
Here’s what to focus on for effective leak detection:
- Watch for dripping or pooling water around joints and fittings.
- Feel for any moisture or wetness on the cabinet floor beneath the sink.
- Listen for unusual sounds like dripping or hissing that may indicate leaks.
Inspect Water Flow
Where should you start when testing your new kitchen sink’s water flow? Begin by turning on both hot and cold taps to check the water pressure and flow rate.
Make certain the water flows smoothly without sputtering or delays. If you notice weak water pressure, double-check the valves and aerators for blockages.
Watch the sink drain as well; it should empty quickly without backing up.
Here’s a quick checklist to evaluate your water flow:
| Aspect | What to Look For |
|---|---|
| Water Pressure | Strong, steady stream |
| Flow Rate | Consistent, not slow |
| Temperature | Hot and cold function well |
| Drain Speed | Drains quickly, no pooling |
| Noise | Minimal noise or gurgling |
This guarantees your new sink works perfectly before you finish up.
Secure All Connections
After confirming your sink’s water flow is steady and drains properly, the next step is to secure all plumbing connections. Start by tightening all pipe fittings to prevent leaks, ensuring each joint is snug but not over-tightened.
Next, check that the mounting brackets hold the sink firmly in place. Loose brackets can cause movement and stress on the pipes.
Finally, give everything a thorough once-over to confirm stability and leak-free connections. Remember these key points:
- Use plumber’s tape on threaded pipe fittings for a watertight seal
- Tighten mounting brackets evenly to avoid sink misalignment
- Inspect under-sink connections periodically after installation
Doing this helps your kitchen sink stay secure and functional for years to come.
Frequently Asked Questions
What Type of Kitchen Sink Material Is the Most Durable?
When choosing the most durable kitchen sink material, stainless steel stands out in a material comparison. You’ll appreciate its resistance to chipping, cracking, and heat.
Durability factors like daily wear, water exposure, and impact make stainless steel a top choice. Cast iron is also durable but can chip if hit hard.
How Often Should I Replace My Kitchen Sink?
You might be surprised, but you should consider replacing your kitchen sink every 10 to 15 years. Over time, wear and tear, rust, or cracks can sneak up on you, especially if you love DIY plumbing projects and frequently use sink accessories.
Keeping an eye out for leaks or stains helps you decide when it’s time. Don’t wait until a major issue forces your hand. Regular maintenance and timely replacement keep your kitchen running smoothly.
Can I Install a Kitchen Sink Without Professional Help?
Yes, you can install a kitchen sink without professional help if you’re comfortable with DIY plumbing. Just follow sink installation tips like turning off the water supply, properly sealing the edges, and securely connecting the drain and water lines.
Take your time measuring and aligning the sink correctly. Having the right tools and patience will make your DIY plumbing project smoother and save you money on hiring a pro.
What Are the Common Signs My Sink Needs Replacement?
Oh, if you love spending hours wrestling with drain clogging and playing indoor waterfalls thanks to faucet leaks, your sink’s clearly begging for retirement.
You’ll know it’s time when those leaks soak your cabinets, the drain clogs more than your social calendar, or rust and cracks make it look like an ancient relic.
Don’t ignore these signs. You deserve a sink that works, not one that works against you!
How Do I Maintain My Kitchen Sink to Prevent Damage?
You can maintain your kitchen sink to prevent damage by sticking to regular cleaning routines. Wipe it down daily with mild soap and water to avoid buildup, and avoid harsh chemicals that can erode the finish.
Use a soft sponge or cloth to protect the surface. Also, prevent damage by not letting heavy pots or sharp objects drop into the sink. These simple habits keep your sink looking great and functioning well longer.
Conclusion
Now that you’ve tackled replacing a kitchen sink like a pro, you might feel ready to remodel the entire house overnight! With just these seven simple steps, you’ve conquered what feels like an epic plumbing quest.
Your new sink isn’t just installed; it’s a symbol of your unstoppable DIY spirit. Go ahead, admire your masterpiece, and get ready for compliments that’ll flood in faster than your old pipes ever leaked!