How to Remove Kitchen Cabinets in 7 Easy Steps
Removing kitchen cabinets can feel overwhelming, especially when you’re unsure where to begin or worried about damaging your walls. You’re not alone—many homeowners struggle with the process, but learning how to remove kitchen cabinets safely can make your renovation much easier.
Start by turning off the power to your kitchen outlets for safety. Gather your tools and prepare your workspace with good lighting and ventilation.
Empty the cabinet contents and remove doors and hardware carefully. Unscrew and take down the upper cabinets with help, then disconnect plumbing and remove base cabinets and countertops.
Finally, clean up and check the walls for any damage. Follow these steps, and you’ll be ready to tackle your kitchen renovation with confidence and ease.
Key Takeaways
- Turn off power at the circuit breaker to ensure safety before starting cabinet removal.
- Clear out all cabinet contents and label items for organized storage during the process.
- Remove cabinet doors and hardware carefully, keeping screws and parts for reuse or disposal.
- Use a ladder and a helper to unscrew and detach upper and base cabinets from wall studs.
- Disconnect plumbing and appliances from base cabinets before fully removing them to prevent damage.
Turn Off Power for Safety
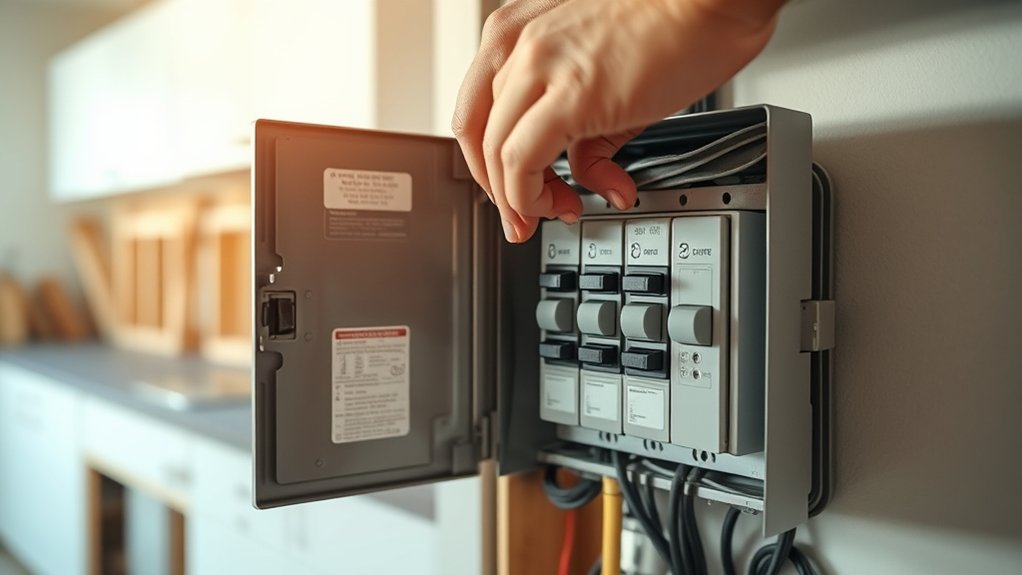
Before you begin removing your kitchen cabinets, make sure to turn off the power to any outlets or appliances nearby. Electrical safety is essential when working around kitchen cabinets since they often hide wiring for lights, outlets, and appliances.
To prevent shocks or accidents, locate your home’s circuit breaker panel and flip the switches that control power to your kitchen. This power shutoff guarantees that no electricity flows while you’re working, keeping you safe.
Double-check by plugging in a small device or using a voltage tester to confirm the power is off. Don’t assume that unplugging appliances is enough. Hidden wiring can still pose a risk.
Taking these precautions before you touch any cabinets protects you from electrical hazards and lets you focus on the removal process with confidence. Prioritizing electrical safety is a simple step that prevents injuries and damage during your kitchen cabinet project.
Gather Tools and Prepare Your Workspace
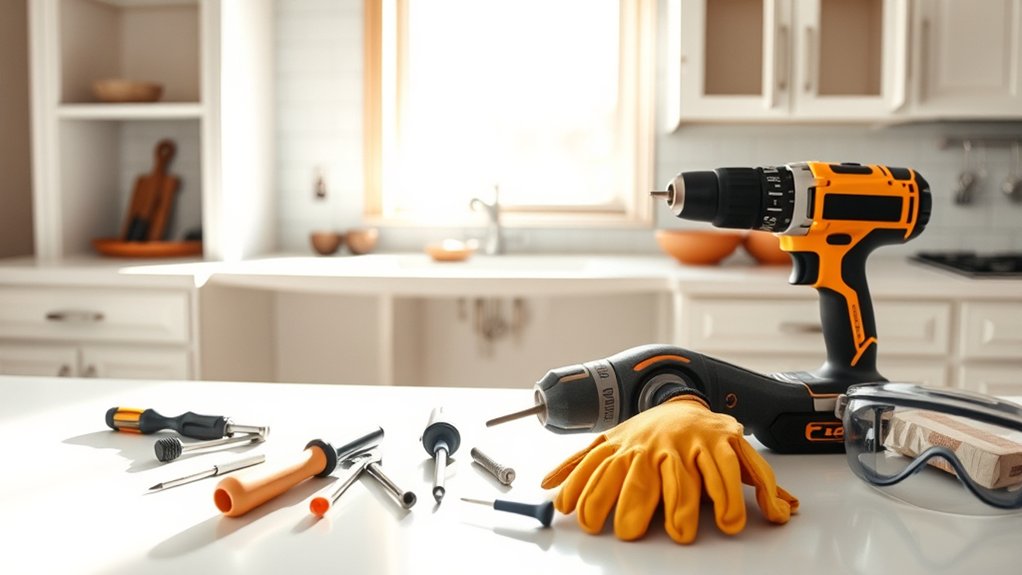
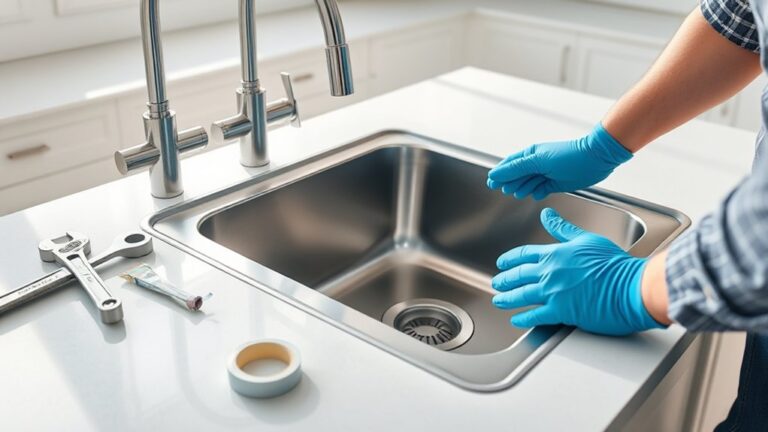
Once you’ve confirmed safety by cutting power, gather all necessary tools and clear your workspace to make cabinet removal efficient and hassle-free. You’ll need a screwdriver set, drill, pry bar, putty knife, and a stud finder. Don’t forget safety gear like gloves and goggles.
Removing decorative accents before detaching cabinets can prevent damage and speed up the process. Clear the area by removing furniture and covering countertops to protect surfaces. Organize tools nearby for easy access.
Different cabinet styles may require specific tools or techniques, so identify your cabinets beforehand to avoid surprises. For example, framed cabinets often have screws along the inner frame, while frameless styles may use clips or brackets.
Preparing your workspace also means ensuring good lighting and ventilation. With everything set, you’ll work smoothly without interruptions or accidental damage to your kitchen’s finishes or hardware. This preparation sets a solid foundation for the next step: removing cabinet contents.
Remove Cabinet Contents
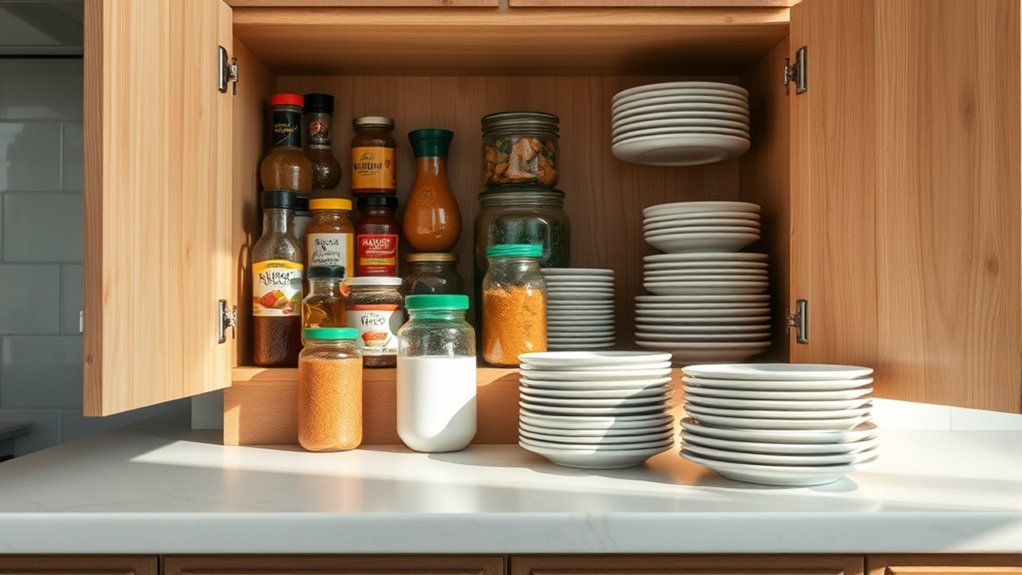
How do you guarantee a smooth cabinet removal without creating a mess? Start by emptying all cabinet contents carefully. Take your time to remove dishes, cookware, and pantry items systematically.
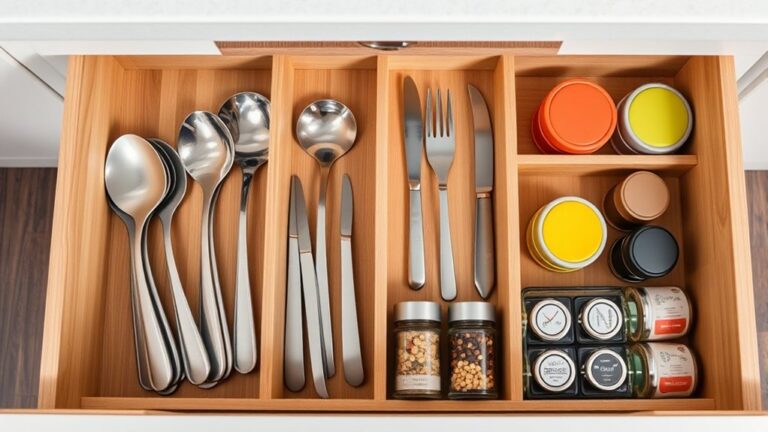
This step not only prevents breakage but also allows you to assess your current cabinet organization. Use bins or boxes to temporarily store items, labeling them for easy access later.
As you clear the cabinets, consider storage optimization for when you reinstall or replace them. Group similar items together to streamline future organization.
This approach helps you identify what you actually need to keep, making your kitchen more efficient. Removing contents fully ensures you won’t struggle with heavy, awkward loads during the cabinet removal process.
Plus, it protects your belongings from dust and damage. By focusing on careful removal and thoughtful storage optimization, you set yourself up for a hassle-free cabinet removal and a more functional kitchen afterward.
Remove Cabinet Doors and Hardware
After clearing out your cabinets, it’s time to take off the doors and hardware to access the cabinet frame easily. Start by opening each cabinet door and using a screwdriver to remove the hinges. Keep the screws in a container so you don’t lose them. Next, take off any knobs or handles, which is essential if you plan on hardware replacement. Removing these pieces ensures a smooth surface for your updates.
If you’re considering cabinet painting, removing the doors and hardware makes the process much easier and results in a cleaner finish. Lay the doors flat on a work surface before sanding or painting to avoid drips and uneven coats. Once everything’s off, you can inspect the cabinet frames for any needed repairs or adjustments before moving forward. Taking these steps carefully now will save you time and hassle during the rest of your kitchen cabinet project.
Unscrew and Remove Upper Kitchen Cabinets
Before you start unscrewing the upper kitchen cabinets, make sure you have a sturdy step ladder and a helper to assist with holding the cabinets steady. Position the ladder securely, and have your helper support the cabinet’s weight as you work.
Locate the cabinet mounting points. These are usually screws along the inside top or back edges attaching the cabinet to wall studs. Use a drill or screwdriver to remove these screws carefully.
Find and remove screws securing cabinets to wall studs using a drill or screwdriver with care.
Be aware that different hardware types might be used, such as screws, bolts, or brackets, depending on your cabinet style. If you encounter stubborn screws, apply steady pressure to avoid stripping them.
After all mounting hardware is removed, gently pull the cabinet away from the wall while your helper supports it. Set the cabinet down safely to prevent damage.
Taking these steps methodically guarantees a smooth and safe removal process without harming your walls or cabinets.
Remove Base Cabinets and Countertops
Once you’ve removed the upper cabinets, you can focus on detaching the base cabinets and countertops. Start by turning off the water supply if your base cabinets house the sink.
Disconnect plumbing and appliances carefully. Next, remove any screws securing the countertop to the base cabinets.
Depending on the cabinet material, whether plywood, MDF, or solid wood, use appropriate tools to avoid damage. Pry the countertop gently if it’s glued or caulked.
Then, unscrew the base cabinets from the wall studs and adjacent units. Cabinets made from heavier materials may require extra hands to lift safely.
As you remove them, sort materials for disposal. Wood cabinets can often be donated or recycled, while laminate or particleboard might require special disposal methods.
Check local regulations for bulk waste pickup or recycling centers. Proper disposal helps you stay eco-friendly and compliant.
Once removed, you’ll have a clear workspace for your next renovation steps.
Clean Up and Inspect Walls for Damage
With the base cabinets and countertops out of the way, you can focus on clearing debris and evaluating the condition of your walls. Start by sweeping or vacuuming any dust, dirt, and leftover screws or nails.
Once clean, closely inspect the walls for holes, dents, or scratches left behind from the cabinet removal. These imperfections need your attention before moving forward.
Next, gather supplies for wall patching. Use spackle or joint compound to fill holes and smooth out rough spots.
Allow the patching material to dry completely, then sand the surface for an even finish. This step is crucial as it creates a solid base for your painting preparation.
Finally, wipe down the walls to remove dust from sanding, ensuring a clean surface for primer or paint. By taking these steps, you’ll set yourself up for a flawless finish in your kitchen renovation.
Frequently Asked Questions
Can I Reuse My Old Cabinets After Removal?
Yes, you can definitely reuse your old cabinets after removal. With some cabinet refinishing, you’ll give them a fresh, updated look without buying new ones.
During your DIY demolition, be careful removing them to avoid damage. Sanding, painting, or staining can transform your cabinets and save money.
Just make sure the structure is still solid, and you’ll have a stylish, budget-friendly kitchen upgrade using what you already own.
How Do I Dispose of Old Cabinets Responsibly?
Like a modern-day Robin Hood, you can give your old cabinets a new life by choosing eco friendly disposal. Instead of tossing them in the landfill, check out donation options to local charities or community centers. They’ll appreciate your generosity.
If they’re not in good shape, consider recycling parts or contacting a professional service specializing in sustainable cabinet disposal. This way, you help the environment and support others in need.
What Types of Screws Are Commonly Used in Cabinets?
You’ll most commonly find Phillips head screws and flathead screws used in cabinet hardware. Phillips screws are popular because they provide good grip and reduce slipping when you’re removing or installing cabinets.
Sometimes, you might also encounter Torx screws, especially in higher-end or specialized cabinet hardware. Knowing these screw types helps you pick the right screwdriver or drill bit, making your cabinet project smoother and preventing damage to the screws or cabinet surface.
Should I Remove Appliances Before Taking Out Cabinets?
Before you start, imagine a chessboard where every piece must move just right. Yes, you should remove appliances before taking out cabinets. This step prevents damage and helps ensure safety precautions are met, such as turning off power and water.
Removing appliances first clears your workspace and avoids awkward maneuvers. By preparing this way, you protect yourself and your kitchen, making the whole process smoother and safer.
How Long Does Cabinet Removal Typically Take?
Cabinet removal typically takes about 2 to 4 hours, depending on your experience and kitchen size. You’ll want to gather cabinet removal tools like a drill, pry bar, and screwdriver before starting.
Don’t forget safety precautions—wear gloves and safety goggles to protect yourself from sharp edges and debris. Taking your time and working carefully helps prevent damage and keeps the process smooth and efficient.
Conclusion
Now that you’ve tackled how to remove kitchen cabinets step by step, you’re like a modern-day Hercules conquering your own labor. By turning off the power, gathering tools, and carefully taking down doors, cabinets, and countertops, you’ve set the stage for a fresh start.
Remember, just as every hero cleans up after a quest, inspect your walls and tidy your space. Your kitchen’s transformation is well underway, so keep that momentum going!