How to Redo Kitchen Cabinets in 3 Simple Steps
Updating kitchen cabinets can feel overwhelming, especially when you want a fresh look without the cost of a full remodel. You’re not alone—many homeowners struggle to choose the right products and achieve a smooth, durable finish.
These simple steps can help make redoing kitchen cabinets easier and more polished.
To redo your kitchen cabinets in three simple steps, start by clearing the area and removing doors, drawers, and hardware, then label everything for easy reassembly.
Next, choose durable, cabinet-specific paint in colors that suit your kitchen’s style and lighting.
Finally, apply primer and paint in thin, even coats, sanding lightly between layers for a smooth finish, then reinstall hardware once fully dry.
Keep going to uncover tips that’ll make your project even easier and more polished.
Key Takeaways
- Remove cabinet doors, drawers, and hardware, then clean and label each piece for easy reassembly.
- Sand surfaces lightly, apply primer, and choose durable cabinet-specific paint for a smooth finish.
- Paint cabinets with thin, even coats, allowing full drying time and sanding between layers.
- Reinstall hardware carefully once paint is fully dry to ensure a polished, professional look.
- Protect work areas with drop cloths and use good lighting to spot imperfections during painting.
Prep Your Kitchen Cabinets and Gather Tools

Before you begin redoing your kitchen cabinets, you’ll need to clear the area and remove all cabinet doors, drawers, and hardware. Take off the cabinet hardware carefully—handles, knobs, and hinges—so you can work on a clean surface.
Clear the area and carefully remove all cabinet doors, drawers, and hardware before starting your kitchen cabinet redo.
Label each door and drawer for easy reassembly later. Next, set up good kitchen lighting to see every detail while you prep and work.
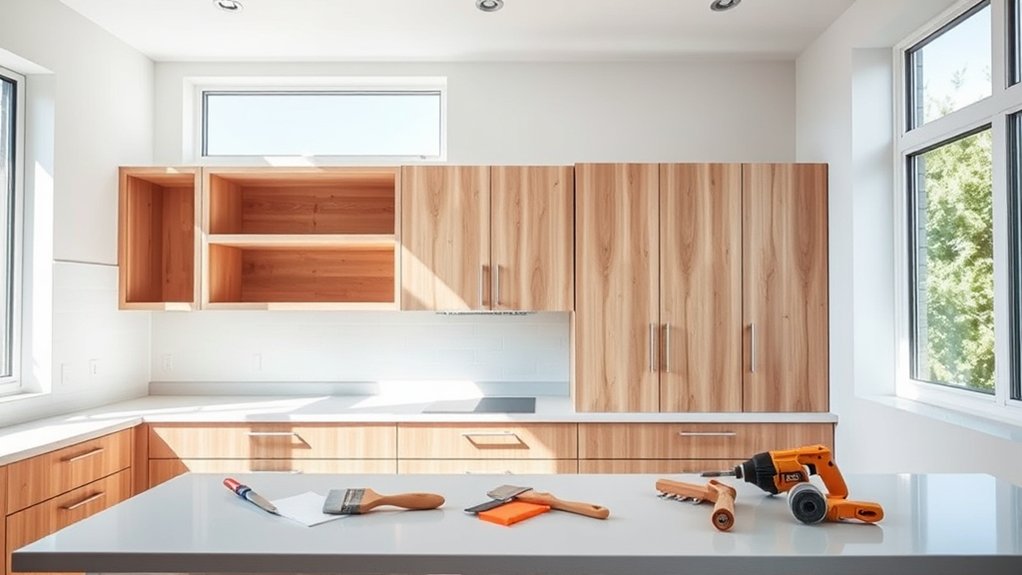
Proper lighting helps you spot imperfections and guarantees a smooth finish. Gather all your tools before starting: screwdrivers, sandpaper, a drill, painter’s tape, and cleaning supplies.
Having everything ready avoids interruptions and keeps your workflow steady. Don’t forget a drop cloth to protect your countertops and floor.
Proper prep saves time and frustration, making the entire cabinet redo process smoother and more efficient. Once your cabinets are prepped and your tools ready, you’ll be set for the next step in transforming your kitchen.
Choose the Right Paint and Materials for Kitchen Cabinets

When you choose the right paint and materials for your kitchen cabinets, you guarantee a durable, attractive finish that lasts through daily use. Start by exploring color palettes that complement your kitchen’s overall style and lighting.
Neutral tones create a timeless look, while bold colors add personality. Consider how your chosen colors will blend with countertops, backsplashes, and appliances.
Next, focus on selecting the appropriate paint types. Opt for paints designed specifically for cabinets or trim, as they offer better adhesion and durability.
Acrylic latex paints are popular for their easy cleanup and resistance to yellowing, while oil-based paints provide a smooth, hard finish but require more drying time and ventilation.
Lastly, don’t forget quality primers and brushes or rollers. A good primer ensures paint adheres well and lasts longer.
Using the right tools helps you apply paint evenly, avoiding brush marks and drips. Choosing the right paint and materials sets the foundation for a beautiful kitchen cabinet makeover.
Paint and Finish Your Kitchen Cabinets Like a Pro
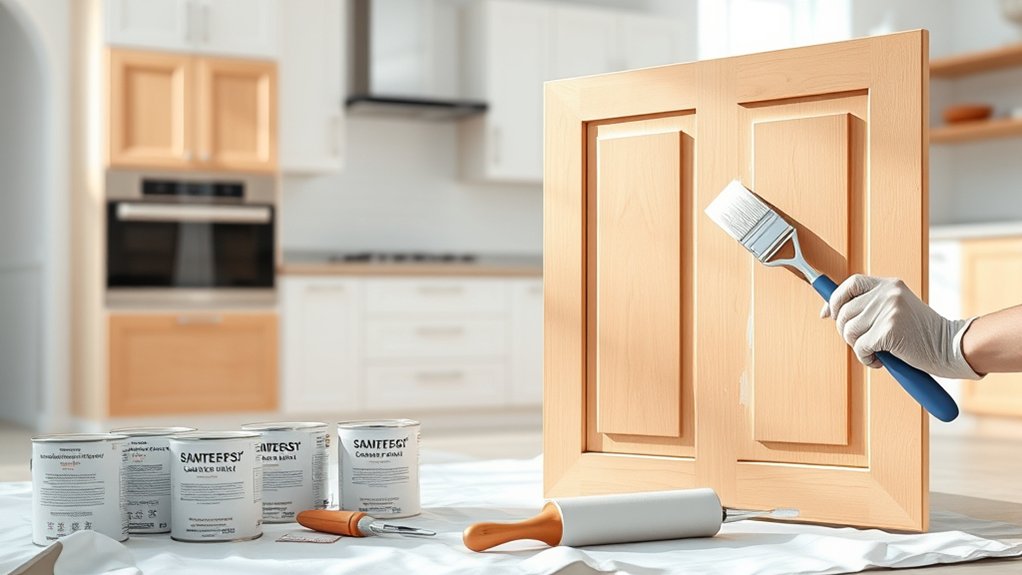
Although prepping your cabinets is essential, the real transformation happens when you paint and finish them with care. This step brings new life to your kitchen and sets the stage for updating cabinet hardware and improving storage solutions.
Follow these pro tips to get a flawless finish:
- Use a high-quality primer and paint designed specifically for cabinets to help ensure durability and smooth coverage.
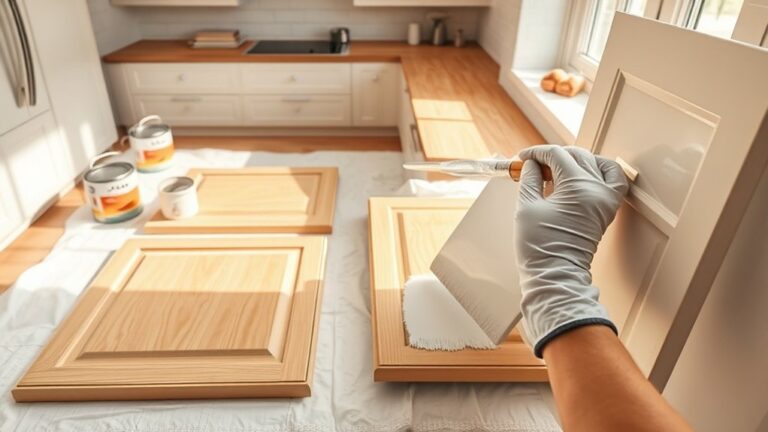
- Apply thin, even coats with a brush or sprayer, allowing each layer to dry fully before applying the next.
- Sand lightly between coats to keep the surface smooth and free of imperfections.
- Seal with a clear protective topcoat to guard against scratches and stains.
Once the paint is dry, reinstall your cabinet hardware. Consider adding smart storage solutions, such as pull-out shelves or organizers, to maximize space and functionality.
With careful painting and finishing, your kitchen cabinets will look professionally redone and last for years.
Frequently Asked Questions
How Long Does the Entire Cabinet Redo Process Typically Take?
The entire cabinet redo process typically takes about 3 to 7 days, depending on your kitchen size and project scope. Cabinet painting usually requires drying time between coats, so you can’t rush it.
Hardware replacement is quicker but adds to the timeline. If you’re working alone, expect closer to a week, but with help and efficient planning, you might finish in just a few days.
Can I Redo Cabinets Without Removing the Doors?
Yes, you can redo cabinets without removing the doors. You’ll focus on cleaning, sanding, and paint preparation right on the cabinet face.
You’ll carefully tape around cabinet hinges to protect them and guarantee smooth edges. You’ll prime, paint, and finish the doors while they’re still attached, saving time and effort.
Just take your time with paint preparation and hinge protection to get a professional-looking result without the hassle.
What Are Common Mistakes to Avoid When Redoing Cabinets?
You’ll want to avoid rushing prep work, like skipping sanding or cleaning, which leads to poor paint adhesion. Don’t forget to remove or properly mask cabinet lighting before painting to prevent damage.
Also, avoid cheap decorative hardware that clashes with your style. Choose pieces that complement your cabinets.
Finally, don’t ignore drawer and door alignment. Misaligned fronts can ruin the whole look. Taking your time ensures a professional result.
How Do I Handle Stubborn Cabinet Hardware Removal?
When facing stubborn hardware removal, start by applying a penetrating oil to loosen screws or bolts. Let it sit for a few minutes, then use the right screwdriver or a wrench to avoid stripping.
If screws are stripped, try a rubber band for extra grip. For really stuck hardware, gently tap around it with a hammer to break any paint seal.
Take your time, and you’ll avoid damaging your cabinets.
Are There Eco-Friendly Paint Options for Kitchen Cabinets?
You can absolutely breathe new life into your kitchen with eco paints and green finishes. These options act like a fresh breeze, cleansing the space without toxic fumes.
You’ll find water-based, low-VOC, and natural ingredient paints that protect both your cabinets and the planet. Choosing eco paints means you’re not just updating your kitchen. You’re making a sustainable statement that keeps your home healthy and vibrant for years to come.
Conclusion
Now that you’ve tackled these steps, your kitchen cabinets will look like a million bucks without breaking the bank. Just remember, Rome wasn’t built in a day. Take your time prepping, painting, and finishing to get that flawless, professional look.
With patience and the right materials, you’ll transform your kitchen into a space you’re proud to show off. So roll up your sleeves and get ready to enjoy your stunning newly redone kitchen cabinets!