How to Pack Kitchen Items in 3 Easy Steps
Packing kitchen items can feel overwhelming, especially when fragile dishes, bulky appliances, and pantry goods all need different handling. You’re not alone—many people struggle to keep everything organized and protected during a move.
This guide to how to pack kitchen items in 3 easy steps makes the process simpler. Start by sorting your kitchen items into categories like pantry goods, dishes, and appliances, checking expiration dates and labeling boxes clearly.
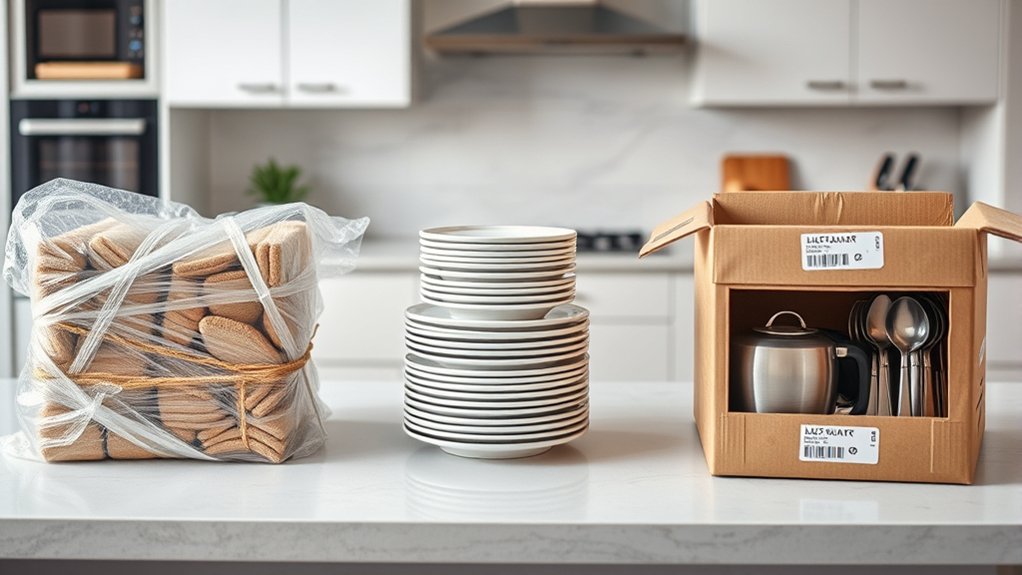
Next, pack fragile dishes and glassware carefully by wrapping each piece individually and stacking plates vertically.
Finally, protect your appliances by cleaning and wrapping them securely, using original boxes if you can.
Keep cords organized and label everything for easy handling. If you want to master packing like a pro, there’s a lot more useful advice ahead.
Key Takeaways
- Group and label kitchen items by category, check expiration dates, and discard unneeded goods.
- Wrap plates vertically with packing paper and secure glassware with crumpled paper inside.
- Use sturdy boxes lined with cushioning to pack dishes, glassware, and utensils carefully.
- Clean and wrap appliances securely, using original boxes or cushioning materials if available.
- Label all boxes clearly with contents and handling instructions, marking fragile items visibly.
How to Sort and Prepare Kitchen Items for Packing
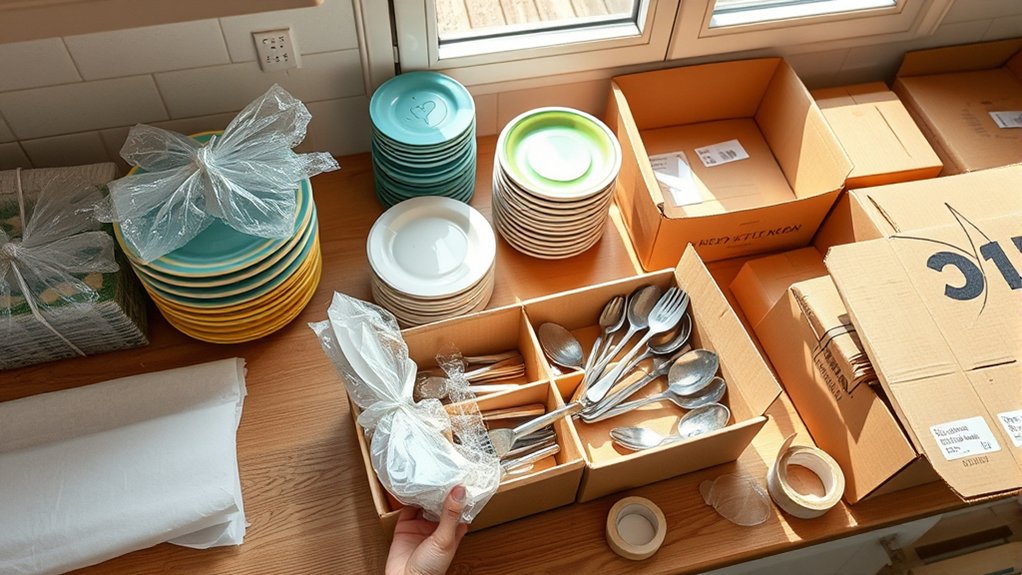
Before you start packing, take time to sort your kitchen items by category and condition. Begin by organizing pantry goods: group canned foods, spices, baking supplies, and snacks separately. Check expiration dates and toss anything expired or unneeded.
Sort kitchen items by category, check expiration dates, and discard expired or unneeded pantry goods before packing.
This helps lighten your load and keeps your new pantry efficient. Next, gather all kitchen gadgets and utensils, separating those you use daily from specialty items you rarely touch.
As you pack, label boxes clearly with their contents and the room they belong to. This saves you from opening every box later just to find the right item.
Use consistent labeling for pantry items and fragile kitchen tools to avoid confusion. Preparing this way not only streamlines your move but also makes unpacking faster, so you can get back to cooking sooner.
Safely Pack Dishes, Glassware, and Utensils
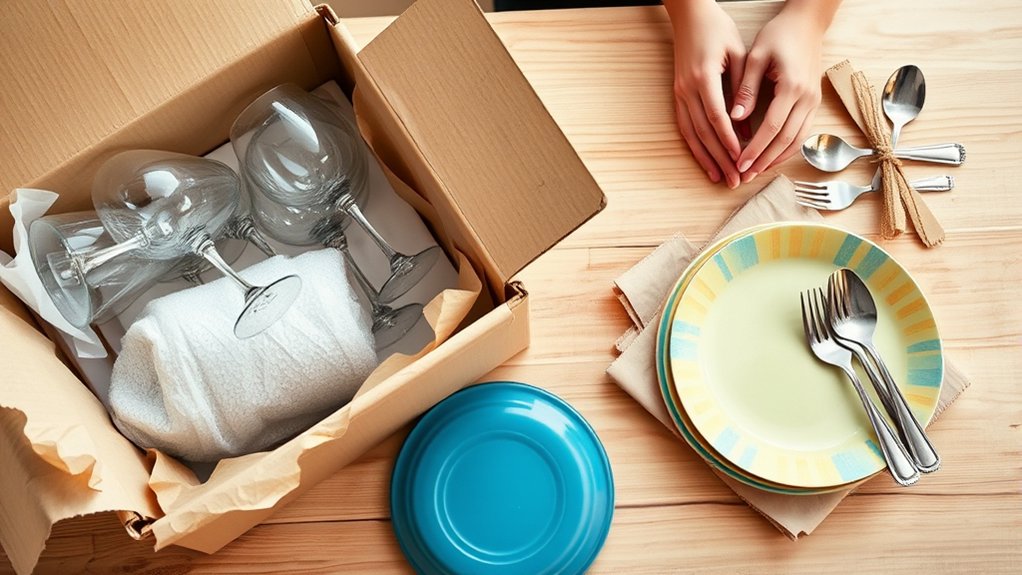
Once you’ve sorted and labeled your kitchen items, it’s time to focus on packing your dishes, glassware, and utensils with care. Start with dishware organization by stacking plates vertically, not horizontally, to reduce pressure and minimize breakage.
Wrap each plate individually with packing paper or bubble wrap. For glassware, stuff the insides with crumpled paper to prevent shifting and wrap each piece securely. Use sturdy boxes, lining them with cushioning material before placing items inside.
Utensil wrapping is just as important. Group knives, forks, spoons, and other utensils together, then wrap them in a cloth or bubble wrap to avoid scratches and damage.
Place heavier utensils at the bottom of the box and lighter ones on top. Label boxes clearly as fragile and indicate which side should face up.
Following these steps guarantees your kitchen essentials arrive safely, saving you time and headaches on the other end.
Protect and Pack Kitchen Appliances for Moving
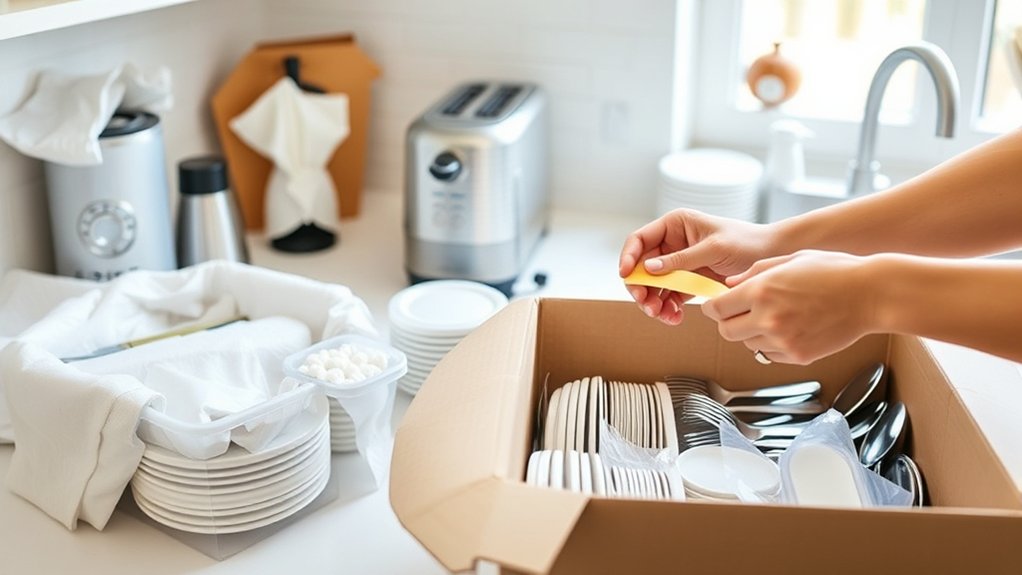
Although kitchen appliances are built for durability, you’ll need to take extra care to protect them during your move. Start by unplugging and thoroughly cleaning each appliance to prevent damage from leftover food or moisture.
Unplug and clean appliances thoroughly before moving to avoid damage from leftover food or moisture.
Use original boxes if you still have them. If not, find sturdy packing materials like bubble wrap, foam sheets, and packing paper. Wrap each appliance carefully, paying close attention to fragile parts like glass lids or knobs.
Maintain your kitchen organization by labeling boxes clearly with the appliance name and handling instructions. Secure cords by wrapping them with twist ties or rubber bands to avoid tangling.
For heavier appliances like mixers or blenders, pack them in small boxes with plenty of cushioning to prevent shifting. Finally, place these boxes on top of heavier items during loading to avoid crushing.
Taking these steps guarantees your kitchen appliances arrive safely and ready for use in your new home.
Frequently Asked Questions
When Should I Start Packing Kitchen Items Before a Move?
You should start packing kitchen items about two to three weeks before your move. Use packing tips like sorting essentials from non-essentials and labeling boxes clearly.
Begin with rarely used items first, saving daily necessities for last. Adding this to your moving checklist guarantees you won’t rush and can pack safely.
Starting early helps you stay organized and reduces stress as moving day approaches.
How Do I Label Kitchen Boxes for Easy Unpacking?
Imagine opening boxes where every item greets you like an old friend. To get there, use clear labeling techniques: write bold, specific descriptions on each box’s side and top.
Add color coding by assigning a different color for dishes, utensils, or pantry items—maybe red for fragile glassware, blue for pots.
This way, you’ll spot exactly what you need quickly, making unpacking your kitchen smooth and stress-free.
What Are the Best Materials for Moving Fragile Kitchen Items?
You’ll want to use packing materials that offer excellent fragile protection, like bubble wrap, packing paper, and foam sleeves. These materials cushion delicate items such as glassware and ceramics during transit.
Don’t forget sturdy boxes with dividers for extra security. Using packing peanuts or crumpled paper fills empty spaces, preventing movement.
Can I Pack Food Items When Moving Long Distances?
You can’t make an omelet without breaking eggs, but when moving long distances, packing food items requires careful planning. Focus on proper food storage by using airtight containers and coolers to keep perishables fresh.
Consider meal prep by packing ready-to-eat meals or non-perishable snacks to avoid spoilage. Freeze what you can, and use insulated bags for temperature-sensitive items. This way, you’ll guarantee your food stays safe and tasty during the move.
How Do I Clean Kitchen Appliances Before Packing?
You should start by unplugging your appliances and using appropriate cleaning supplies like mild detergent, warm water, and microfiber cloths to wipe them down thoroughly. Pay special attention to removing food residue and grease to prevent odors or damage.
After cleaning, dry each appliance completely for proper appliance maintenance. This prevents mold and keeps everything in good shape during your move, making unpacking smoother and extending the life of your kitchen gear.
Conclusion
Now that you’ve sorted, packed, and protected your kitchen items, you’re ready to move without a hitch. Remember, packing carefully saves you from future headaches, like a trusty steampunk gadget keeping everything safe and sound.
Take your time, use the right materials, and label your boxes clearly. Soon enough, you’ll be unpacking with ease and ready to whip up your favorite meals in your new kitchen. With these kitchen packing tips, happy moving!