How to Pack a Kitchen in 5 Simple Steps
Packing a kitchen can feel overwhelming, especially when fragile dishes, bulky appliances, and expired pantry items all compete for your attention. You’re not alone—many people struggle to keep everything organized during a move.
These simple kitchen-packing steps can help protect your essentials and make unpacking much easier.
To pack your kitchen efficiently, start by sorting and decluttering—toss expired items and group similar things.
Next, wrap fragile dishes individually using bubble wrap and pack them vertically with cushioning.
Organize pantry goods by expiration and use airtight containers.
Clean and prepare appliances by unplugging and protecting delicate parts.
Finally, label all boxes clearly with contents and handling instructions to make unpacking smooth.
Keep following these steps for a well-organized move that protects your kitchen essentials.
Key Takeaways
- Sort and declutter kitchen items by grouping similar objects and removing duplicates or expired goods.
- Wrap fragile dishes individually with bubble wrap and pack them vertically with cushioning in labeled boxes.
- Organize pantry items by checking expiration dates, using airtight containers, and labeling boxes clearly.
- Clean and prepare appliances by disconnecting, defrosting, and protecting parts before moving.
- Label all kitchen boxes with contents, room destination, and special handling instructions for easy unpacking.
Sort and Declutter Kitchen Items Before Packing
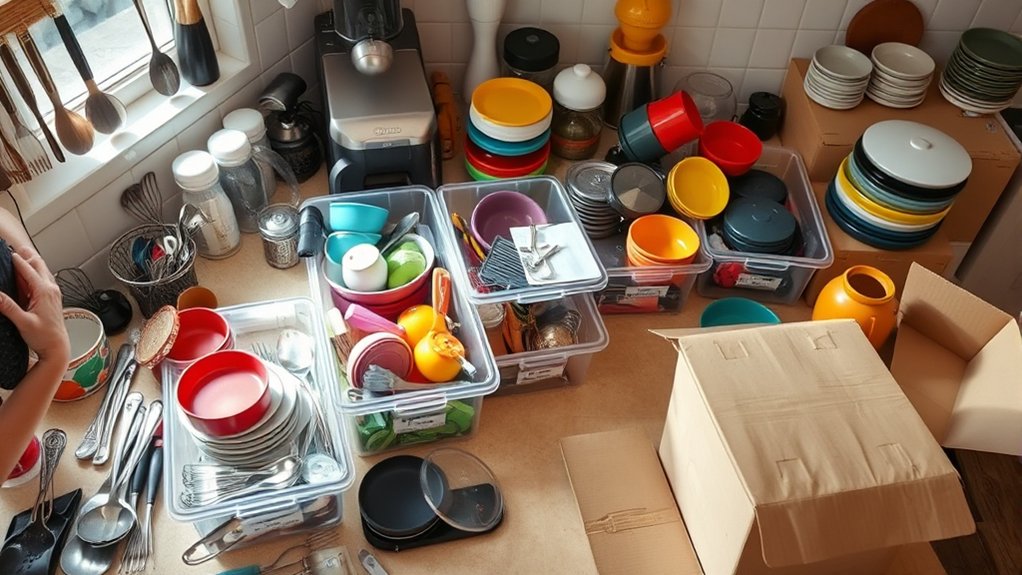
Before you start packing, take time to sort and declutter your kitchen items. This step is vital for effective inventory management, helping you identify what you really need to keep, donate, or toss. By going through your cabinets, drawers, and pantry, you’ll avoid packing unnecessary clutter that only wastes space and adds weight.
Good time management during this phase saves you hours later. Set a timer and work systematically, room by room or category by category.
Group similar items, like utensils, pots, and pantry staples, so you can quickly assess duplicates or expired goods. As you sort, create a simple inventory list to track what’s going into boxes.
This will make unpacking much smoother and help you avoid buying duplicates after your move. Prioritizing this step guarantees you pack efficiently and start fresh in your new kitchen.
Pack Fragile Kitchen Dishes Using Proper Materials
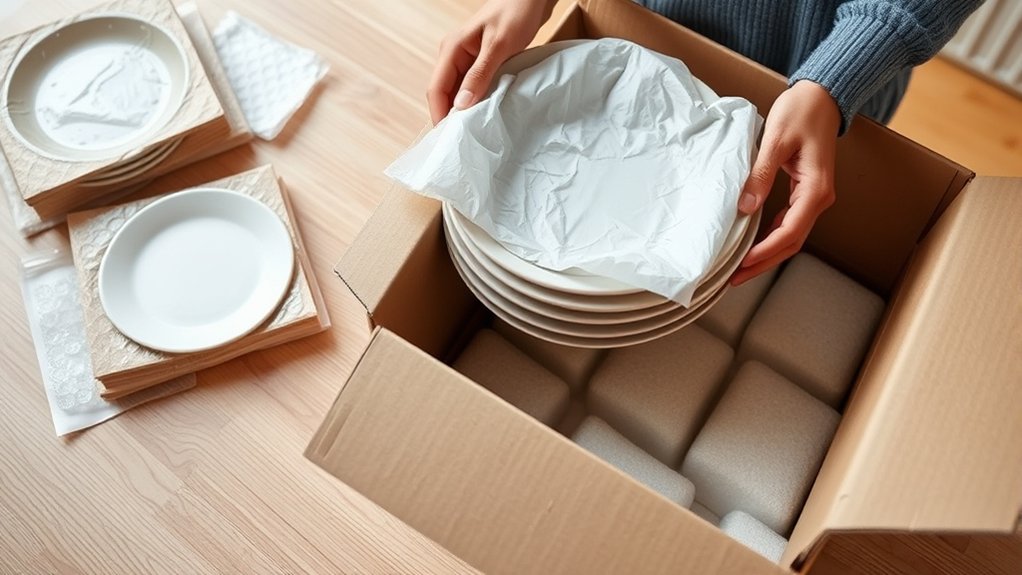
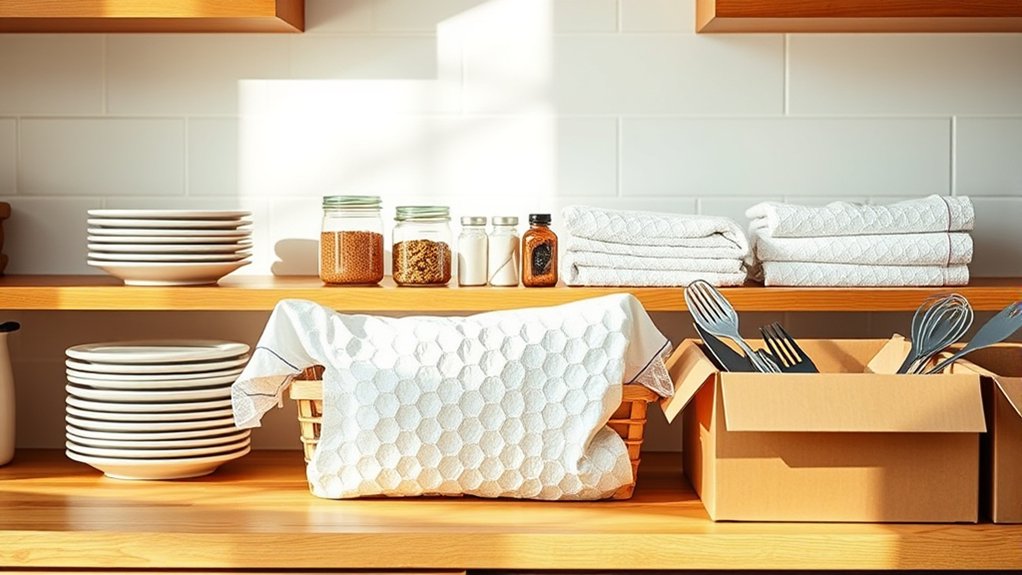
Once you’ve sorted and decluttered your kitchen items, it’s time to protect your fragile dishes during packing. Start by gathering proper materials like bubble wrap, packing paper, and sturdy boxes.
Wrap each delicate item individually with bubble wrap or packing paper, focusing on glassware, porcelain, and fine china. Line the bottom of the box with crumpled paper or foam peanuts for extra cushioning.
Place wrapped dishes vertically to reduce the risk of breakage, and fill any gaps with more cushioning to prevent shifting.
Label each box “Fragile” and indicate its contents. This helps you handle the boxes carefully and prioritize unpacking.
Avoid overpacking boxes, as this can cause pressure and damage. By using proper materials and careful techniques, you can help your fragile dishes arrive safely at your new home, saving you time and stress later.
Organize Pantry and Food Storage for Packing
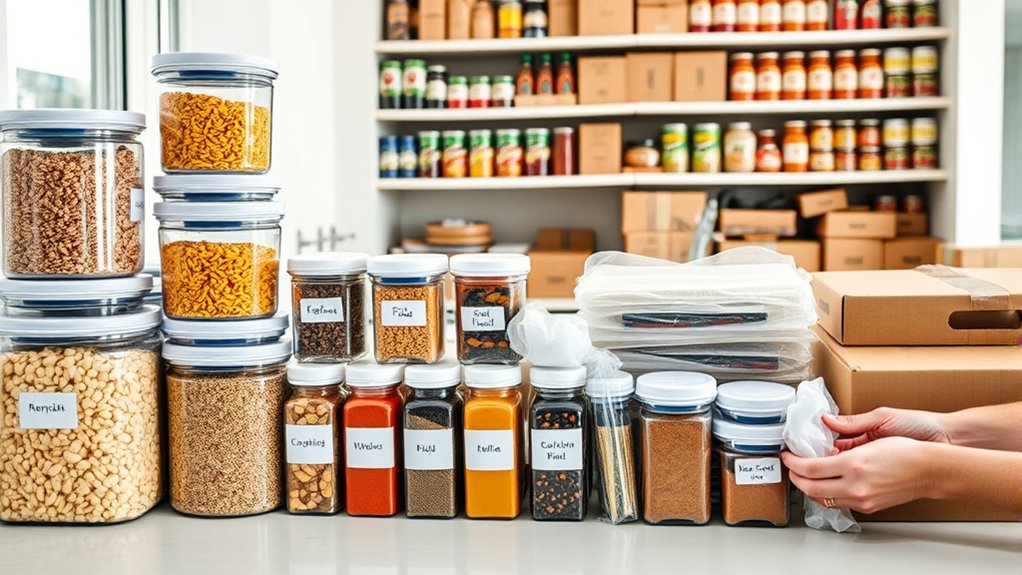
While packing your kitchen, organizing your pantry and food storage efficiently can save you time and reduce waste. Start by sorting through your pantry items—check expiration dates and set aside anything expired or nearly expired to use up soon.
Efficient pantry organization before moving saves time and cuts down on food waste.
Group similar items together to streamline meal prep once you settle in. Use airtight containers to maintain food preservation during the move and prevent spills.
If you have bulk items, consider portioning them into smaller, sealed bags for easier transport. Label boxes clearly, noting fragile or perishable contents.
Keep frequently used staples accessible so you can prepare simple meals right after moving. Remember, packing only what you need helps reduce clutter and the chance of food spoilage.
Clean and Prepare Kitchen Appliances for Moving
Since kitchen appliances can be heavy and delicate, you’ll want to clean and prepare them thoroughly to avoid damage during the move. Proper appliance maintenance before packing protects your items and makes setup easier in your new home.
Follow these steps to stay on track:
- Disconnect and defrost. Unplug appliances like refrigerators and freezers at least 24 hours before moving. Allow ice to melt completely to prevent leaks and mold.
- Clean inside and out. Wipe down all surfaces with mild detergent, removing food residue and grime. Pay special attention to vents and coils to maintain appliance efficiency.
- Secure and protect. Remove detachable parts, wrap cords neatly, and use padding or blankets to cushion your appliances during transit.
Label Kitchen Boxes for Easy Unpacking
Although packing your kitchen carefully is essential, labeling your boxes clearly makes unpacking much easier and faster. When you label kitchen boxes, you save yourself time and frustration by knowing exactly what’s inside each one.
Use a bold marker to write the contents and the room destination on every box. To boost organization, color code packing labels by category—assign one color for dishes, another for utensils, and a different one for pantry items.
This visual system helps movers and yourself quickly identify where each box belongs. Make sure to label all sides of the boxes so you can see the information no matter how they’re stacked.
Also, include special instructions like “Fragile” or “Heavy” to protect your items and ensure safe handling. By taking these simple steps, you’ll speed up unpacking and settle into your new kitchen with less stress.
Label kitchen boxes thoughtfully. It’s a small effort that pays off big.
Frequently Asked Questions
When Is the Best Time to Start Packing the Kitchen Before a Move?
You should start packing your kitchen about two to three weeks before your move. Timing considerations are key, so create a packing schedule that lets you use essentials until the last minute.
Begin with non-essentials like rarely used gadgets and extra dishes. This way, you avoid last-minute stress while keeping your daily routine intact.
Sticking to your packing schedule guarantees a smooth, organized shift without rushing or forgetting important items.
How Do I Safely Transport Knives and Other Sharp Kitchen Tools?
Don’t let your sharp tools bite you during the move! For knife safety, wrap each blade in thick cardboard or bubble wrap, securing it with tape. Use a dedicated sharp tool storage box or a knife block if you have one, to keep blades from shifting.
Label the box clearly as “Sharp Tools” so movers handle it with care. This way, you avoid accidents and keep your knives in tip-top shape.
Should I Pack Spices and Herbs or Buy New Ones After Moving?
You should pack spices and herbs to save money and avoid waste, but focus on proper spice organization and herb preservation. Use airtight containers or resealable bags to keep freshness intact during the move.
Label everything clearly so you can unpack quickly. If some herbs or spices are old or nearly empty, consider replacing them after you move. This way, you maintain flavor and keep your kitchen efficient without unnecessary clutter.
What’s the Best Way to Pack Kitchen Towels and Linens?
You’ll want to treat your kitchen towels and linens like treasured keepsakes. Fold them neatly and place them in sturdy storage containers to keep them fresh and wrinkle-free.
Use clear labeling techniques on each container so you can easily find what you need without rifling through boxes. This way, your linens stay organized and ready for use, making unpacking a breeze and preserving their cozy charm throughout your move.
How Can I Keep Perishable Items Fresh During a Long Move?
You can keep perishable items fresh during a long move by focusing on perishable storage and using effective cooling techniques.
Pack perishables in insulated coolers with plenty of ice packs or gel packs to maintain a low temperature. Keep the cooler sealed tightly and avoid opening it often.
If possible, transport perishables last and refrigerate them immediately once you arrive. These steps help prevent spoilage and keep your food fresh throughout the move.
Conclusion
You’d think packing a kitchen would be as simple as tossing everything into boxes, but if you skip sorting, fragile packing, and labeling, you’ll end up with a jigsaw puzzle of broken dishes and mystery boxes.
Follow these five steps, and instead of chaos, you’ll have a kitchen that unpacks itself, well, almost. Remember, a little effort now saves you from playing detective later. Who knew packing could actually be this easy?
With these simple kitchen-packing tips, you’ll be ready to pack a kitchen efficiently and unpack with less stress.