How Do You Pack a Kitchen for Moving in 10 Essential Steps?
Packing a kitchen for a move can feel overwhelming, especially when fragile dishes, bulky cookware, and countless small items all need careful handling. You’re not alone—many people struggle to keep everything organized while preventing damage.
To pack your kitchen for a move in 10 essential steps, start by decluttering and sorting your items, tossing expired food and donating what you don’t need. Gather sturdy boxes and protective materials like bubble wrap to safeguard fragile dishes and glassware.
Wrap and organize cookware, utensils, and small appliances carefully, labeling each box clearly to simplify unpacking. Secure food items in airtight containers and pack heavy items on the bottom.
Following this method keeps your kitchen safe and organized, and you’ll find helpful tips for each step ahead.
Key Takeaways
- Sort and declutter kitchen items, discarding expired food and donating unused belongings before packing.
- Gather sturdy boxes and protective materials like bubble wrap and packing paper to safeguard fragile kitchenware.
- Wrap fragile items individually, use cushioned boxes, and clearly label them as “Fragile” for safe handling.
- Pack dishes, cookware, utensils, and small appliances methodically, cleaning and organizing each item before boxing.
- Label all boxes with contents, room designation, and special handling instructions to streamline unpacking and transport.
How to Sort and Declutter Your Kitchen Before Packing
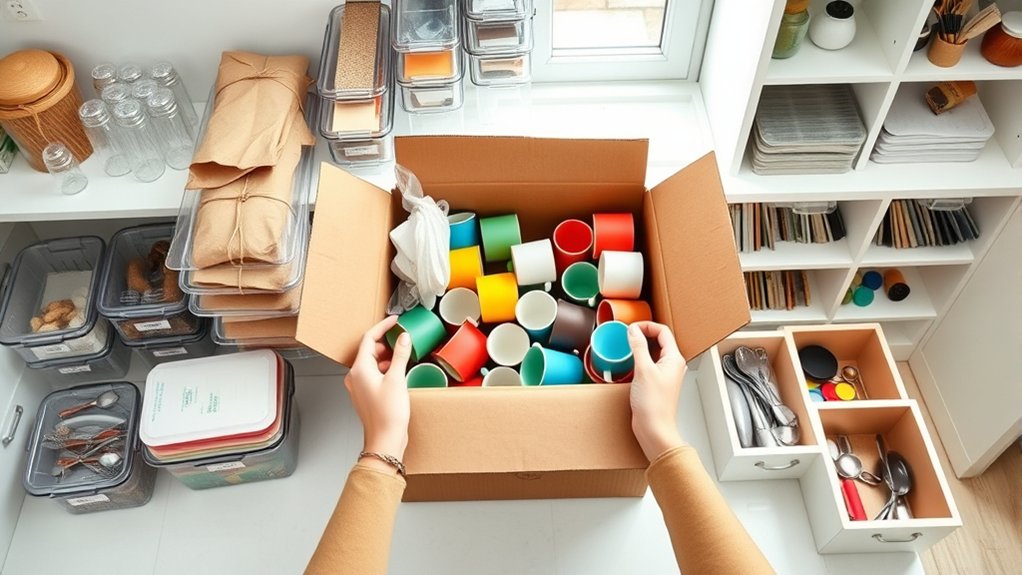
Before you start packing, take the time to sort and declutter your kitchen. Begin by going through your cabinets, drawers, and pantry.
Start by sorting and decluttering your kitchen, checking cabinets, drawers, and pantry before packing.
Toss expired items and donate anything you no longer use. This step not only lightens your load but also makes unpacking easier.
Next, focus on kitchen cleaning. Wipe down surfaces, appliances, and shelves to avoid moving grime.
Don’t forget to disconnect your appliances safely. Unplug and clean each one, then secure the cords and removable parts.
Proper appliance disconnection prevents damage and ensures everything is ready for setup at your new place.
As you sort, group similar items together to streamline packing later. Decluttering now saves you time and stress during the move.
What Packing Supplies You Need for Packing Your Kitchen
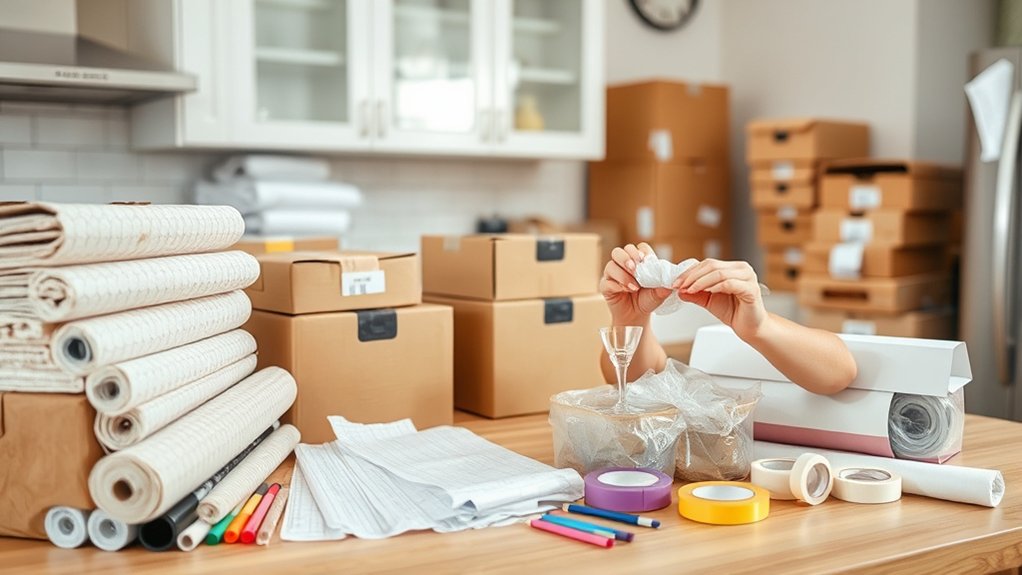
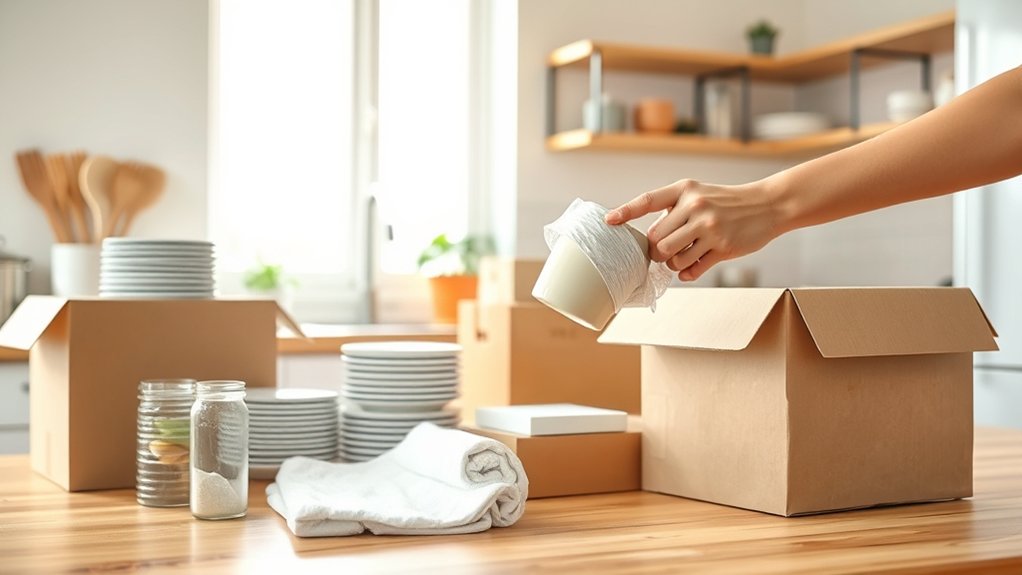
You’ll need a few essential packing supplies to get started, including sturdy boxes and strong packing tape. For fragile items, use protective materials like bubble wrap or packing paper to help prevent damage. Specialized kitchen boxes and containers can also make it easier to organize and transport your dishes, glasses, and utensils.
Essential Packing Materials
Although packing a kitchen can feel overwhelming, having the right materials makes the process much smoother. Start with sturdy boxes in various sizes to accommodate everything from heavy appliances to delicate kitchen decor.
Use dish packs with dividers to keep glasses and plates safe. Don’t forget packing tape to secure boxes and permanent markers for clear labeling, which helps you organize by category and room.
For appliance maintenance, gather instruction manuals and any detachable parts to keep them safe during transit. You’ll also need plastic wrap or bags to bundle small items like utensils or screws.
With these essential packing materials, you’ll protect your kitchen items and simplify unpacking, ensuring your kitchen decor and appliances stay intact and ready to use in your new home.
Protective Wrapping Options
When packing your kitchen, protecting fragile items with the right wrapping materials prevents damage during the move. Choosing the best protective wrapping options ensures your glasses, dishes, and cookware arrive safely.
Here are four essential supplies to have on hand:
- Bubble wrap – cushions delicate items and fills empty spaces in boxes.
- Packing paper – wraps dishes and fragile items without scratching.
- Foam sheets – provide extra padding for oddly shaped items.
- Stretch wrap – secures grouped items and keeps lids in place.
Using these materials properly, you’ll reduce the risk of breakage and keep your kitchenware intact. Don’t skimp on protective wrapping options. Investing in the right supplies saves time and money during unpacking.
Specialized Kitchen Containers
Since kitchen items vary widely in shape and fragility, using specialized containers makes packing more efficient and secure. You’ll want containers designed specifically for dishes, glassware, and utensils to prevent damage during the move.
Look for sturdy boxes with dividers or inserts that keep fragile items separated. For pots, pans, and bulky appliances, stackable plastic bins work well.
Don’t forget to take into account eco friendly packing options like reusable silicone bags or biodegradable bubble wrap to minimize waste. These choices protect your items and support sustainability.
Protecting Fragile Kitchen Items When You Move
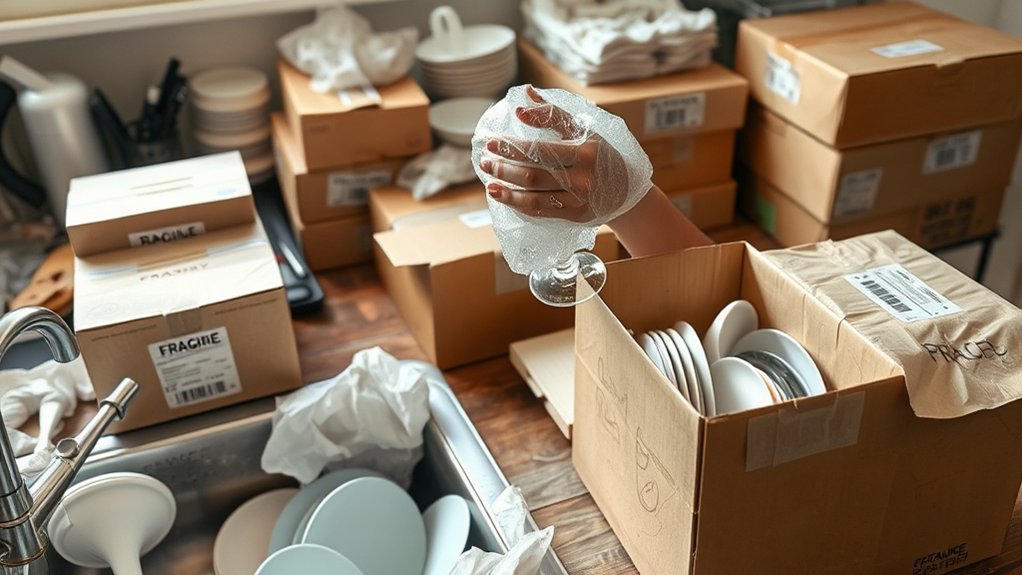
Choose the right packing materials to keep your fragile kitchen items safe during the move. Wrap each piece carefully and securely to help prevent damage. Also, label and organize your boxes so you’ll know exactly what’s inside and where everything goes.
Choosing Proper Packing Materials
Protecting fragile kitchen items starts with choosing the right packing materials that provide adequate cushioning and support. Using the proper materials guarantees your kitchen decor stays intact and your appliances maintain their condition during the move.
Here’s what you need:
- Sturdy boxes – Opt for small to medium sizes to avoid heavy, fragile-packed boxes.
- Bubble wrap – Perfect for cushioning delicate glassware and ceramic kitchen decor.
- Packing paper – Use unprinted paper to wrap items without scratching surfaces.
- Foam sheets or inserts – Ideal for appliance maintenance, preventing dents and shocks.
Selecting these materials carefully sets a solid foundation to protect your kitchen essentials, making unpacking smoother and stress-free.
Wrapping Techniques For Fragiles
When packing fragile kitchen items, how you wrap them can make all the difference between safe arrival and broken pieces. Start by using textile wrapping for delicate surfaces, like glassware or ceramics, to prevent scratches.
Add bubble cushioning around items for shock absorption, especially for plates and bowls. Wrap each item individually, securing with tape if needed.
Layer your box with cushioning at the bottom before placing wrapped items inside.
| Item Type | Wrapping Material | Tips |
|---|---|---|
| Glassware | Textile wrapping | Wrap individually, avoid direct contact |
| Plates | Bubble cushioning | Stack vertically with cushioning layers |
| Utensils | Textile wrapping | Bundle and wrap to prevent scratching |
| Pots/Pans | Bubble cushioning | Wrap handles separately for extra protection |
Labeling And Organizing Boxes
After carefully wrapping each fragile kitchen item, organizing and labeling the boxes correctly helps guarantee everything arrives intact and is easy to unpack.
Start by using color coding to quickly identify box contents and fragility levels. Next, focus on clear label placement—stick labels on multiple sides so you can spot them no matter how boxes are stacked.
Here’s how to stay organized:
- Assign a color to fragile items like glassware or ceramics.
- Write concise descriptions and handling instructions on each label.
- Place labels on the top and at least two sides of the box.
- Group similar items together, using the same color code for easy identification.
Following these steps will keep your fragile kitchen items safe and simplify unpacking.
Packing Dishes and Glassware Safely and Efficiently
Since dishes and glassware are fragile and often bulky, you’ll want to pack them with extra care to prevent chips, cracks, or breaks during the move. Start by wrapping each piece individually in packing paper or bubble wrap.
Handle dishes and glassware with care by wrapping each piece individually to avoid damage during your move.
For dishware stacking, place heavier plates at the bottom and lighter ones on top, using padding between each to avoid direct contact. Stack bowls and smaller plates similarly, but never overpack a box to avoid pressure damage.
When it comes to glassware storage, pack glasses upright whenever possible, filling empty space inside with crumpled paper to keep them stable. Use dividers or sectioned boxes designed for glassware to add protection.
Fill any gaps with soft materials to prevent shifting. Label these boxes as “Fragile” and “Glassware” so movers know to handle them gently.
Following these steps helps ensure your dishes and glassware arrive safely and are ready to use in your new kitchen.
How to Pack Pots, Pans, and Cookware Safely
Packing your pots, pans, and cookware requires a different approach than packing fragile dishes and glassware. These items are sturdy but can scratch or dent easily, so you’ll want to protect them properly.
Their weight and shape also affect how you pack them, especially considering your kitchen design and how you use different cooking techniques.
Follow these steps to pack them safely:
- Clean and dry thoroughly to prevent rust and odors.
- Nest smaller pots and pans inside larger ones, placing a soft cloth or paper towel between each to avoid scratches.
- Wrap lids separately in bubble wrap or towels to protect glass or delicate handles.
- Use sturdy boxes and fill gaps with packing paper to prevent shifting during the move.
Organizing and Packing Kitchen Utensils and Gadgets
When packing kitchen utensils and gadgets, start by grouping similar items together to keep everything organized. Wrap sharp or fragile pieces carefully to protect them during the move. That way, unpacking will be easier, and your kitchenware will stay safe.
Group Similar Items
Although it might seem easier to toss all your utensils and gadgets into one box, grouping similar items will save you time and frustration later. Organize your kitchen items thoughtfully to protect your kitchen decor and simplify appliance maintenance in your new home. Here’s how to group similar items effectively:
- Separate utensils by function, such as cooking, baking, and eating, to keep essentials handy.
- Bundle small gadgets together, like peelers and measuring spoons, to avoid losing them.
- Group appliances by size and use to simplify appliance maintenance and unpacking.
- Keep fragile or specialty items apart from heavy cookware to protect your kitchen decor.
Use Protective Wrapping
After grouping your kitchen utensils and gadgets, the next step is to protect them during the move. Use protective wrapping, like bubble wrap or packing paper, to cover each fragile item carefully.
For sharp utensils or delicate gadgets, wrap them individually to avoid scratches or breaks. Don’t forget to add fragile cushioning inside boxes by layering with packing peanuts, crumpled paper, or foam sheets.
This extra padding absorbs shocks and prevents items from shifting. When packing, place heavier items at the bottom and lighter, more delicate ones on top.
Label boxes containing fragile items clearly to remind yourself and movers to handle them with care. Taking these steps guarantees your kitchen tools arrive safely at your new home without damage.
How to Pack Small Kitchen Appliances Without Damage
Since small kitchen appliances are often delicate and contain many components, you’ll need to handle them with extra care during packing. Proper appliance maintenance before moving guarantees your gadgets stay in good shape. Follow these steps for safe packing and efficient small appliance storage:
- Unplug and Clean: Remove all cords and clean appliances thoroughly to avoid damage or residue buildup.
- Secure Loose Parts: Detach removable parts and pack them separately in labeled bags to prevent loss.
- Use Original Boxes or Padding: If you have original packaging, use it. Otherwise, wrap appliances in bubble wrap or towels for cushioning.
- Pack Upright and Avoid Overpacking: Place appliances upright in sturdy boxes, filling gaps with packing paper to prevent movement and damage.
Labeling Kitchen Boxes So Unpacking’s Easy
When you label your kitchen boxes clearly, you’ll save yourself time and frustration during unpacking. Start by marking each box with its contents and the room it belongs to, like “Kitchen – Glassware” or “Kitchen – Small Appliances.”
Use a bold marker to write on tape or large labels so the information stands out. Don’t forget to note any special instructions, such as “Fragile” or “Handle with care” for delicate items tied to your kitchen decor.
This helps you prioritize unpacking and keeps your kitchen looking organized from the start.
Also, label boxes containing appliances with reminders about appliance maintenance, like “Clean before use” or “Check cords.” This guarantees you don’t overlook essential steps when setting up.
Packing Kitchen Food and Pantry Items
How do you pack your kitchen food and pantry items efficiently for a move? Start by sorting through everything—discard expired goods and donate unopened non-perishables. Then, follow these steps to keep your kitchen organized and ready for unpacking:
- Use airtight containers or resealable bags to prevent spills and preserve freshness.
- Pack heavy items like canned goods at the bottom of boxes to avoid crushing lighter ones.
- Group similar items together—spices, baking ingredients, snacks—to make unpacking easier and maintain your cooking tips routine.
- Label each box clearly with its contents and note if items require special handling, keeping your kitchen decor intact by minimizing mess.
How to Load and Transport Kitchen Boxes Safely
Although packing your kitchen carefully is essential, loading and transporting those boxes safely is just as important to prevent damage. Start by placing heavier kitchen appliances and boxes on the bottom of the moving truck, ensuring they’re well-secured to avoid shifting during transit. Use blankets or padding to protect fragile items and your kitchen decor from scratches or dents.
Make sure you label boxes clearly, so you know which contain delicate pieces or appliances requiring special care. When loading, avoid stacking heavy boxes on top of lighter ones to maintain balance and prevent crushing.
Keep appliance maintenance in mind by unplugging and securing cords, and placing them in labeled boxes. If possible, transport valuable or delicate decor items in your personal vehicle to minimize risk.
Following these steps will keep your kitchen items safe, making unpacking easier and ensuring your kitchen decor and appliances arrive in top condition.
Frequently Asked Questions
When Should I Start Packing My Kitchen Before the Move?
You should start packing your kitchen about 2 to 3 weeks before the move. Grab all your packing supplies early—boxes, bubble wrap, and tape.
Begin with items you rarely use, then move to daily essentials closer to moving day. Use clear labeling techniques on each box to keep track of fragile items and contents.
This way, you’ll stay organized and reduce stress as moving day approaches.
How Do I Handle Packing Kitchen Knives Safely?
Think of your kitchen knives as tiny lightning bolts—powerful but dangerous if mishandled. For knife safety, wrap each blade in thick cardboard or bubble wrap to shield the sharp edges.
Secure them with tape, then place knives blade-down in a sturdy box labeled “Sharp Handling.” This way, you protect yourself and movers from accidental cuts and keep your blades intact during the move.
Don’t forget to pack knives separately from other utensils!
Can I Pack Liquids Like Oils and Sauces in Moving Boxes?
Yes, you can pack liquids like oils and sauces in moving boxes, but you’ll need proper packing supplies to avoid leaks. Use sturdy, leak-proof containers or seal bottles tightly with plastic wrap and tape.
Place them in plastic bags for extra protection, and pack them upright with cushioning around. Follow cleaning tips by wiping up spills immediately and keeping boxes stable during the move.
This keeps your kitchen mess-free and safe.
What Should I Do With My Refrigerator and Freezer Before Moving?
Before moving, treat your fridge and freezer like a sleeping giant. You need to tame it first. Start with thorough appliance cleaning to avoid spills and odors.
Empty all food to guarantee proper food preservation. Toss expired items and pack perishables carefully.
Defrost the freezer at least 24 hours before moving to prevent leaks. Finally, dry all surfaces completely and secure doors tightly. This keeps your appliance safe and ready for its new home.
How Do I Unpack and Set up My Kitchen Efficiently After Moving?
Start by unpacking your essentials first to keep things manageable. Focus on kitchen organization by grouping similar items together and assigning specific spots for utensils, cookware, and pantry goods.
Plug in appliances and perform appliance maintenance checks, like cleaning coils or checking seals, to guarantee they run smoothly. Take your time arranging everything logically, so your kitchen feels functional and inviting, making meal prep easier right from the start.
Conclusion
Packing your kitchen doesn’t have to feel like juggling flaming knives. By sorting, protecting fragile items, and labeling boxes clearly, you’ll keep everything safe and organized.
Use the right supplies and pack smartly to avoid last-minute chaos. With these ten essential steps, your kitchen will be ready to move smoothly, making unpacking a breeze.
Remember, a little preparation now saves a lot of headaches later. Follow these tips for how to pack a kitchen for moving, and get started with confidence!