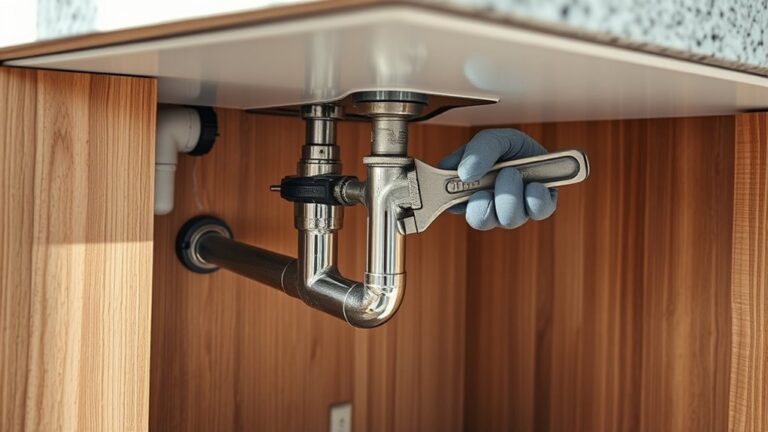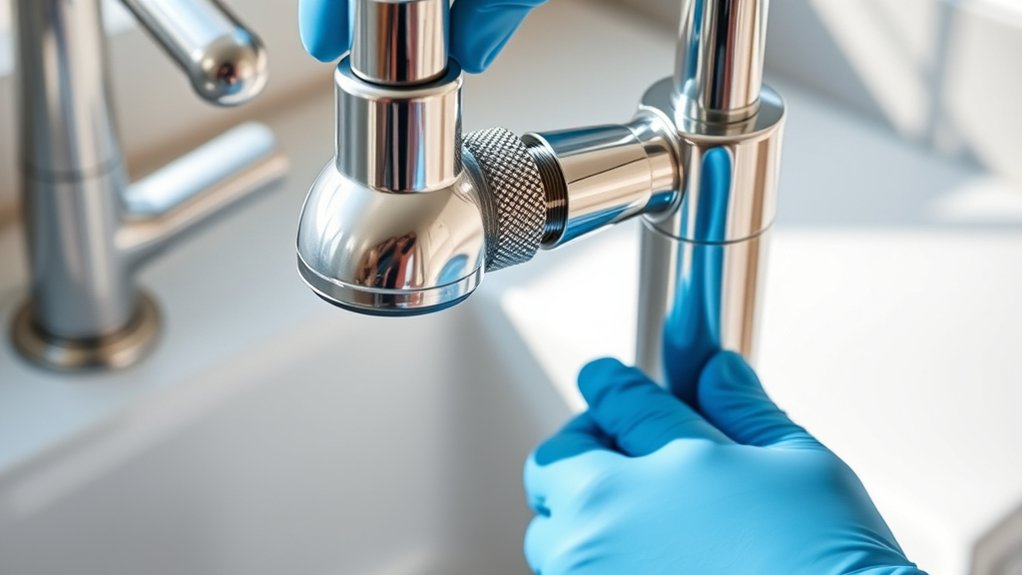
How to Remove Aerator From Kitchen Faucet in 10 Easy Steps
A clogged or stuck faucet aerator can make your kitchen sink frustrating to use, especially when the water stream becomes weak or uneven. You’re not alone—many people struggle with removing mineral buildup without scratching the faucet.
This guide on how to remove an aerator from a kitchen faucet will help you handle the job safely and easily.
To remove your kitchen faucet aerator, first identify its type and gather tools like a wrench and rubber cloth. Turn off the water supply and protect the faucet with tape.
Try unscrewing the aerator by hand, using a wrench if needed, applying steady, gentle pressure.
Clean off any mineral buildup with vinegar or baking soda paste, then inspect for damage.
Finally, reinstall or replace the aerator and test for leaks.
Keep going to uncover simple tips that make this easier.
Key Takeaways
- Identify the aerator type by checking the faucet design for screw-on or snap-on features. This helps determine the proper removal method.
- Turn off the water supply under the sink, then run the faucet to confirm the water is off and prevent leaks during removal.
- Try unscrewing the aerator by hand. Use a rubber grip or cloth for better traction and to avoid causing damage.
- If the aerator is stuck, use an adjustable wrench or pliers with a protective cloth or tape. Turn counterclockwise with steady pressure.
- Soak the aerator in vinegar for 30 minutes to dissolve mineral buildup before applying more force or using tools.
Find Out What Kind of Aerator Your Faucet Has
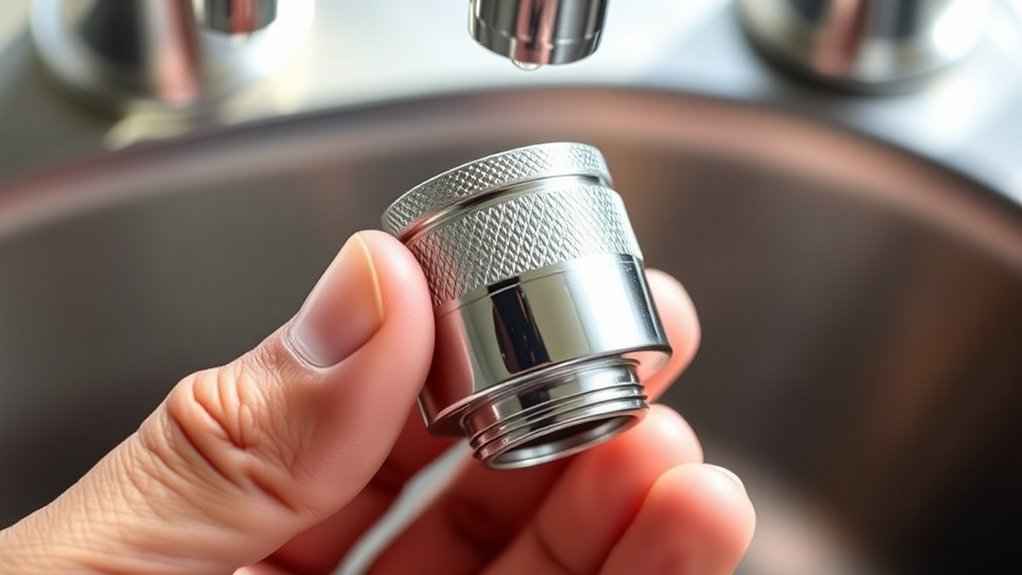
Before you remove the aerator from your kitchen faucet, you need to identify its type. Aerator types vary widely, including standard, snap-on, and threaded models.
Knowing which one you have is essential because it affects how you’ll detach it without causing damage. Check your faucet’s design closely; some aerators screw on, while others simply snap into place.
Understanding faucet compatibility guarantees you use the right approach and tools for removal. For example, threaded aerators twist off easily, but snap-on types require gentle prying.
If you’re unsure, look for any markings or notes in your faucet manual about aerator types and sizes. Identifying the correct aerator type upfront saves you time and prevents frustration during removal.
Once you know the specific aerator style, you’ll be ready to proceed confidently with the next steps, guaranteeing a smooth and efficient process.
Gather the Simple Tools You’ll Need
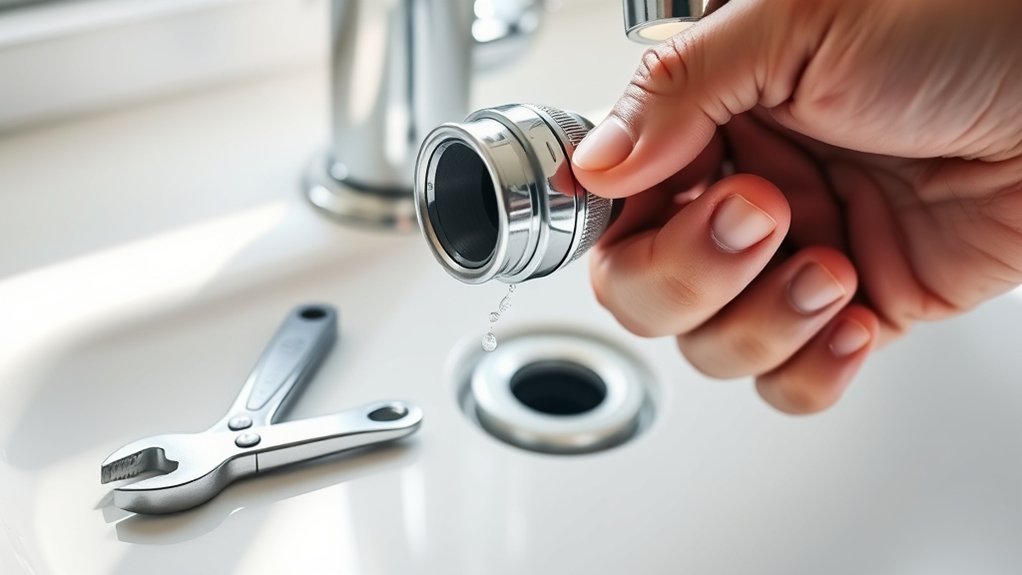
Since removing an aerator requires careful handling, gather a few simple tools to make the process easier and prevent damage. The right tools help preserve your faucet’s appearance and prevent damage to its water pressure system.
Removing an aerator carefully with the right tools protects your faucet’s look and water pressure system.
Here’s what you’ll need:
- Adjustable wrench – to grip and turn the aerator without scratching the finish.
- Rubber cloth or tape – to wrap around the aerator and protect its surface from tool marks.
- Needle-nose pliers – handy for gently loosening stubborn aerators.
- Old toothbrush – perfect for cleaning debris once the aerator is off.
With these tools ready, you can preserve the faucet’s appearance and keep the water pressure steady. Avoid using excessive force or improper tools, as they can damage delicate parts and affect your faucet’s performance.
Turn Off Water Supply to the Kitchen Faucet
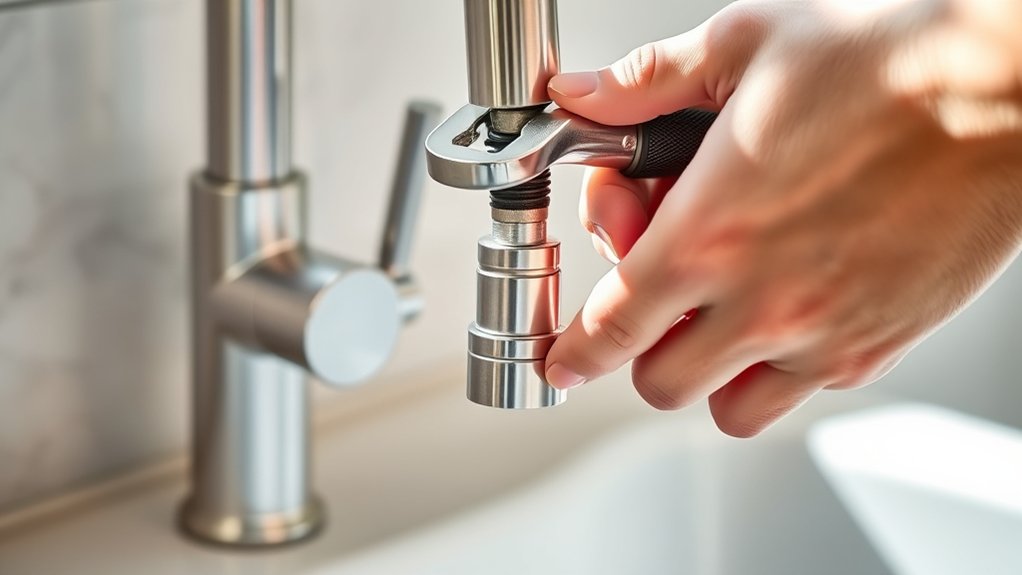
To safely remove the aerator, you’ll need to turn off the water supply to your kitchen faucet. This step prevents water from spraying out during aerator replacement and makes faucet maintenance cleaner and easier.
Usually, you’ll find the shut-off valves under the sink. Turn both the hot and cold water valves clockwise until they’re fully closed.
If you can’t locate these valves, you may need to turn off the main water supply to your home.
Here’s a quick guide to help you:
| Step | Action |
|---|---|
| Locate Valve | Check under the sink |
| Turn Off | Rotate valves clockwise |
| Confirm | Turn faucet on to ensure no flow |
Turning off the water supply protects your faucet and ensures you can complete the aerator replacement without leaks or water damage.
Always double-check the water is off before proceeding.
Protect Your Faucet to Avoid Scratches
After turning off the water supply, take steps to protect your faucet from scratches during aerator removal. Preserving its appearance keeps your kitchen looking sharp and helps maintain its value.
Turning off the water supply and protecting your faucet prevents scratches and preserves your kitchen’s sleek appearance.
A well-maintained faucet also supports effective water conservation by preventing leaks caused by damage.
Here’s how to protect your faucet:
- Wrap a cloth or painter’s tape around the faucet tip to create a soft barrier.
- Use a rubber jar opener or silicone pad to grip the aerator gently.
- Avoid using metal tools directly on the faucet to prevent dents or scratches.
- Work slowly and carefully to minimize accidental slips.
Unscrew the Aerator by Hand or With a Wrench
You can usually unscrew the aerator by hand. If it’s stuck, use the right wrench to prevent slipping. Wrap the aerator in a cloth or use a rubber grip to protect it from scratches. These simple steps will help keep your faucet safe while you work.
Choosing The Right Tool
Although many aerators can be removed by hand, sometimes they’re tightened too much or have mineral buildup that makes twisting difficult. Choosing the right tool protects your faucet while supporting water conservation and proper maintenance. Here’s how to decide:
- Try unscrewing the aerator by hand first. It’s the safest and simplest method.
- If it’s stuck, use a rubber jar opener or cloth for better grip without scratching.
- For stubborn aerators, a wrench or pliers may be necessary. Wrap the aerator with tape to avoid damage.
- Select an adjustable wrench that fits snugly around the aerator to prevent slipping.
Using the correct tool helps maintain your faucet’s integrity and promotes efficient water use.
How To Grip Properly
When gripping the aerator, make certain your hands or tools have a firm hold to prevent slipping and damage. Use a proper grip technique by wrapping your fingers completely around the aerator if you’re unscrewing it by hand.
Engage your hand strength evenly to avoid sudden slips. If you’re using a wrench, position it securely on the aerator’s edges, ensuring it doesn’t pinch or scratch.
Adjust the wrench so it fits snugly, then apply steady, controlled pressure. Avoid jerky movements, as that can strip threads.
Whether using your hands or a tool, maintain a consistent grip and turn counterclockwise to loosen. This approach keeps the process smooth and reduces the chance of damaging the aerator or faucet.
Preventing Damage To Faucet
To prevent damage to your faucet, always choose the right method for unscrewing the aerator—either by hand or with a wrench—based on its condition and tightness. Aerator maintenance ensures smooth water flow and protects your faucet branding from scratches or dents.
Here’s how to keep your faucet intact:
- Inspect the aerator’s tightness; try unscrewing it by hand first.
- If it’s stuck, wrap a cloth around the aerator to protect the finish.
- Use an adjustable wrench gently, applying even pressure.
- Avoid excessive force to prevent stripping threads or damaging faucet branding.
Following these steps helps you maintain your kitchen faucet’s appearance and functionality while performing aerator maintenance safely and efficiently.
How to Loosen Stubborn Aerators With Household Items
If your aerator won’t budge, soak it in vinegar to help dissolve mineral buildup. You can also wrap a rubber band around it for extra grip before twisting. If it’s still stuck, apply a baking soda paste to loosen stubborn deposits and make removal easier.
Use Vinegar Soak
Although stubborn aerators can be tough to remove, soaking them in vinegar can quickly loosen mineral deposits and grime that cause them to stick. To use this method effectively, follow these steps:
- Unscrew the aerator carefully, noting its aerator design to ensure faucet compatibility when reinstalling.
- Submerge the aerator in a bowl filled with white vinegar, covering it completely.
- Let it soak for 30 minutes to an hour, allowing the acidic vinegar to break down buildup.
- After soaking, scrub gently with an old toothbrush to remove loosened debris, then rinse with water.
This vinegar soak is a simple, household-friendly way to tackle tough aerators without damaging the faucet or aerator components.
Apply Rubber Grip
When vinegar soaking doesn’t fully free a stuck aerator, you can use a simple rubber grip to get a better hold and increase your advantage. Grab a rubber grip, like a jar opener or a piece of rubber shelf liner, and wrap it around the aerator.
This creates extra friction, helping you turn the aerator more easily without slipping. Make sure to apply gentle, steady pressure to avoid damaging the faucet’s finish.
Using a rubber grip also provides faucet protection by preventing scratches or dents that metal tools might cause. With this improved grip, twist the aerator counterclockwise to loosen it.
If it still resists, try adjusting your hand position or applying more controlled force. This method offers a practical way to tackle stubborn aerators using items you likely already have at home.
Try Baking Soda Paste
Since stubborn aerators can be tough to loosen, you can create a baking soda paste to help break down mineral buildup effectively. Baking soda is a gentle yet powerful cleaning solution that works wonders on mineral deposits.
Follow these steps:
- Mix 3 tablespoons of baking soda with 1 tablespoon of water to form a thick paste.
- Apply the paste generously around the aerator threads and let it sit for 15-20 minutes.
- Use an old toothbrush to scrub the aerator gently, focusing on crevices where buildup accumulates.
- Rinse with warm water and try twisting the aerator off again.
This homemade cleaning solution softens deposits, making removal easier without harsh chemicals.
Clean Out Debris and Mineral Buildup From the Aerator
Before you reinstall the aerator, remove any debris and mineral buildup that could clog the screen and reduce water flow. Start by disassembling the aerator carefully, noting its components since designs vary.
Rinse each part under warm running water to loosen dirt. Use a soft brush or an old toothbrush to scrub away stubborn mineral deposits, especially around the mesh screen where buildup is most common.
If needed, soak the parts in white vinegar for 15–30 minutes. This helps dissolve minerals without damaging the aerator.
After cleaning, flush the aerator with water to clear away loosened debris. This step is essential because leftover particles can affect water pressure and the faucet’s overall function.
Ensuring the aerator is thoroughly clean will restore maximum water flow and improve your kitchen faucet’s performance. Once it’s clean, you’re ready to inspect the aerator for damage or wear.
Inspect the Aerator for Damage or Wear
After cleaning the aerator, carefully inspect it for any signs of damage or wear that could affect its performance. This step ensures smooth installation and maintains proper compatibility. Here’s what to check:
After cleaning, inspect the aerator for damage or wear to ensure proper installation and performance.
- Cracks or Breaks: Look closely for visible cracks in the plastic or metal housing. Damaged parts can cause leaks or uneven water flow.
- Worn Seals or Gaskets: Examine the rubber washers or O-rings for brittleness or flattening, which can compromise the seal.
- Clogged Mesh Screen: Even after cleaning, ensure the screen isn’t torn or misshapen. It filters debris and helps maintain water quality.
- Corrosion or Mineral Deposits: Check for stubborn mineral buildup or corrosion that might weaken the aerator’s structure.
Reinstall or Replace the Aerator
Before reinstalling the aerator, check each part for damage or debris. Then carefully align the threads and tighten the aerator by hand to avoid cross-threading. Once it’s back in place, turn on the water and check the flow to make sure everything works smoothly.
Inspect Aerator Components
Once you’ve removed the aerator, take a close look at its components to determine if they need cleaning, repair, or replacement. Check each part carefully to decide if an aerator replacement is necessary or if you can simply reinstall it.
Here’s what to inspect:
- Screen: Look for clogs or mineral buildup that block water flow.
- Housing: Examine for cracks or damage that cause leaks.
- Rubber Washer: Ensure it’s intact and flexible to maintain a proper seal.
- Thread Condition: Confirm threads aren’t stripped or worn to guarantee faucet compatibility.
If any parts are damaged or worn out, replacing the entire aerator might be the best option. Otherwise, cleaning and reinstalling should restore peak function without compromising faucet compatibility.
Align Threads Properly
Although it might seem simple, aligning the threads properly is essential when reinstalling or replacing the aerator to prevent leaks and guarantee a secure fit. You’ll want to focus on thread alignment and proper threading to avoid cross-threading or damage.
Start by gently placing the aerator on the faucet tip, then turn it clockwise slowly. If you feel resistance, stop and realign. Forcing it can strip the threads.
Proper threading ensures a tight seal and longer aerator life.
| Step | Tip |
|---|---|
| Position aerator | Line up threads carefully |
| Start threading | Turn clockwise slowly |
| If resistance feels | Stop and realign threads |
| Secure fit | Tighten by hand, avoid tools |
Test Water Flow
After you’ve carefully aligned and secured the aerator, it’s time to check how the water flows through it. Testing guarantees your faucet works efficiently, whether you’re rinsing veggies or filling a pot for cooking techniques. Follow these steps:
- Turn on the faucet slowly to avoid splashing.
- Observe the water stream. Look for consistent, even flow without drips.
- Adjust or tighten the aerator if you spot leaks or irregular spray patterns.
- Use the flow to practice gardening tips, like gently watering indoor plants with a soft spray.
Test Your Faucet Aerator to Ensure It Works
How can you tell if your faucet aerator is working properly? First, check the water flow after reattaching the aerator. It should be steady and splash-free.
If the flow is weak or uneven, your aerator might be clogged or incompatible with your faucet. Remember, different aerator types suit specific faucets, so verify that the one you installed matches your faucet’s thread size and style.
Next, inspect for leaks around the connection. A proper seal means good faucet compatibility and functionality. Turn the water on and off several times to confirm consistent performance.
If you notice irregular spray patterns or dripping, the aerator might need cleaning or replacement. Testing your faucet aerator after removal and reinstallation ensures it delivers maximum water pressure while conserving water.
Frequently Asked Questions
How Often Should I Clean My Kitchen Faucet Aerator?
You should clean your kitchen faucet aerator every three to six months to keep water flow smooth and prevent buildup. Use cleaning techniques like soaking it in vinegar to dissolve mineral deposits.
If you notice persistent clogging or damage, consider aerator replacement to maintain ideal performance. Regular maintenance ensures your faucet stays efficient and extends its lifespan, saving you from costly repairs down the line.
Don’t skip this simple step!
Can a Clogged Aerator Affect Water Pressure?
Ever wonder why your water flow feels weaker than usual? Yes, a clogged aerator can cause significant pressure loss in your kitchen faucet. When debris builds up inside, it restricts water flow, making your faucet seem less powerful.
If you notice a drop in pressure, cleaning the aerator is often the quick fix you need. Don’t ignore it. Addressing the clog restores proper water flow and keeps your faucet working efficiently.
Are All Faucet Aerators Universal in Size?
No, not all faucet aerators are universal in size. You’ll find different aerator threading sizes, so faucet compatibility varies depending on your faucet model.
Before buying a replacement, check your faucet’s threading type and size to guarantee a proper fit. Using the wrong size can lead to leaks or poor water flow.
What Causes White Buildup on Aerators?
What Causes White Buildup on Aerators?
White buildup on aerators happens because mineral deposits in your water settle on the faucet design’s tiny parts. Hard water contains minerals like calcium and magnesium, which accumulate over time, clogging the aerator and reducing water flow.
You’ll notice this chalky residue especially if you live in an area with hard water. Regular cleaning of your aerator helps prevent buildup and keeps your faucet working smoothly.
Can I Use Vinegar to Clean My Aerator Safely?
Yes, you can use vinegar safely to clean your aerator. Vinegar effectiveness comes from its ability to dissolve mineral deposits without damaging the metal or plastic parts, ensuring aerator safety.
Simply soak the aerator in vinegar for about 30 minutes, then scrub gently with a brush to remove buildup. This natural method keeps your aerator clear and functioning well without harsh chemicals or risk of damage.
Conclusion
Removing your kitchen faucet aerator is easier than climbing Mount Everest! With just a few simple tools and steps, you can have your faucet flowing smoothly again in no time.
Remember to protect your faucet and check for damage before reinstalling or replacing the aerator. Once you’re done, test it to make sure everything’s working perfectly.
Follow these steps for how to remove an aerator from a kitchen faucet, and you’ll be a faucet-fixing pro before you know it!