How to Repaint Kitchen Cabinets in 10 Easy Steps
Tired of outdated cabinets making your kitchen feel dull? You’re not alone—many homeowners struggle with peeling paint, stubborn grease, and finishes that never look quite right. Learning how to repaint kitchen cabinets can help you refresh your space without the cost of a full remodel.
To repaint your kitchen cabinets in 10 easy steps, start by gathering all tools and safely removing doors, drawers, and hardware. Clean and degrease surfaces thoroughly, then repair any scratches or dents. Sand the cabinets to help paint stick well.
Apply a quality primer and let it dry completely. Paint with thin, even coats and allow proper drying time. Finally, reinstall everything carefully, adjusting doors for a perfect fit.
Keep going to master tips for a flawless finish.
Key Takeaways
- Remove and label cabinet doors, drawers, and hardware for organized repainting and easy reassembly.
- Clean and sand all cabinet surfaces thoroughly to remove grease and imperfections before priming.
- Apply a high-quality primer evenly to enhance paint adhesion and prevent color bleeding.
- Paint cabinets with thin, even coats using appropriate brushes or rollers, allowing proper drying time between layers.
- Reassemble hardware and doors carefully, adjusting hinges for proper alignment and finishing with touch-ups as needed.
Gather Your Tools and Materials for Kitchen Cabinets
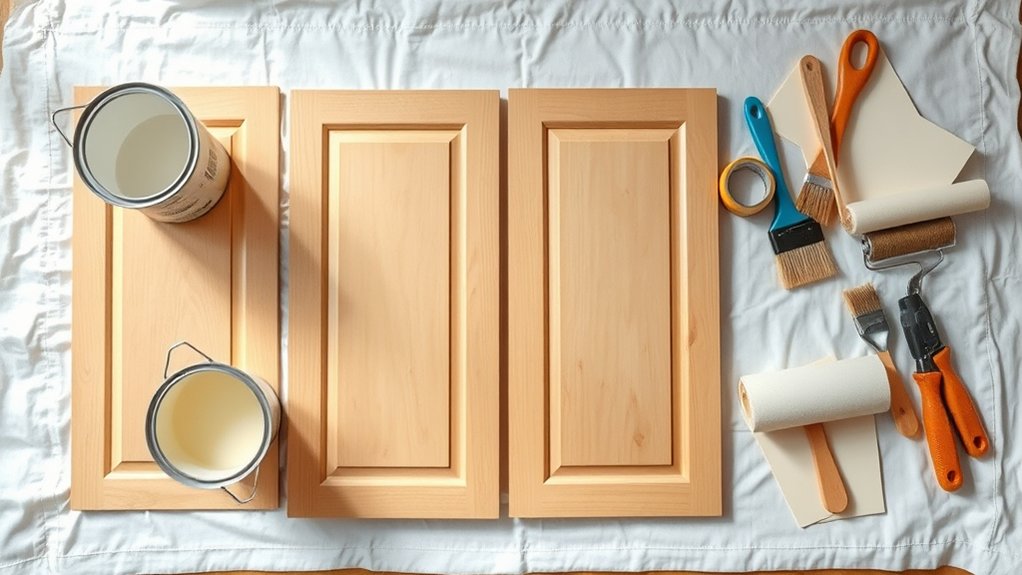
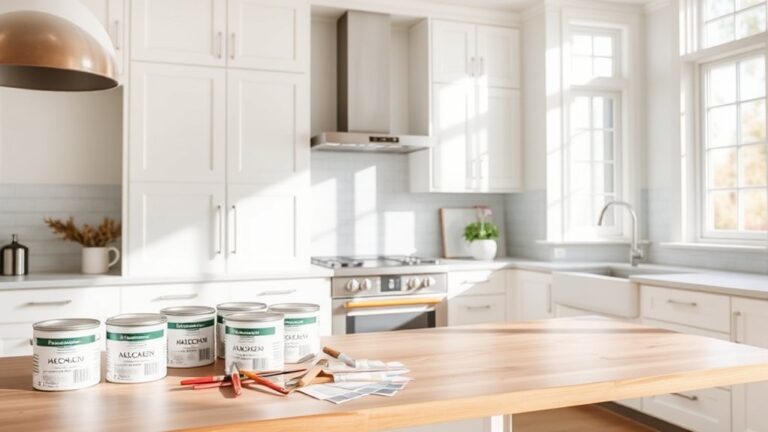
Before you begin repainting your kitchen cabinets, you’ll want to gather all the necessary tools and materials to guarantee a smooth process. Start with quality paint designed for cabinetry, primer, sandpaper, and painter’s tape. You’ll also need brushes or a paint sprayer for an even finish. Don’t forget cleaning supplies to prep the surfaces properly.
If you’re planning to update your look, consider picking out new decorative hardware to complement your fresh paint. This small detail can make a big difference in your kitchen’s style. Furthermore, if your cabinets have built-in cabinet lighting, ensure you have the right tools to work around or temporarily disconnect it safely.
Having everything ready before you start saves time and frustration. Organize your workspace with all materials close at hand, so you can focus on transforming your kitchen cabinets efficiently and beautifully.
Safely Remove Cabinet Doors, Drawers, and Hardware
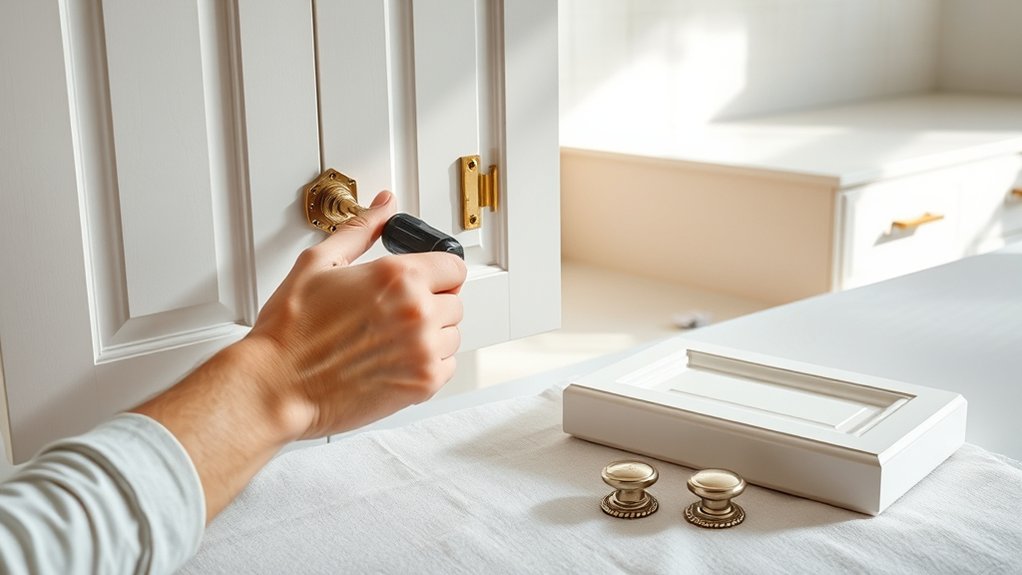
Before you remove any cabinet doors, drawers, or hardware, gather the tools you’ll need, such as screwdrivers and labels. Keep everything organized so you won’t have to search for tools in the middle of the project. Label each part clearly to make reassembly quick and easy.
Organize Removal Tools
Although removing cabinet doors, drawers, and hardware might seem straightforward, having the right tools organized ahead of time makes the process smoother and safer. Before you start, organize removal tools so everything is within reach and ready to use. This helps prevent frustration and reduces the chance of damaging parts.
- Gather essential tools like a screwdriver, drill, and putty knife to handle screws, nails, and stuck components easily.
- Use a small container or magnetic tray to keep screws and hardware secure during removal.
- Keep a notepad or labels nearby to note which parts belong where. This makes it easier to label parts later and guarantees smooth reassembly.
Label Parts Clearly
Once you start removing cabinet doors, drawers, and hardware, labeling each part clearly will save you time and headaches during reassembly. Use masking tape or sticky notes to mark each piece, including cabinet hardware, so you don’t mix them up.
This also helps with color matching when repainting, ensuring each part returns to its exact spot.
Here’s a simple way to organize your labels:
| Part Type | Location | Notes |
|---|---|---|
| Door A | Upper Left | Match color finish |
| Drawer 1 | Bottom Right | Keep hardware safe |
| Handle Set 3 | Middle Cabinet Door | Label for reassembly |
Labeling keeps your workflow smooth and prevents costly mistakes during your cabinet transformation.
Clean and Degrease Kitchen Cabinets Thoroughly
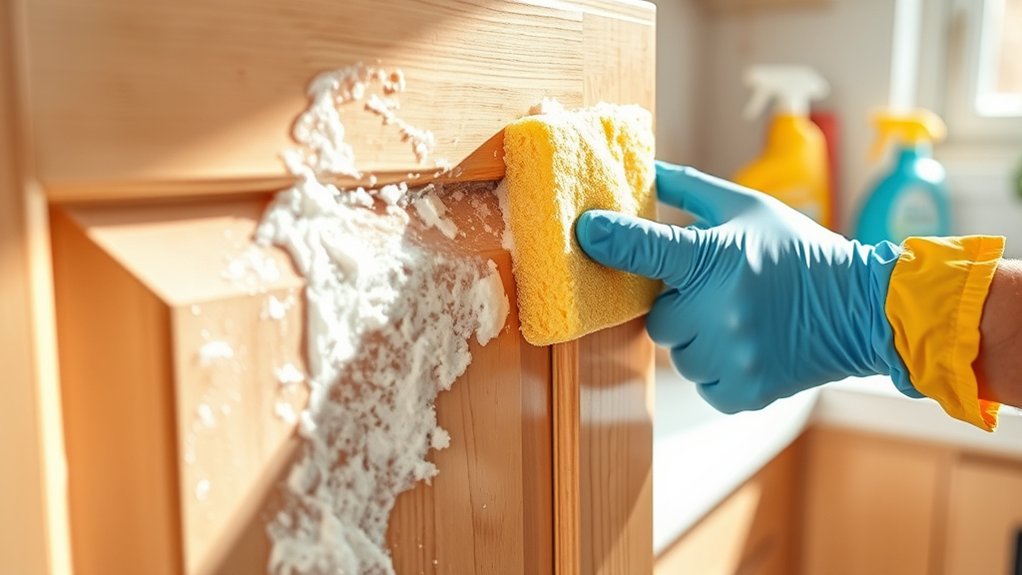
Since grease and dirt can prevent paint from adhering properly, you should clean and degrease your kitchen cabinets thoroughly before painting. Proper cabinet cleaning ensures your new paint job lasts longer and looks smooth.
Start by tackling grease removal, which is essential in kitchens where cooking oils accumulate over time.
Follow these steps for effective cabinet cleaning:
- Prepare a cleaning solution – Mix warm water with a degreasing agent or a mixture of vinegar and dish soap to break down stubborn grease.
- Scrub the surfaces – Use a sponge or soft brush to scrub all cabinet surfaces, paying close attention to handles, edges, and corners where grease tends to build up.
- Rinse and dry – Wipe down the cabinets with clean water to remove residue, then dry thoroughly with a microfiber cloth to prevent moisture damage.
Repair Scratches and Dents on Kitchen Cabinets
How do you fix scratches and dents on your kitchen cabinets to make them look like new again?
Start by evaluating the damage closely. For minor scratches, use a scratch repair marker or wood filler that matches your cabinet color.
Apply it carefully to the scratch, then wipe off excess with a damp cloth.
For deeper dents, dent filling is essential. Choose a high-quality wood filler or putty designed for cabinetry.
Apply it evenly with a putty knife, pressing firmly to fill the dent completely. Let it dry according to the product instructions.
Once dry, check for any uneven areas and apply a second layer if needed. This step ensures a smooth surface and prevents imperfections from showing through the paint.
Proper scratch repair and dent filling create a flawless base, helping your cabinets look professionally refinished once you start painting.
Taking care of these imperfections now saves you frustration later.
Sand Cabinet Surfaces for Better Paint Adhesion
Although repairing scratches and dents is essential, sanding your cabinet surfaces is the next crucial step to guarantee paint adheres properly. You want to create a smooth, slightly roughened surface that helps the new paint grip firmly without peeling or chipping.
Follow this sanding technique for the best results:
- Start with medium-grit sandpaper (120-150 grit) to remove any glossy finish on the cabinet surface. This breaks down the old seal and prepares it for paint.
- Switch to fine-grit sandpaper (220 grit) to smooth out any rough spots and edges, ensuring the surface feels even and clean.
- Wipe down the cabinet surface with a damp cloth or tack cloth to remove all dust particles before painting.
Choose the Best Paint Type and Color for Kitchen Cabinets
What type of paint will give your kitchen cabinets a fresh, durable finish? You want a paint that offers excellent paint durability and stands up well to kitchen conditions. Acrylic latex and oil-based paints are top choices, but remember, good cabinet ventilation during and after painting helps the finish cure perfectly and reduces fumes.
When choosing color, consider your kitchen’s style and lighting. Lighter shades open up space, while darker tones add depth and character.
| Paint Type | Durability | Best For |
|---|---|---|
| Acrylic Latex | High | Easy cleanup, low odor |
| Oil-Based Paint | Very High | Smooth, hard-wearing coat |
| Cabinet Enamel | Medium to High | Glossy finish, scratch-resistant |
Choosing the right paint and color guarantees your cabinets look stunning and last longer in your busy kitchen environment.
Apply Primer to Ensure a Long-Lasting Finish
Before you start painting, choose the right primer to help your cabinets hold their finish longer. Apply it evenly, and be sure to follow the recommended drying time for the best results. If you skip these steps, the paint may chip or peel sooner than you’d like.
Choosing The Right Primer
Since your cabinets will undergo several layers of paint, applying the right primer is essential to guarantee the finish lasts and adheres properly. Choosing the correct primer type depends on your cabinet material and paint color. Here’s how to pick the best one:
- Consider Primer Types: Use an oil-based primer for raw wood or staining issues, and a water-based primer for previously painted surfaces to avoid yellowing.
- Match the Color: If you’re painting a light color over dark cabinets, opt for a tinted primer to reduce the number of paint coats needed.
- Check for Adhesion: Select a bonding primer for slick or laminate surfaces to ensure paint sticks well.
Proper Primer Application Techniques
How you apply primer can make all the difference in achieving a smooth, durable finish on your kitchen cabinets. Start by selecting the right primer type for your cabinet material, such as oil-based primer for wood or bonding primer for slick surfaces.
Before applying, lightly sand the cabinets and clean off dust to guarantee proper adhesion. Use a high-quality brush or foam roller, applying thin, even coats to avoid drips and brush marks.
If you’re repainting a darker color, consider a primer with color-matching properties to prevent the old color from bleeding through. Work in a well-ventilated area, and always follow the manufacturer’s instructions for the best results.
Proper primer application sets the foundation for a long-lasting, professional-looking finish.
Drying Time Importance
Allowing your primer to dry fully makes a huge difference in the durability and appearance of your kitchen cabinets. Skipping or rushing drying time can cause peeling or uneven finishes. Here’s why you should never cut corners:
- Maximizes adhesion: Proper drying time lets the primer bond firmly, ensuring the paint sticks well and lasts longer.
- Reduces paint fumes: Letting primer dry completely minimizes lingering paint fumes, making your workspace safer and more comfortable.
- Prevents imperfections: Dry primer avoids bubbling and streaks, giving your cabinets a smooth, professional look.
Take the time to follow the recommended drying time on the primer label. This simple step guarantees a strong foundation, helping your kitchen cabinets look fresh and flawless for years.
How to Paint Kitchen Cabinets for a Smooth Finish
Achieving a smooth finish on your kitchen cabinets requires careful preparation and the right painting techniques. Start by sanding the surface lightly to remove imperfections. Use a high-quality primer to guarantee paint adhesion and prevent peeling.
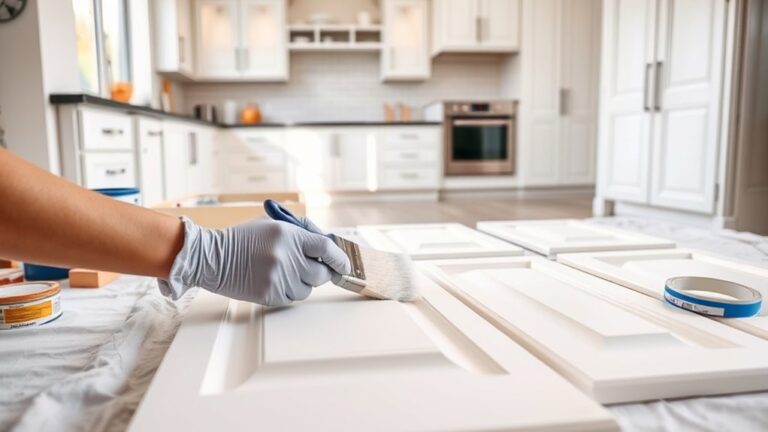
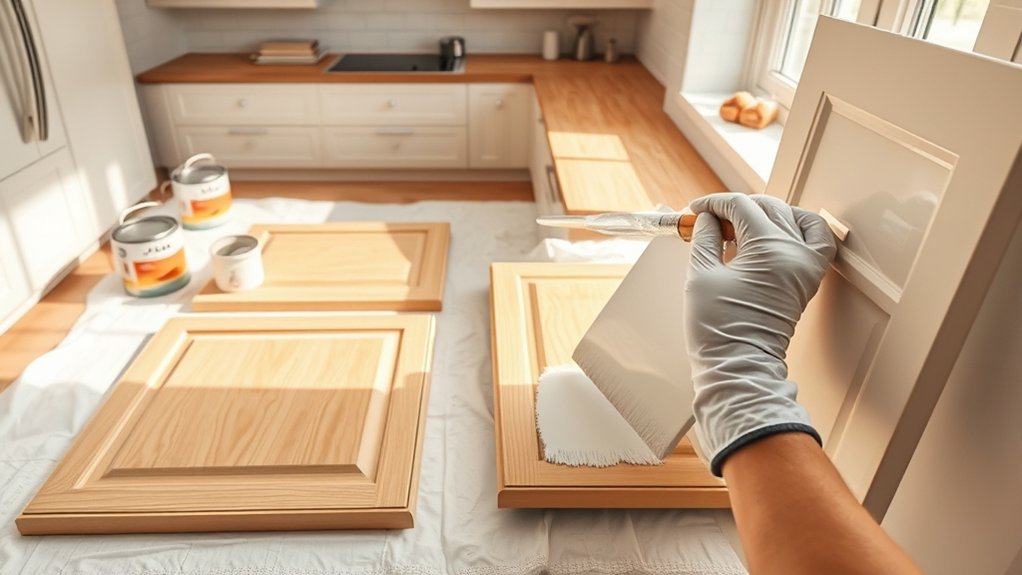
When applying paint, opt for a foam roller for a sleek finish or a fine-bristle brush for detailed areas. Thin, even coats help avoid drips and uneven textures. Allow each coat to dry fully before adding the next.
| Step | Tool | Resulting Finish Texture |
|---|---|---|
| Sanding | Sandpaper (220 grit) | Smooth, even surface |
| Priming | High-quality primer | Better paint adhesion |
| Painting | Foam roller/brush | Uniform, smooth finish |
Dry Cabinets Completely Before Reassembly
Before you start putting your cabinets back together, make sure they’re completely dry. Cabinet moisture can cause paint to peel or bubble, ruining all your hard work.
Use effective drying techniques to guarantee the cabinets are fully ready for reassembly.
Here’s how to do it right:
- Air Dry Thoroughly – Leave your cabinets in a well-ventilated area for at least 24 hours. Good airflow helps evaporate any residual moisture quickly.
- Use a Fan or Dehumidifier – Position a fan or dehumidifier near the cabinets to speed up drying. This is especially useful if you’re working in a humid environment.
- Check for Damp Spots – Before reassembling, run your hand over all surfaces to detect any dampness. If you find moisture, give the cabinets more drying time.
Taking these steps ensures your cabinets stay moisture-free, preventing paint damage and helping your kitchen look fresh and flawless.
Reinstall Cabinet Doors and Hardware to Finish
Once your cabinets are completely dry, you can move on to reinstalling the doors and hardware. Begin by aligning each cabinet door according to your original cabinet design, ensuring they fit perfectly and open smoothly.
After drying, carefully realign and reinstall cabinet doors and hardware for a seamless, smooth fit.
If you’ve updated your hardware styles, now is the time to install the new knobs or handles, which can dramatically improve the overall look. Use a screwdriver to securely attach hinges and hardware, checking for stability as you go.
Double-check that all cabinet doors are level and adjust hinges if necessary to maintain a clean, professional finish. Remember, the right hardware styles complement your cabinet design and boost your kitchen’s aesthetic.
Taking your time here avoids future misalignment issues. With doors and hardware back in place, your freshly painted cabinets will look polished and ready to impress.
This final step transforms your kitchen into a refreshed, stylish space you’ll love.
Frequently Asked Questions
How Long Does the Entire Repainting Process Usually Take?
The entire repainting process usually takes about 3 to 5 days. You’ll spend the first day prepping and cleaning your cabinets.
Choosing the right color choice and paint finishes can add some time, especially if you’re waiting for paint to dry between coats.
Typically, you’ll apply two to three coats, allowing each to dry fully. Patience pays off, so don’t rush. Quality finishes need proper drying time for the best look and durability.
Can I Repaint Cabinets Without Removing Doors and Hardware?
Yes, you can repaint cabinets without cabinet removal, but it’s more challenging. Leaving doors and hardware on means you’ll need to carefully tape around handles and hinges to avoid paint smudges.
This method saves time but may affect the finish quality. If you want a professional look or plan a hardware replacement, removing cabinet doors makes sanding and painting easier, ensuring a smoother, more durable result.
What Safety Precautions Should I Take When Sanding Cabinets?
You should always wear a dust mask to protect your lungs from fine particles when sanding cabinets. Make sure you work in a well-ventilated area by opening windows or using fans to keep fresh air flowing, reducing dust buildup.
Also, consider wearing safety goggles to shield your eyes and gloves to protect your skin. Taking these precautions keeps you safe and comfortable throughout the sanding process.
How Often Should Kitchen Cabinets Be Repainted?
Think of your kitchen cabinets as a canvas that tells your home’s story. You should repaint them every 5 to 10 years, depending on wear and tear.
Your color choice can brighten the space or create a cozy vibe, while the paint finish affects durability and appearance. Glossy finishes handle cleaning well, making them perfect for busy kitchens.
Are There Eco-Friendly Paint Options for Kitchen Cabinets?
Yes, you can definitely use eco paints for your kitchen cabinets. These paints are low in volatile organic compounds (VOCs), making them safer for your home and the environment.
You’ll also find natural finishes derived from plant-based ingredients that give your cabinets a beautiful, non-toxic look. Choosing eco-friendly options helps reduce harmful emissions and keeps your kitchen healthier, so go ahead and pick a natural finish that suits your style and values.
Conclusion
Now that you’ve tackled each step, your kitchen cabinets will look so stunning, they could stop traffic! By gathering your tools, prepping carefully, and painting with patience, you’ve transformed your space without the hassle of a full remodel.
Remember, taking your time with cleaning, sanding, and drying guarantees a finish that lasts for years. Enjoy your fresh, beautiful cabinets—you’ve earned every bit of this amazing upgrade!