How to Add Glass to Kitchen Cabinets in 10 Easy Steps
Tired of a plain, outdated kitchen but not ready for a full remodel? You’re not alone—many homeowners want a stylish update without the cost, mess, and hassle of replacing their cabinets.
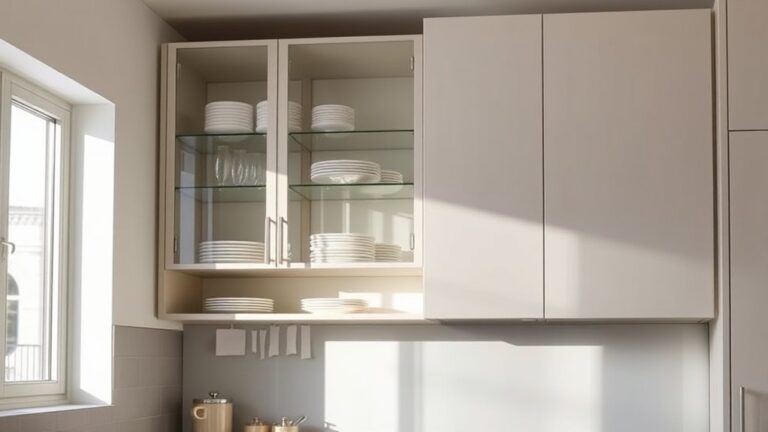
Learning how to add glass to kitchen cabinets can be a simple way to refresh your space and showcase your favorite dishes.
You can easily upgrade your kitchen cabinets by removing the doors and panels, then carefully measuring and marking the glass inserts to fit.
After preparing the door frames, place tempered glass securely using glazing points and silicone caulk.
Reattach and align the doors for smooth operation.
Regular cleaning and hinge checks keep the look pristine.
Follow these simple steps, and you’ll soon enjoy a stylish, functional kitchen upgrade with beautiful, durable glass inserts.
Key Takeaways
- Measure cabinet door frames accurately. Subtract 1/8 inch for glass clearance before ordering or cutting inserts.
- Remove cabinet doors carefully. Label the hardware and support the doors firmly during disassembly.
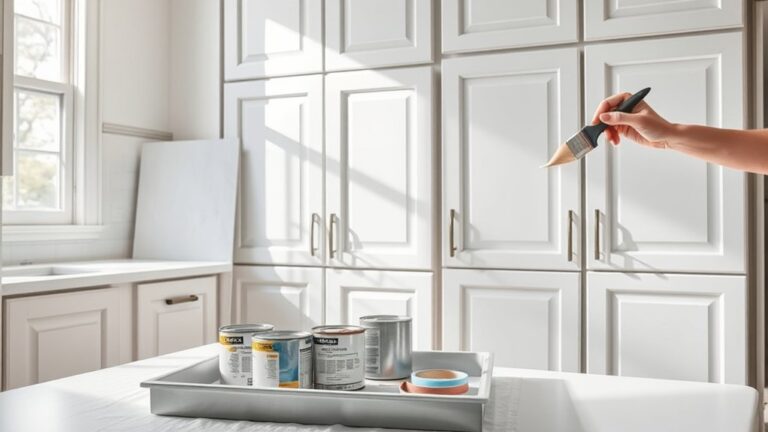
- Prepare door frames by cleaning, sanding, and painting. Remove old panels and replace hinges if needed.
- Secure glass inserts using glazing points or clips every 4–6 inches. Seal the edges with clear silicone caulk.
- Reattach doors and adjust the hinges for proper alignment. Ensure smooth, gap-free movement before final tightening.
Why Choose Glass Inserts for Kitchen Cabinets?
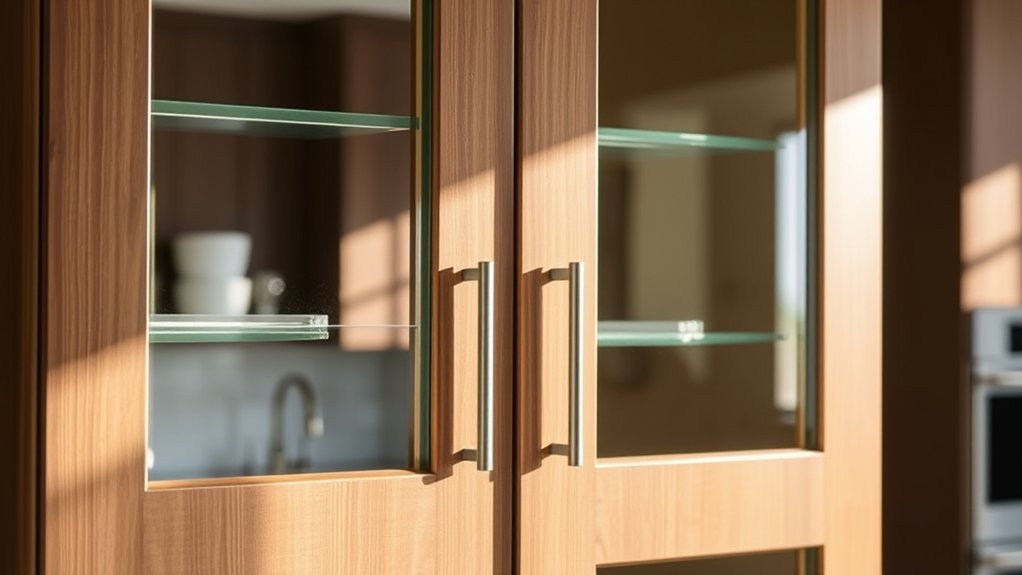
Although solid cabinet doors offer privacy, glass inserts bring a unique blend of style and functionality to your kitchen. When you choose glass for your cabinets, you not only enhance the overall look but also get to showcase your favorite dishes or glassware.
Glass cabinet doors combine style and function, elevating your kitchen while displaying your cherished dishes.
Decorative patterns on the glass can add a touch of personalization and charm, making your kitchen feel more inviting and stylish.
You might worry about losing privacy, but many glass options provide excellent privacy benefits. Frosted, textured, or patterned glass can obscure the view inside while still letting light through, maintaining a bright and open feel.
Plus, glass inserts make it easier for you to spot what’s inside without opening every door. This saves time and keeps your kitchen organized.
Grab Your Tools and Materials
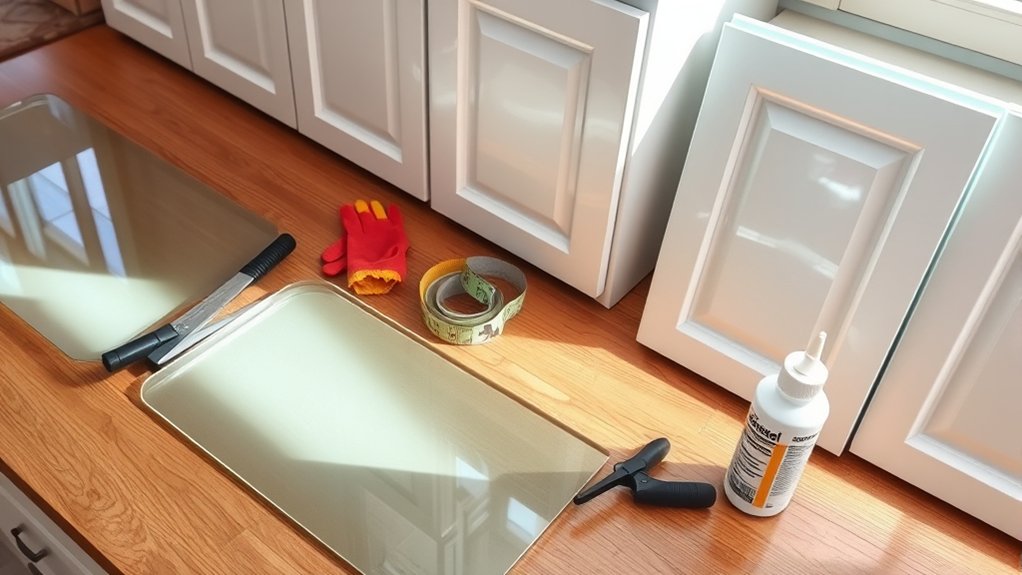
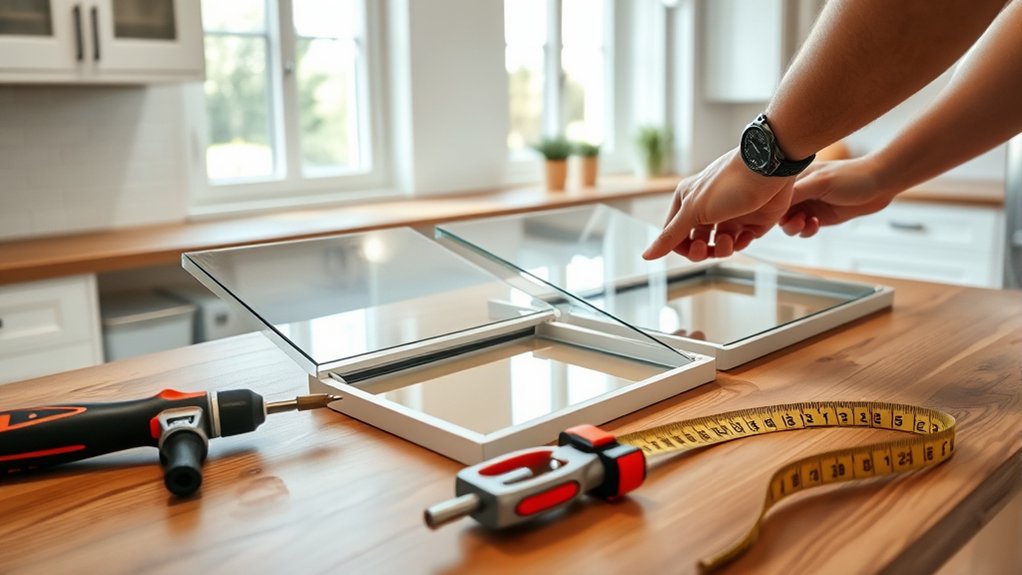
Before you start, gather all the tools you’ll need, such as a screwdriver, measuring tape, and glass cutter. You’ll also need materials like glass inserts, wood trim, and brackets to hold everything securely in place. Having everything ready will help your project go smoothly.
Essential Tools Overview
What tools do you need to add glass to your kitchen cabinets? To start, you’ll want a measuring tape to get precise dimensions, ensuring your decorative glass or frosted glass fits perfectly. A screwdriver or drill will help you remove and reattach cabinet doors with ease.
Use a glass cutter if you plan to trim your glass to size, but be cautious handling sharp edges. Clamps are essential to hold the glass steady while securing it in place.
You’ll also need a putty knife or scraper to remove old panels or putty. Finally, gloves protect your hands from cuts, and safety glasses shield your eyes during installation.
Having these tools ready will make adding glass to your cabinets smooth and efficient.
Required Materials Checklist
Once you’ve gathered your tools, it’s time to collect the materials needed for adding glass to your kitchen cabinets. First, pick the right glass panels. Tempered glass is safest and most durable.
Next, choose cabinet paint if you plan to refresh the frames or touch up after installation. Don’t forget the trim or glazing points to secure the glass in place.
You’ll also need new hardware replacement if your current knobs or hinges don’t fit with the glass doors or need upgrading for a cohesive look. Furthermore, grab weatherstripping or sealant to prevent rattling and dust.
Having all these materials ready ensures a smooth, efficient process, letting you transform your kitchen cabinets with glass confidently and professionally.
Remove Cabinet Doors Safely
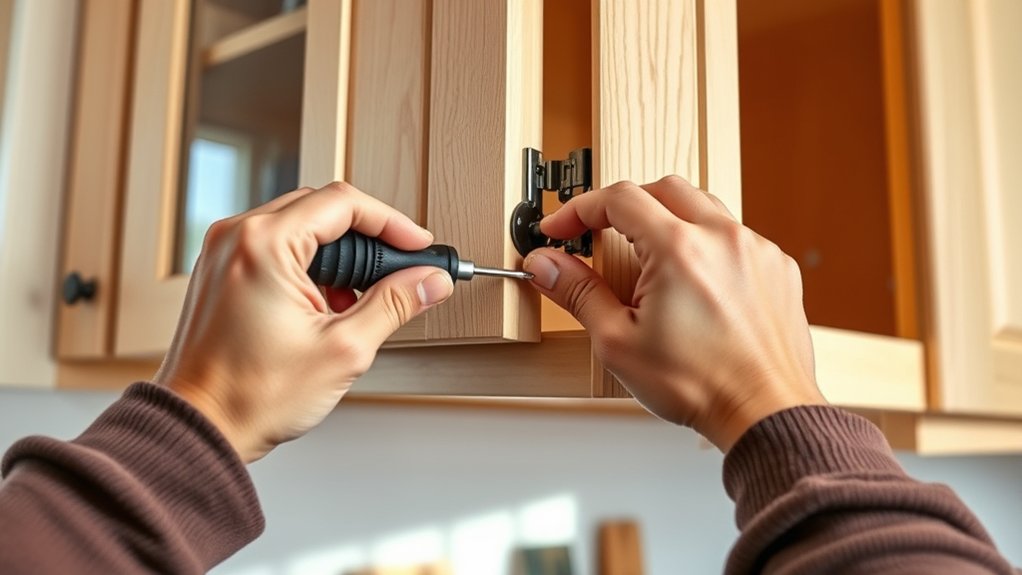
Although it might seem straightforward, removing cabinet doors requires care to avoid damaging the wood or hardware. Taking your time guarantees the decorative glass you plan to install stays intact and preserves cabinet safety.
Before you begin, gather the right tools and prepare your workspace to avoid mishaps.
Here’s how to remove cabinet doors safely:
- Support the door firmly to prevent it from swinging or falling once screws are loosened.
- Use the correct screwdriver to avoid stripping screws, which can damage hinges and complicate reinstallation.
- Label each door and its corresponding hardware to keep track of where everything goes when you’re ready to reassemble.
Remove Cabinet Door Panels
How do you safely remove the cabinet door panels without damaging them? Start by laying the door flat on a soft surface to protect its finish and maintain the cabinet door aesthetics. Use a small flathead screwdriver or a putty knife to carefully pry out any trim or beading around the panel. Take your time to avoid cracking or splintering the wood.
Once the trim is removed, gently push the panel out from the back. If it’s glued, apply slight pressure, but avoid forcing it.
After removing trim, carefully push out the panel, using gentle pressure if glued—never force it.
Removing the panels cleanly is essential since you’ll be replacing them with glass inserts, which come in various glass color options to improve your kitchen’s look. Keep the door and trim pieces intact for a professional finish.
Properly removing the panels ensures your cabinetry retains its beauty while allowing the new glass to shine through.
Measure and Mark Glass Insert Dimensions for Cabinet Doors
Now that you’ve removed the cabinet door panels, measure the openings carefully to determine the correct glass insert dimensions. Use a reliable tape measure and a fine-tip marker to mark precise lines on the frame. Double-check each measurement to ensure the glass will fit properly before cutting or ordering it.
Accurate Measurement Techniques
Before cutting your glass inserts, measure the cabinet doors carefully to guarantee a perfect fit. Accurate measurements ensure your decorative glass looks seamless and any glass tinting improves the cabinet’s appearance without gaps or overlaps.
Here’s how to nail the measurements:
- Measure the width and height inside the frame where the glass will sit, not the outside edges.
- Subtract a small clearance, usually 1/8 inch, from both dimensions to allow for expansion and easy installation.
- Double-check your measurements by measuring twice and noting the smallest dimensions.
Taking your time here saves you from costly mistakes and ensures your glass inserts fit snugly, showing off your kitchen’s stylish new look.
Marking Tools Selection
Once you’ve taken precise measurements, the next step is selecting the right marking tools to outline those dimensions on your glass inserts. Choosing tools that suit your glass types and any decorative patterns is essential to avoid errors.
Use a fine-tip permanent marker for clear, sharp lines on smooth glass surfaces. For textured or patterned glass, a grease pencil can offer better visibility. Make sure your tools won’t scratch or damage the glass.
| Tool Type | Best For Glass Types | Notes on Decorative Patterns |
|---|---|---|
| Fine-tip Marker | Clear, smooth glass | Precise lines, avoid smudging |
| Grease Pencil | Textured, frosted glass | Easily visible on patterns |
| Glass Scribe | Thick, tough glass | Marks without scratching |
| Measuring Tape | All types | For confirming dimensions |
| Ruler/ Straightedge | All types | Ensures straight, accurate lines |
Dimension Verification Methods
Although measuring glass inserts might seem straightforward, verifying every dimension twice guarantees your cabinet doors fit perfectly without gaps or pressure points. Start by measuring the opening’s height and width accurately, then subtract a small clearance for easy installation.
Next, mark the glass insert dimensions clearly on the glass or template using a fine-tip marker. Don’t forget to double-check these measurements to confirm color coordination and style compatibility with the overall kitchen design.
Use these dimension verification methods:
- Measure the cabinet door opening at multiple points to confirm consistency
- Use a level to ensure measurements are straight and aligned
- Cross-check marked dimensions against your design plan for style compatibility
This careful approach prevents costly mistakes and keeps your kitchen looking polished.
Cut or Order Glass Inserts to Fit Perfectly
When you decide to add glass inserts to your kitchen cabinets, getting the measurements right is crucial to guarantee a perfect fit. After verifying your dimensions, you can choose whether to cut the glass yourself or order custom inserts.
If you’re confident with tools and safety, cutting glass at home can save money, but precision is key. Otherwise, ordering from a professional ensures accuracy and access to various glass types.
Consider your design ideas when selecting glass types. Clear, frosted, textured, or tinted glass can dramatically change your cabinet’s look.
Custom orders let you match the thickness and style perfectly, complementing your kitchen’s aesthetic. Always double-check your measurements before placing an order or cutting to avoid costly mistakes.
Whether DIY or professional, quality glass inserts improve your cabinets’ appearance and durability. Take your time choosing the right glass to bring your design ideas to life flawlessly.
Prepare Cabinet Door Frames for Glass Installation
Before installing glass inserts, you’ll need to prepare the cabinet door frames by removing any existing panels or hardware that could obstruct the glass.
Start by carefully taking out the old cabinet panels, which may be nailed or glued in place. If your hinges are worn or outdated, consider a hinge replacement to improve door functionality and appearance.
Next, clean the frames thoroughly to remove dust and debris. This step guarantees that new cabinet paint will adhere properly if you choose to refresh the finish around the glass.
Make sure the frame edges are smooth and free of splinters or rough spots that could damage the glass.
To prepare your cabinet doors effectively:
- Remove old panels and clean the frame edges
- Sand and touch up with cabinet paint as needed
- Check hinges and replace if necessary
These steps get your cabinet doors ready for a flawless glass installation.
Attach the Glass Inserts Securely
Once you’ve prepared the cabinet door frames, you can securely attach the glass inserts by carefully positioning them and using the appropriate fasteners or glazing points to hold them in place.
Start by gently placing your decorative glass or privacy glass panel into the frame, making certain it fits snugly without forcing it.
Gently place the glass panel into the frame, ensuring a snug fit without applying force.
Use glazing points or small metal clips around the edges to secure the glass firmly. Press them evenly, spacing them about every 4 to 6 inches to prevent any movement or rattling over time.
Avoid overtightening, as this could crack the glass. If needed, apply a thin bead of clear silicone caulk around the edges to add extra stability and prevent moisture intrusion.
This step is especially important for privacy glass, which often has a textured surface. Taking care here guarantees your glass inserts stay put and your cabinet doors look polished and professional.
Reattach Cabinet Doors With Glass Inserts
Now that the glass inserts are secure, it’s time to reattach the cabinet doors. Align the hinges carefully to prevent misfits or gaps. Once the doors are attached, open and close them a few times to make sure they move smoothly without sticking or rubbing.
Align Door Hinges Properly
Although attaching glass inserts to your cabinet doors can be delicate work, aligning the door hinges properly guarantees your cabinet doors open smoothly and look professional. Start by checking the hinge alignment before fully tightening screws. Proper door adjustment prevents gaps and uneven spacing that can detract from your new glass.
Focus on these key steps for perfect hinge alignment:
- Loosen hinge screws slightly to allow movement for adjustments.
- Adjust the door up, down, left, or right until it sits flush and level.
- Tighten screws securely once the door is perfectly aligned.
Secure Glass Inserts Carefully
Before reattaching the cabinet doors, make sure you secure the glass inserts firmly to prevent any movement or damage. Start by selecting the right glass types—tempered or laminated glass offer durability and safety.
Carefully place the glass into the door frame, aligning it with any decorative patterns you want to showcase. Use glazing points or clips to hold the glass securely in place, ensuring it sits flush without gaps.
Apply a thin bead of clear silicone or glazing putty around the edges for extra stability and to cushion the glass. Double-check that the insert doesn’t shift when gently pressed.
Taking these steps helps preserve your kitchen’s style while protecting the delicate glass, allowing you to confidently reattach the cabinet doors without worry.
Test Door Functionality Smoothly
How smoothly do your cabinet doors open and close once the glass inserts are secured? Testing door functionality is vital to guarantee your work looks professional and functions well.
Start by reattaching the doors carefully, aligning the door hinge with the cabinet frame. Check that all cabinet hardware is tightened but not over-tightened, which can cause stiffness.
Here’s what to focus on:
- Open and close each door slowly to listen for any squeaks or catches.
- Adjust the door hinge screws if the door doesn’t sit flush or swings unevenly.
- Confirm the glass insert doesn’t rattle or shift when the door moves.
Clean and Maintain Glass Cabinet Doors for Longevity
Since glass cabinet doors are both functional and decorative, keeping them spotless will improve your kitchen’s overall look. To preserve their decorative patterns and boost glass durability, clean them regularly with a soft cloth and a gentle glass cleaner.
Avoid abrasive materials that can scratch the surface or dull the intricate designs. Wipe in circular motions to prevent streaks and maintain clarity.
For deeper cleaning, use a mixture of vinegar and water, which effectively removes grease without damaging the glass. Also, check the hinges and handles periodically to guarantee smooth operation and prevent wear.
If you notice any chips or cracks, address them promptly to avoid further damage.
Frequently Asked Questions
Can Glass Inserts Increase My Kitchen’s Resale Value?
Yes, glass inserts can increase your kitchen’s resale value by enhancing cabinet customization and aligning with current interior design trends. Buyers often appreciate personalized touches that make a space feel modern and open.
Glass doors showcase your cabinets’ contents, adding elegance and lightness. By updating your cabinets with glass inserts, you’re making your kitchen more appealing and stylish, which can attract potential buyers and boost your home’s marketability.
What Types of Glass Are Safest for Kitchen Cabinets?
Think of your kitchen cabinets as a stage, and the glass as the spotlight. Tempered glass is your safest bet, tough enough to handle everyday drama without shattering into sharp shards.
Frosted glass adds mystery, softly diffusing light while keeping your shelves’ secrets. You’ll want tempered glass for durability and frosted glass if you prefer privacy without sacrificing style.
Together, they make your kitchen both safe and stunning.
How Long Does the Glass Installation Process Usually Take?
The installation timeline usually takes a few hours to a day, depending on the cabinet size and glass type. If you hire a professional, they’ll often complete it faster and with precision, saving you hassle.
Doing it yourself might stretch the timeline, especially if you’re learning as you go. Either way, planning ahead helps. You’ll want to gather materials and measure carefully to keep the process smooth and efficient.
Are There Any Special Cleaning Products for Glass Cabinet Doors?
You don’t need special cleaning products for glass cabinet doors. About 85% of people use standard glass cleaning solutions effectively. Just grab a gentle, ammonia-free cleaner to avoid streaks and damage.
For glass maintenance, use a soft microfiber cloth to wipe away fingerprints and spills regularly. Avoid abrasive materials that can scratch the surface.
Keeping up with these simple cleaning solutions makes your glass doors look crystal clear and fresh every day.
Can Glass Inserts Be Added to Cabinets With Existing Shelving?
Yes, you can add glass inserts to cabinets with existing shelving, but you’ll need to plan for cabinet frame modification to accommodate the glass panels.
Start by removing the cabinet doors, then use glass installation tools like a router and clamps to carefully alter the frame for the inserts. Make sure the shelves won’t interfere with the door’s fit or glass placement.
With the right tools and adjustments, you’ll achieve a stylish, functional upgrade.
Conclusion
Adding glass inserts to your kitchen cabinets is like giving your space a breath of fresh air—bright, elegant, and inviting. By following these simple steps, you can transform your cabinets without the hassle of a full remodel.
Take it one step at a time, and soon you’ll enjoy the sparkle and charm that glass brings to your kitchen. Roll up your sleeves, let your creativity shine, and give your kitchen cabinets a stylish new look with glass.