How to Measure a Kitchen in 3 Easy Steps
Measuring a kitchen accurately can feel overwhelming, especially when one missed detail may lead to costly fitting problems. You’re not alone—many people struggle to know where to begin, but learning how to measure a kitchen makes the planning process much easier.
Start by gathering your measuring tools like a tape measure, pencil, and paper, ensuring they’re accurate and ready. Next, measure each wall, window, door, and appliance space carefully, noting any irregularities or clearances.
Finally, write down each measurement immediately using consistent units, then double-check all dimensions to avoid costly mistakes. With these basics, you’re set to visualize your kitchen layout and plan effectively.
Keep going to uncover tips for a smooth and precise kitchen measurement process.
Key Takeaways
- Gather essential tools like a tape measure, pencil, and graph paper before starting your kitchen measurements.
- Measure the length and height of each wall, including windows, doors, and any alcoves or protrusions.
- Record all measurements immediately, using consistent units and clear labeling on your sketches.
- Double-check every measurement by revisiting points to ensure accuracy and prevent costly mistakes.
- Use these precise measurements to plan appliance placement and overall kitchen layout effectively.
Get Your Measuring Tools Ready

Before you begin measuring your kitchen, gather all the essential tools you’ll need to guarantee accuracy. Having the right measuring tools on hand makes the entire process smoother and prevents costly mistakes.
Start by collecting a tape measure, a pencil, graph paper or a notebook, and a level if you have one. A laser measure can be helpful for larger spaces, but a standard tape measure usually works just fine for most kitchens.
The preparation steps don’t stop at gathering tools. You’ll also want to clear any clutter from your counters and walls to get unobstructed measurements.
Double-check your tape measure for any damage or stretching, as this can throw off your numbers. By prepping properly, you’ll save time and avoid frustration later.
Once your measuring tools and preparation steps are complete, you’ll be ready to move confidently into measuring your kitchen walls and openings.
Measure Your Kitchen Walls and Openings

When you start measuring your kitchen walls and openings, focus on capturing accurate dimensions from floor to ceiling and corner to corner. Measure each wall’s length carefully, noting any irregularities like alcoves or protrusions.
Don’t forget to measure the height of windows, doors, and other openings, as these affect your kitchen layout. Precise wall measurements help you plan for color coordination, guaranteeing your paint or backsplash complements the overall design.
Next, consider appliance placement by measuring the space where your stove, refrigerator, and dishwasher will go. Account for clearance around these appliances to ensure they fit comfortably without crowding the space.
Mark these dimensions clearly on your sketch, so you can visualize how everything fits together. By measuring your walls and openings accurately, you create a solid foundation for a functional and visually appealing kitchen that balances style and practicality.
Write Down and Double-Check Your Measurements
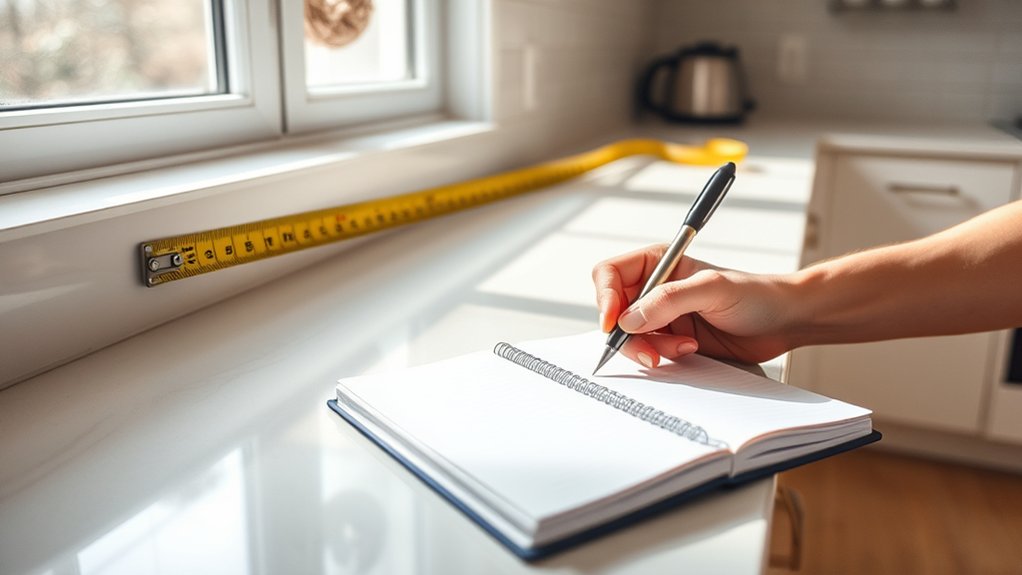
Although measuring your kitchen carefully is essential, writing down every dimension clearly is just as important. Grab a notebook or a digital device and record each measurement immediately to avoid forgetting or mixing them up later.
Use consistent measurement units—stick to either inches or centimeters throughout to maintain accuracy. To keep things organized, try color coding your notes; for example, use one color for wall lengths and another for door openings. This simple step helps you quickly identify different categories when reviewing your data.
Once you’ve written everything down, double-check your measurements by revisiting each spot and comparing your notes with the actual dimensions. This reduces errors that could lead to costly mistakes during installation or remodeling.
Taking the time to verify ensures your project goes smoothly and saves you stress down the line. Remember, clear records and careful verification are key to a successful kitchen measurement process.
Frequently Asked Questions
What Type of Tape Measure Is Best for Kitchen Measurements?
You’ll want a tape measure with a flexible, retractable fiberglass or steel blade for kitchen measurements. These tape types offer durability and prevent stretching, ensuring measurement accuracy.
A 25-foot tape is ideal, giving you enough length without being bulky. Look for clear, easy-to-read markings in both inches and centimeters.
This way, you’ll get precise dimensions, making your kitchen project smoother and more efficient.
How Do I Measure Uneven or Sloped Walls?
When you encounter wall irregularities or sloped surfaces, think of them as nature’s own dance steps in your kitchen’s layout. You’ll want to measure in segments, breaking the wall into smaller, manageable parts.
Use a level to find the true vertical or horizontal lines, then note each measurement carefully. Adding these together gives you an accurate total, helping you accept those charming quirks without losing precision.
Can I Use a Laser Measure Instead of a Tape Measure?
Yes, you can use a laser measure instead of a tape measure. Laser accuracy helps you get precise readings quickly, especially in tight or hard-to-reach spots.
However, don’t overlook tape durability. It’s reliable for rough surfaces and uneven walls where a laser might struggle.
Combining both tools gives you the best results: use your laser for quick, accurate measurements and your tape when you need toughness and flexibility.
How Do I Account for Appliances in My Measurements?
Don’t worry about cluttering your measurements—you’ll want to include appliance placement by measuring their full width, depth, and height. Mark these dimensions on your plan to avoid surprises later.
Remember to leave enough countertop space around appliances for practicality and safety. By accounting for these areas now, you’ll visualize how everything fits, ensuring your kitchen feels spacious and functional, not cramped or awkward once appliances are installed.
What Should I Do if My Kitchen Has an Irregular Shape?
If your kitchen has an irregular shape, break it down into smaller, manageable sections to guarantee measurement accuracy. Start by sketching your kitchen layout on paper, dividing it into rectangles or squares.
Measure each segment carefully, noting lengths and widths. Then, add these measurements together to get the total space. This method helps you capture every nook and cranny, giving you a precise understanding of your unique kitchen layout.
Conclusion
Now that you’ve measured your kitchen like a pro, you’re ready to tackle any design challenge—just like a master chef preparing a signature dish. Remember, precision is your secret ingredient, so double-check those numbers before moving forward.
With your measurements in hand, you’re set to transform your space effortlessly. Keep this method handy, and you’ll always cook up the perfect kitchen layout, no matter the project. Happy measuring your kitchen!