How to Install Kitchen Base Cabinets in 5 Easy Steps
Installing kitchen base cabinets can feel overwhelming, especially when uneven floors, tight spaces, and plumbing create fitting problems. You’re not alone—many homeowners struggle to get cabinets level and aligned without professional help.
To install kitchen base cabinets in 5 easy steps, start by measuring your walls, floors, and plumbing accurately to avoid fitting issues.
Next, level the floor and mark where each cabinet will go.
Then, attach the first cabinet securely to wall studs, ensuring it’s level.
Clamp and align the rest for a seamless fit, and finally, install your countertops and hardware.
Follow this process, and you’ll be ready to investigate finer details that perfect your kitchen setup.
Key Takeaways
- Measure walls, floors, and plumbing accurately to ensure proper cabinet placement and fit.
- Level the floor and mark cabinet positions clearly to guarantee stability and alignment.
- Attach the first base cabinet securely to the wall studs, confirming it is plumb and level.
- Clamp and align additional cabinets to the first, using shims and screws for a flush fit.
- Install countertops and hardware only after cabinets are leveled and firmly secured in place.
Measure Walls, Floors, and Plumbing for Kitchen Base Cabinets
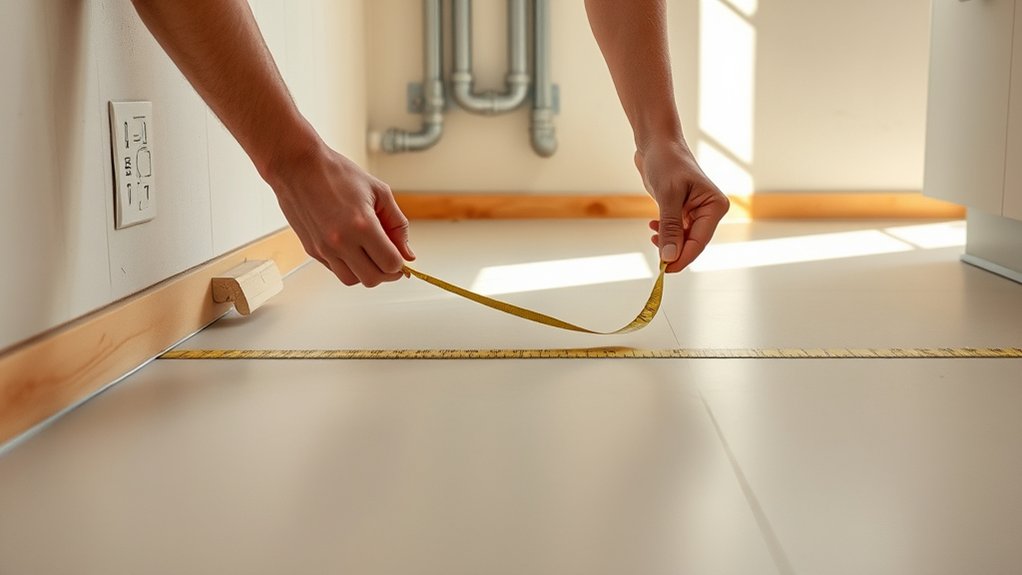
Before you begin installing your kitchen base cabinets, you need to measure the walls, floors, and plumbing carefully to assure a proper fit. Start by using a tape measure to check the length and height of each wall where cabinets will go.
Accurate measurements of walls, floors, and plumbing are essential before installing kitchen base cabinets.
Pay close attention to any irregularities in the walls or floors because uneven surfaces can affect how your cabinets align. Also, measure the location of plumbing fixtures precisely to avoid conflicts with pipes or drains.
Consider the cabinet materials and design styles you’ve chosen, as these can influence the measurements. For instance, solid wood cabinets might require slightly different clearances compared to metal or laminate options.
Likewise, design styles like frameless or face-frame cabinets have different installation requirements that impact your measurements. Taking accurate measurements at this stage ensures your cabinets fit seamlessly, reducing adjustments later and helping you create a kitchen that looks professional and functions perfectly.
Level the Floor and Mark Cabinet Placement

After measuring your walls, floors, and plumbing, the next step is to guarantee your floor is level and mark where each cabinet will sit. Use a level to check for uneven spots; shim as needed so your base cabinets sit flat.
This step is essential for proper cabinet alignment and longevity. Next, outline the cabinet placement directly on the floor using a pencil or painter’s tape.
Consider your cabinet material and color coordination as you plan. This will help you visualize how everything fits together and complements your kitchen design.
| Task | Tip |
|---|---|
| Level the floor | Use a long level or laser level |
| Shim uneven spots | Prevent cabinet warping |
| Mark cabinet positions | Outline with pencil or painter’s tape |
| Consider cabinet material | Choose shims compatible with material |
| Plan color coordination | Visualize how colors blend with floors and walls |
Attach the First Kitchen Base Cabinet to the Wall
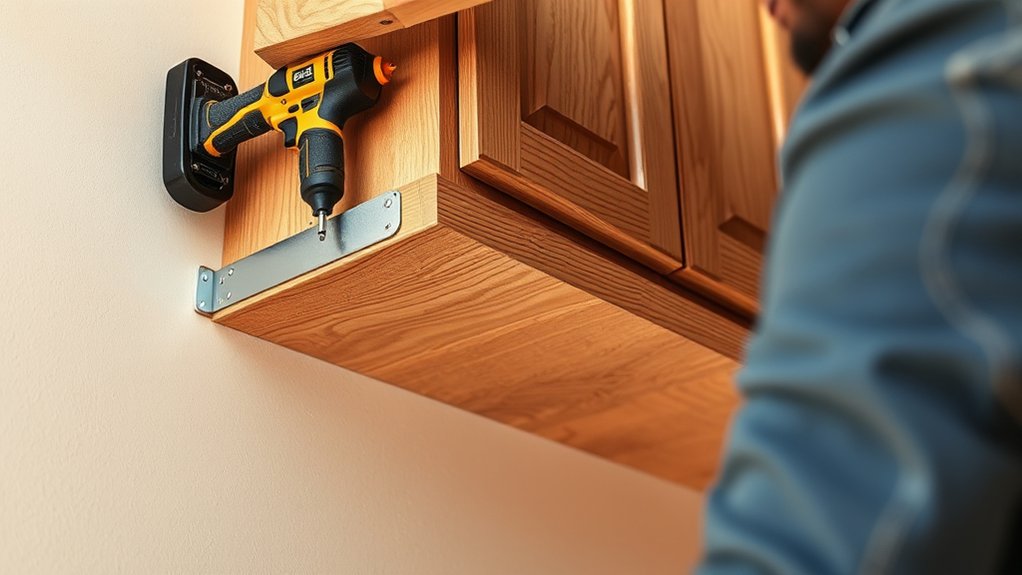
Once you’ve confirmed the floor is level and marked cabinet positions, you can start attaching the first base cabinet to the wall. Begin by taking safety precautions, such as wearing gloves and safety glasses, to protect yourself from sharp edges in cabinet materials.
Then, follow these steps:
- Position the cabinet against the wall, aligning it with your marks and ensuring it’s plumb using a level.
- Drill pilot holes through the cabinet’s back panel into the wall studs to prevent splitting the cabinet materials.
- Secure the cabinet with screws long enough to anchor firmly into the studs, tightening them gradually to avoid warping.
Make sure the cabinet sits flat on the floor, and double-check your level as you go. Taking your time with this first cabinet guarantees a strong foundation and simplifies installing the rest.
Attach and Align Additional Kitchen Base Cabinets
As you add each new base cabinet, carefully align it with the first one to guarantee a seamless fit. Start by clamping the adjacent cabinets together, checking that their fronts are flush and the tops are level.
Use a level and shims as needed to maintain perfect alignment. Drill pilot holes through the cabinet frames and secure them with screws to ensure a sturdy connection.
Pay attention to any gaps or uneven surfaces that could affect cabinet painting later. A smooth, consistent alignment will make painting easier and give your kitchen a professional finish.
Also, leave enough space above the cabinets for backsplash installation, as uneven cabinets can complicate this step.
Once the cabinets are securely attached and aligned, double-check their position against your layout plan. Proper alignment now saves you from adjustments during backsplash installation and keeps the kitchen looking sharp and cohesive.
Install Countertops and Final Hardware on Kitchen Cabinets
Before securing your countertops and final hardware, make sure the base cabinets are perfectly level and firmly attached. This foundation ensures your countertops sit flush and that decorative hardware aligns properly.
When you’re ready, follow these steps:
- Countertop Selection and Preparation: Choose a countertop that complements your cabinets and kitchen style. Measure accurately and prepare the surface by cleaning and checking for any imperfections.
- Install Countertops: Carefully place the countertop on the base cabinets, ensuring it fits snugly. Secure it with screws or brackets from underneath, taking care not to damage the surface.
- Attach Decorative Hardware: Finally, install knobs, pulls, or handles. Measure placement carefully to maintain consistency, then screw them into the cabinet doors and drawers.
Frequently Asked Questions
What Tools Do I Need for Installing Kitchen Base Cabinets?
You’ll need a drill, level, tape measure, stud finder, and clamps to keep cabinets steady during installation. Don’t forget a screwdriver for cabinet hardware and a pencil to mark measurements.
A jigsaw or saw helps if you need to trim cabinets. Having all these tools ready will speed up your installation timeline and make the process smoother, ensuring your base cabinets fit perfectly and your hardware goes on without a hitch.
How Do I Choose the Right Style of Base Cabinets?
Choosing the right style of base cabinets means selecting pieces that gently whisper elegance into your kitchen. You’ll want to think about cabinet material carefully—solid wood offers warmth, while MDF provides a sleek finish.
Make sure the style harmonizes with your overall design consistency, blending seamlessly with countertops and wall colors. Think about your lifestyle too; durable materials suit busy kitchens, while refined finishes suit more relaxed spaces.
Can I Install Kitchen Base Cabinets Without Professional Help?
Yes, you can install kitchen base cabinets without professional help if you’re comfortable with basic tools and measurements. Just make sure you carefully check cabinet finishing to avoid damage during installation.
Also, confirm countertop compatibility by verifying dimensions and support so everything fits perfectly. Take your time leveling and securing cabinets to the wall studs.
If you’re cautious and follow instructions, you’ll save money and get a great result.
How Long Does It Typically Take to Install Base Cabinets?
It typically takes you about 4 to 8 hours to install base cabinets, depending on your experience and kitchen size. You’ll want to allow extra time for cabinet finishing to guarantee a polished look.
Don’t forget to check countertop compatibility before installation, as it can affect your cabinet placement and leveling. Taking your time with these steps helps you avoid mistakes and ensures your cabinets fit perfectly with your countertops.
What Are Common Mistakes to Avoid During Cabinet Installation?
Ever tried fitting a puzzle piece that just doesn’t match? Avoid common mistakes like ignoring cabinet finishing, which can leave your cabinets looking sloppy. Don’t skip checking countertop compatibility either; mismatched heights or overhangs can ruin your kitchen’s flow. Also, make certain your walls are level before installation, or your cabinets will look crooked. Taking these steps ensures a polished, professional look you’ll love every day.
Conclusion
Now that you’ve learned how to install kitchen base cabinets, your space feels as solid and reliable as a well-built bridge. By measuring carefully, leveling the floor, and securing each cabinet step by step, you’ve created a sturdy foundation for your kitchen.
Don’t forget to add your countertops and hardware to complete the look. With these simple steps, you’ve transformed your kitchen into a functional and stylish space you’ll love to cook in every day.